
Facility Manager's Guide to Better Window Privacy
TL;DR:
- Proper assessment and planning are essential to select effective privacy solutions for commercial windows.
- Frosted, reflective, blackout, and decorative films offer varying levels of privacy and aesthetic options.
- Ongoing maintenance and employee involvement improve long-term effectiveness of window privacy installations.
Inadequate window privacy in a commercial building is not just an aesthetic concern. It creates real security gaps, exposes sensitive business operations to outside observers, and makes occupants uncomfortable in their own workspace. For facilities managers across Southern New Hampshire and Greater Boston, the challenge is compounded by buildings with large glass facades, open-concept interiors, and street-level storefronts where foot traffic runs high. This guide walks you through every stage of solving that problem, from identifying your highest-risk windows to selecting the right films and keeping them performing for years.
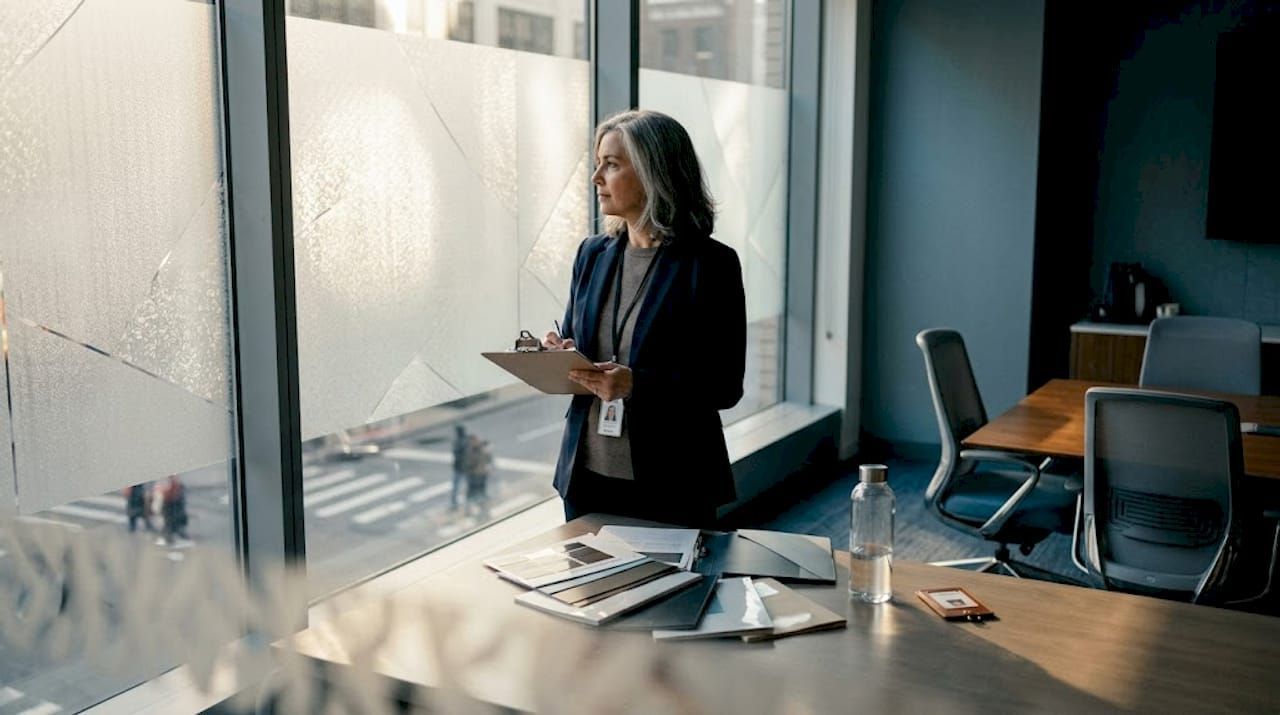
Table of Contents
- Understanding commercial window privacy needs
- Preparing for privacy upgrades: Assessments and requirements
- Your window privacy solution toolkit: Options and tools
- Step-by-step: Implementing privacy window films in your facility
- Verifying and maintaining privacy success long-term
- What most facility managers miss in window privacy planning
- Get expert help for your window privacy project
- Frequently asked questions
Key Takeaways
| Point | Details |
|---|---|
| Assess privacy needs | Identify high-risk windows and specific privacy challenges before starting any project. |
| Compare solution types | Different privacy films and coverings offer unique benefits, so match your selection to your facility's goals. |
| Follow step-by-step installation | A structured approach ensures privacy features perform as intended and meet compliance requirements. |
| Maintain for lasting results | Regular checks and maintenance keep window privacy solutions effective over time. |
| Professional guidance available | Expert installers can help avoid common mistakes and tailor solutions to your facility. |
Understanding commercial window privacy needs
Every privacy project starts with a clear picture of what you're protecting and why. In commercial buildings, privacy threats come from three main directions: visibility from the street or parking areas, proximity to public corridors or shared spaces, and internal sightlines between departments or offices. Each of these requires a different level of treatment, and lumping them together leads to over-spending in some areas while leaving critical zones exposed.
Typical high-priority areas in commercial facilities include:
- Conference and meeting rooms where sensitive negotiations, HR discussions, and strategy sessions take place
- Executive and glass-walled offices visible from open floor plans
- Building entryways and lobbies where visitors can observe reception activities
- Ground-floor storefronts and retail sections with direct street exposure
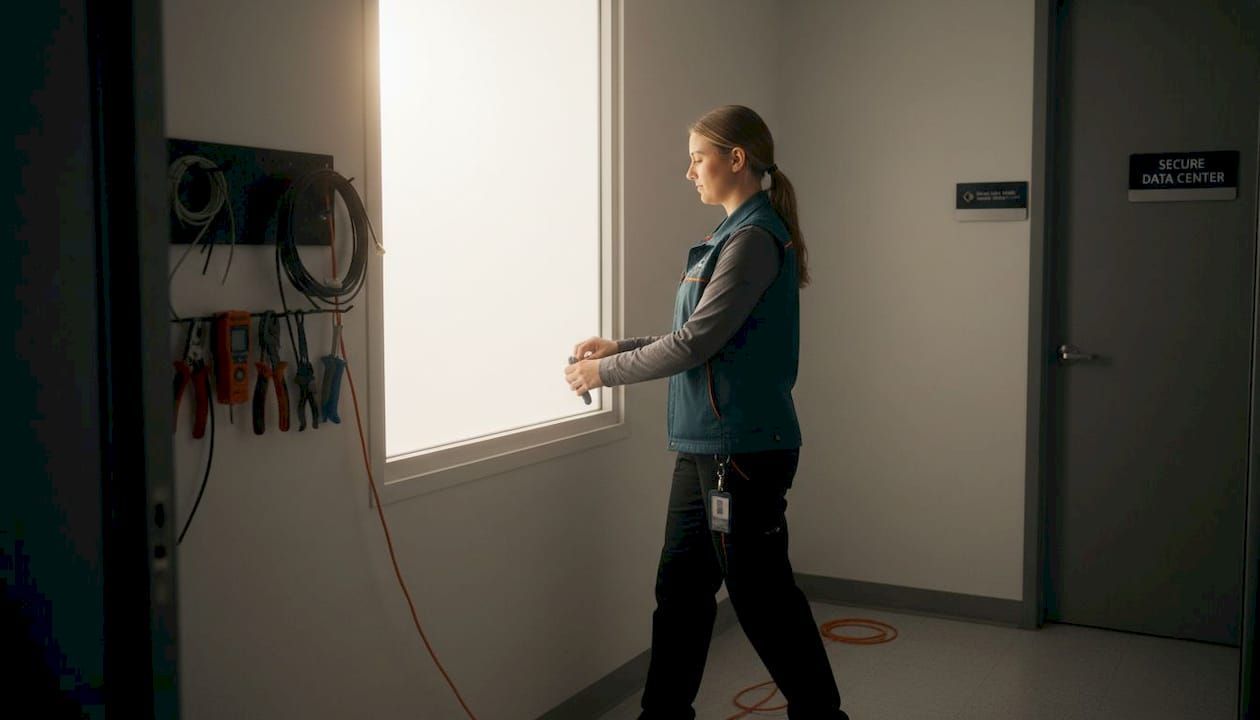
- Server rooms, file storage areas, or financial workspaces requiring strict visual access control
Beyond security, there are comfort and compliance considerations. Occupants who feel exposed through large windows report lower productivity and higher stress. In regulated industries, visible patient or client data can become a compliance issue. Privacy solutions for managers need to strike a balance between blocking unwanted sightlines and preserving the open, light-filled environment that modern employees expect.
Greater Boston office buildings, particularly those near dense urban blocks, often face direct line-of-sight from neighboring structures at similar floor levels. Southern New Hampshire facilities in suburban commercial parks deal with a different issue: large parking lots and low-rise surroundings create broad angles of visibility. Knowing your specific geographic context shapes which solutions will actually work.
One underappreciated tool for balancing these needs is decorative window tinting that maintains natural light transmission while eliminating direct visibility. Frosted and patterned films, for instance, scatter incoming light rather than blocking it, which keeps interiors bright without sacrificing privacy.
Preparing for privacy upgrades: Assessments and requirements
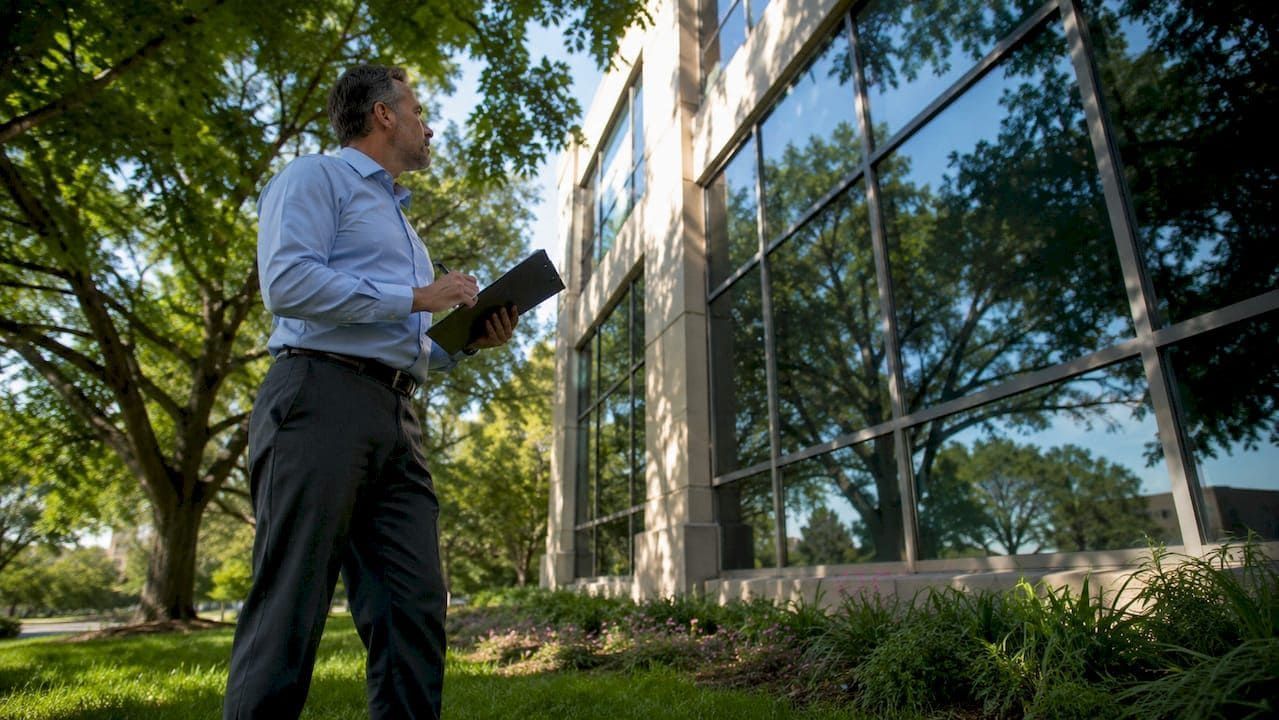
With needs defined, you can begin practical assessments and compile requirements. A structured audit prevents guesswork and saves budget by ensuring you treat only the windows that genuinely need it.
How to conduct a window privacy audit:
Walk your facility at different times of day, particularly during morning and late afternoon when low sun angles change sightlines significantly. Privacy window solutions that work well at noon may underperform at 4:00 p.m. when exterior light conditions shift. Note every window where you can see sensitive activity from outside, or where internal visibility between spaces creates a problem.
Document the following for each window zone:
| Window zone | Privacy risk level | Current treatment | Priority |
|---|---|---|---|
| Conference room, east wall | High | None | Immediate |
| Lobby reception desk | High | Partial blinds | Immediate |
| Open office, south windows | Medium | None | Short-term |
| Break room | Low | None | Long-term |
| Server room | Critical | Frosted glass | Verify sufficiency |
After mapping your zones, gather your legal and building requirements. Some municipalities in Massachusetts and New Hampshire have fire egress codes that restrict how dark a window film can be, especially on emergency exit pathways. Check with your building's fire marshal or local code office before specifying blackout or heavily tinted films.
Common criteria to collect before consulting solution providers:
- Fire rating requirements for films used near egress routes
- Lease restrictions that may limit permanent modifications
- HVAC impact if solar films will significantly alter heat gain in conditioned spaces
- Cleaning protocols your maintenance team uses (some commercial cleaners degrade certain film adhesives)
- Warranty requirements from your building owner or insurer
Pro Tip: Photograph each window zone during your audit and time-stamp the images. When you compare privacy film options with vendors, this visual documentation eliminates ambiguity and speeds up the quoting process considerably.
Your window privacy solution toolkit: Options and tools
After gathering requirements, you're ready to explore your toolkit of privacy solutions. The market offers more choices than most facilities managers realize, and selecting the wrong type wastes both money and time.
Main solution categories:
Frosted and etched films scatter light and block direct views without darkening the space. These are the go-to choice for conference rooms, glass office walls, and interior partitions. They look professional, are available in hundreds of patterns and opacity levels, and are easy to apply and remove.
Reflective and one-way mirror films allow people inside to see out while blocking exterior views during daylight hours. Effective on street-level windows and executive offices, but their performance reverses at night when interior lighting is brighter than the outside. That's a limitation many managers overlook.
Blackout and whiteout films eliminate visibility entirely in both directions. Best suited for server rooms, storage areas, or any window where total visual isolation is required. Not appropriate for spaces where occupants need visual connection to the outside.
Smart glass and electrochromic film can switch from clear to opaque on demand. The technology is impressive but costs significantly more than standard film, and installation complexity is higher. Best considered for high-profile boardrooms or executive suites where premium aesthetics justify the investment.
Interior blinds and shades remain a practical complement but are not a replacement for film. They require ongoing manual operation, collect dust, and can be left open accidentally. Film works continuously without staff intervention.
| Solution | Privacy level | Installation complexity | Relative cost | Durability |
|---|---|---|---|---|
| Frosted film | Medium to high | Low | Low | 10+ years |
| Reflective/one-way | High (daytime only) | Low | Low to medium | 10+ years |
| Blackout film | Complete | Low | Low | 10+ years |
| Smart glass film | Adjustable | High | High | 5 to 10 years |
| Blinds and shades | Variable | Low | Medium | 3 to 7 years |
When evaluating films, the criteria for selecting privacy films should include optical clarity rating, VLT (visible light transmission) percentage, and adhesive type relative to your glass surface. Tempered, laminated, and coated glass all interact differently with film adhesives.
Pro Tip: For decorative film in offices, consider specifying branded or patterned versions that reinforce your company identity. A subtle logo pattern on a frosted glass wall turns a functional upgrade into a branding asset.
Studies consistently show that employees working in spaces with visual privacy report significantly higher job satisfaction and concentration levels. When you learn professional tinting methods, you'll find that factory-applied versus field-installed films differ in edge-seal quality, which directly affects longevity in high-humidity environments like those in coastal Greater Boston.
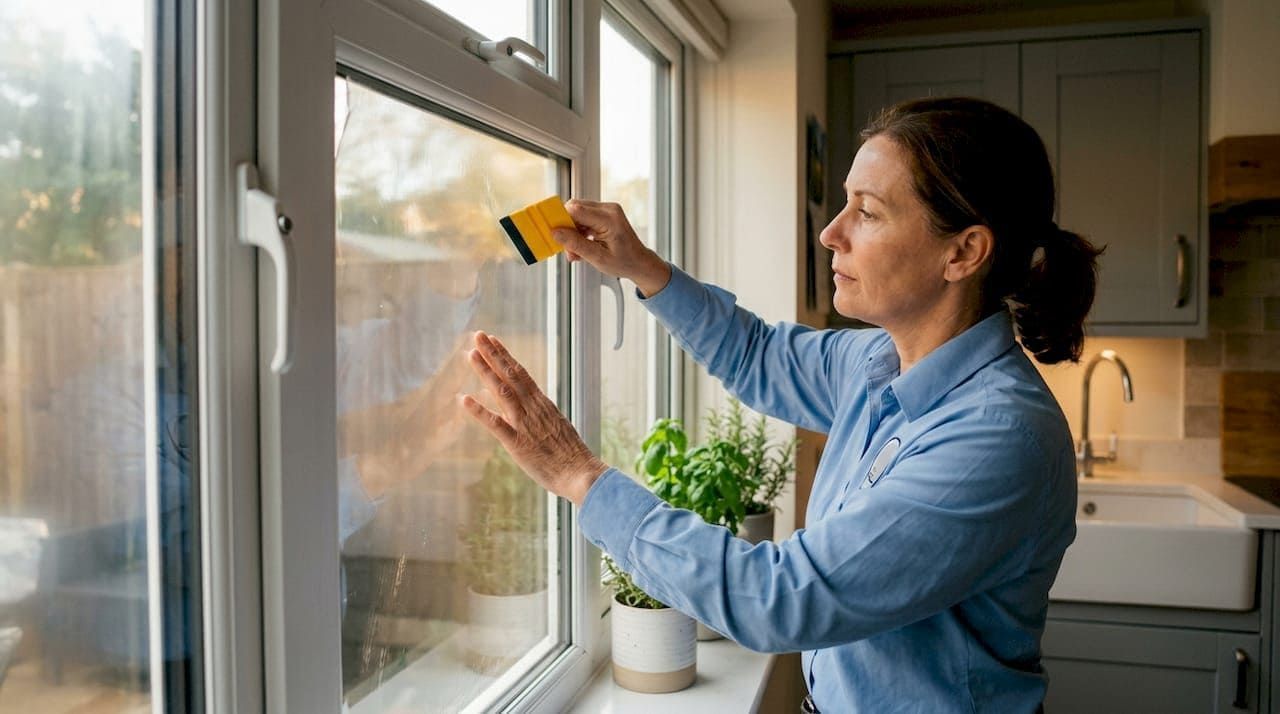
Step-by-step: Implementing privacy window films in your facility
Once you've chosen a solution, it's time to implement. Here's how to proceed effectively without disrupting building operations.
- Finalize film specifications. Confirm VLT percentage, privacy level, adhesive type, and surface compatibility with your glazing system. Get written specifications from your vendor before ordering.
- Schedule a site visit with your installer. A professional assessment catches details that photos miss, including window frame condition, seal integrity, and any existing film that needs removal before new film is applied.
- Plan installation timing. Window film installation in occupied commercial buildings works best during off-hours or weekends. Most professional crews can complete a standard floor in four to six hours per session.
- Prepare the work area. Move furniture away from window walls, protect flooring near work zones, and notify building occupants in advance so they don't enter the area during application.
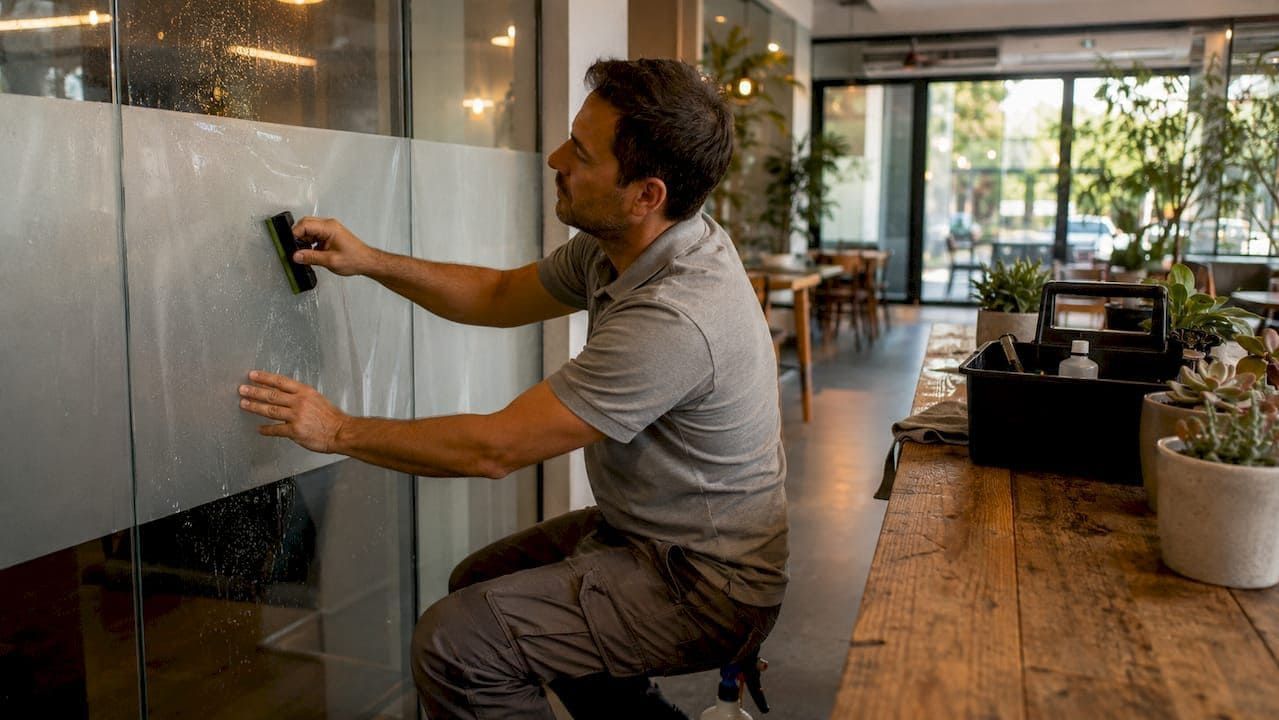
- Review the installation as it proceeds. Walk the site with your installer at each stage to catch edge lifting, bubbles, or misalignment before the adhesive sets.
- Allow for proper cure time. Most window films require 30 days to fully cure. During this period, avoid cleaning the glass and expect some temporary haziness that will clear as the adhesive bonds completely.
- Document everything. Photograph completed installations, retain warranty certificates, and log the product specifications for each window zone. This record is invaluable if you ever need to match a film for repairs.
"The biggest installation mistakes we see are rushing the cure period and skipping surface preparation. Both lead to premature peeling and voided warranties. Patience at this stage pays off for years."
Always verify that your vendor carries manufacturer-backed warranties and is certified by the film manufacturer. The window film installation process for commercial properties involves specific surface preparation steps that differ from residential work, and an experienced commercial installer understands those distinctions. Professional tinting guidance strongly recommends never skipping a written scope of work that details surface preparation, warranty terms, and film specifications.
Verifying and maintaining privacy success long-term
Proper installation is just the beginning. Here's what's required to maintain privacy, comfort, and compliance over time.
Post-installation verification checklist:
- Confirm full coverage with no gaps at edges or corners
- Check adhesion by inspecting for lifting at seams or window frames
- Verify optical clarity from both interior and exterior perspectives
- Test privacy effectiveness at different times of day, including after dark
- Ensure the film does not interfere with any window hardware or ventilation latches
For ongoing maintenance, schedule a visual inspection of all treated windows every six months. Watch for these warning signs:
- Edge peeling or lifting around the frame perimeter, which allows moisture intrusion
- Discoloration or purple tint developing in older films, indicating UV degradation of the dye layer
- Bubbling or de-lamination in sections, usually caused by incompatible cleaning products
- Scratches or abrasion from improper cleaning technique or abrasive materials
Clean window film with a soft microfiber cloth and a mild, ammonia-free solution. Ammonia is the most common film killer in commercial settings because many standard glass cleaners contain it. Provide your janitorial staff with written care instructions and approved products on day one.
Pro Tip: Set a calendar reminder for annual film inspections. Privacy maintenance practices are most effective when they follow a scheduled plan rather than reacting to visible problems. Early detection of edge lifting is far cheaper to address than full film replacement. The residential and commercial film guide confirms that properly maintained films routinely exceed their rated service life by several years.
If significant damage occurs, do not attempt to patch small sections with consumer-grade film. Mismatched patches are visible and create new adhesion failure points. Contact your original installer for a professional repair or panel replacement using the same specification.
What most facility managers miss in window privacy planning
Most of the conversation around window privacy focuses on product selection. Choose the right film, install it correctly, maintain it well. That's all valid, but it misses something more fundamental.
The real challenge is understanding how privacy solutions change the way people use your space. A heavily frosted film on a glass-walled conference room creates privacy but can also make that room feel like a box. Occupants who previously chose that room because they could see the rest of the office may now avoid it. That's not a product failure. It's a planning failure.
We've observed this pattern repeatedly: managers install privacy solutions in response to a complaint or a security incident, without consulting the people who use those spaces every day. The film goes up, the problem is technically solved, and then six months later, you hear that employees find the treated spaces oppressive or disconnected.
The solution is early involvement. Before you finalize specifications, walk the proposed zones with department heads and, where practical, with the teams that work there. Ask what level of visibility they actually want. Sometimes a medium-opacity frosted film at the lower half of a glass wall preserves the privacy that HR needs while keeping the visual connection to the office floor that the team prefers.
Layout changes are another blind spot. When you evaluate privacy options today, you're solving for today's floor plan. But businesses reorganize. A private office becomes a shared workspace. A storage room becomes a client-facing meeting space. If your privacy solution is permanent or difficult to reverse, it can become an obstacle to that flexibility. Removable films address this directly, and they deserve more consideration than they typically receive in commercial specifications.
Finally, revisit your privacy assessment every two to three years. Natural changes in occupancy, business function, and even neighborhood development around your building can create new exposure risks or render existing treatments unnecessary.
Get expert help for your window privacy project
If you're ready for results that last, here's how to bring in targeted expertise.
Surface Dynamics Window Tinting serves facilities managers throughout Southern New Hampshire and Greater Boston with professional LLumar Vista Film installation backed by manufacturer warranties.
Whether you manage a single-floor office or a multi-building campus, we provide site assessments, written proposals, and experienced installation crews who work around your schedule. Get a free window tinting estimate tailored to your facility's specific zones and requirements. You can also browse our window tinting project gallery to see completed commercial projects across the region and what's genuinely achievable in environments similar to yours. From frosted decorative films for glass-walled offices to one-way reflective solutions for street-level storefronts, we match the right product to the right window every time.
Frequently asked questions
What types of window films provide the most privacy for commercial spaces?
Frosted, reflective, blackout, and decorative films are the most effective for high-privacy applications in offices and storefronts. Choosing between them depends on your specific zone requirements, lighting conditions, and whether you need daytime-only or around-the-clock privacy. See top privacy film options for a detailed breakdown.
How do I know which windows in my facility need privacy treatment?
Assess windows exposed to public view, any glass near sensitive meetings or data, and glass walls within open-concept layouts. A systematic audit during different times of day, as outlined in privacy solution guidance, will identify every high-risk zone accurately.
How long does it take to install privacy window film in a large facility?
Commercial projects with full-building coverage typically take one to three days depending on square footage and surface preparation needs. Your professional tinting installer should provide a time estimate during the site assessment phase.
Do privacy films affect the amount of natural light in the building?
Most privacy films reduce daylight to some degree, but decorative and frosted films scatter rather than block light, keeping interiors noticeably bright while still preventing direct visibility from outside.
Can privacy window solutions help with energy savings or security?
Yes. Many films reduce solar heat gain, which lowers cooling costs during summer months, and safety films strengthen glass against impact. The complete window film guide details how these benefits layer together for maximum return on investment.
Recommended