
Boost Workflow with Smart Office Privacy Window Solutions
TL;DR:
- Privacy window films improve concentration by reducing glare and visual distractions while allowing daylight.
- Proper installation and maintenance are essential for the longevity and effectiveness of office privacy films.
- Combining privacy solutions with staff feedback enhances workspace comfort, productivity, and energy efficiency.
Open-plan offices and glass-walled conference rooms look great in architectural renders, but the reality is often a mess of glare, distracted employees, and confidential meetings held in plain sight. If your workspace has floor-to-ceiling windows or glass partitions, you already know the tension between transparency and privacy. This guide walks you through everything you need to select, install, and maintain office privacy window solutions that protect confidentiality, reduce distractions, and sharpen workflow across your entire property.
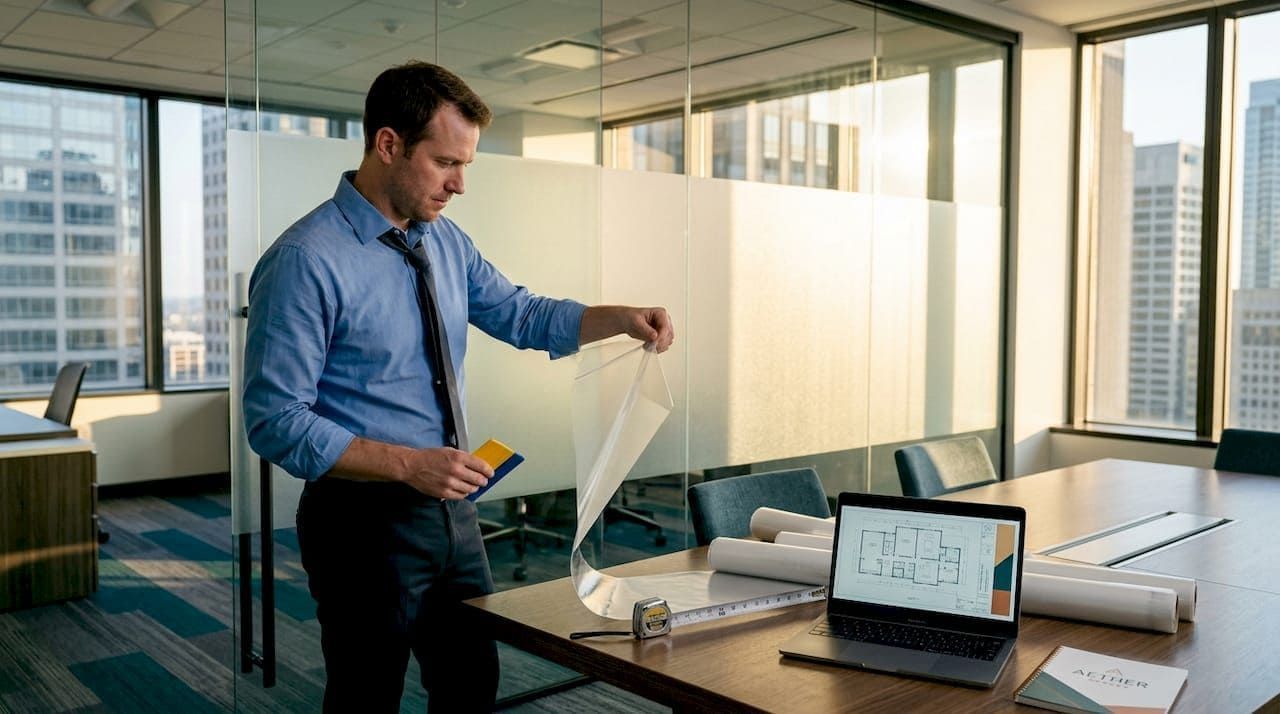
Table of Contents
- Why office privacy matters for workflow
- What you need: Tools and materials for privacy window upgrades
- Step-by-step workflow: Applying privacy window solutions
- Verifying results: Maintenance, workflow impact, and troubleshooting
- The real key to lasting office privacy and productivity
- Ready to optimize your office privacy?
- Frequently asked questions
Key Takeaways
| Point | Details |
|---|---|
| Boost privacy and workflow | Proper window privacy solutions reduce distraction and enhance office productivity. |
| Keep the daylight | Modern films let in natural light while maintaining confidentiality and satisfaction. |
| Save on energy costs | Privacy window films help cut cooling costs and support sustainability goals. |
| Professional help matters | Expert installation means better durability, appearance, and long-term workflow improvements. |
| Regular upkeep extends results | Simple maintenance keeps films clear and effective for years to come. |
Why office privacy matters for workflow
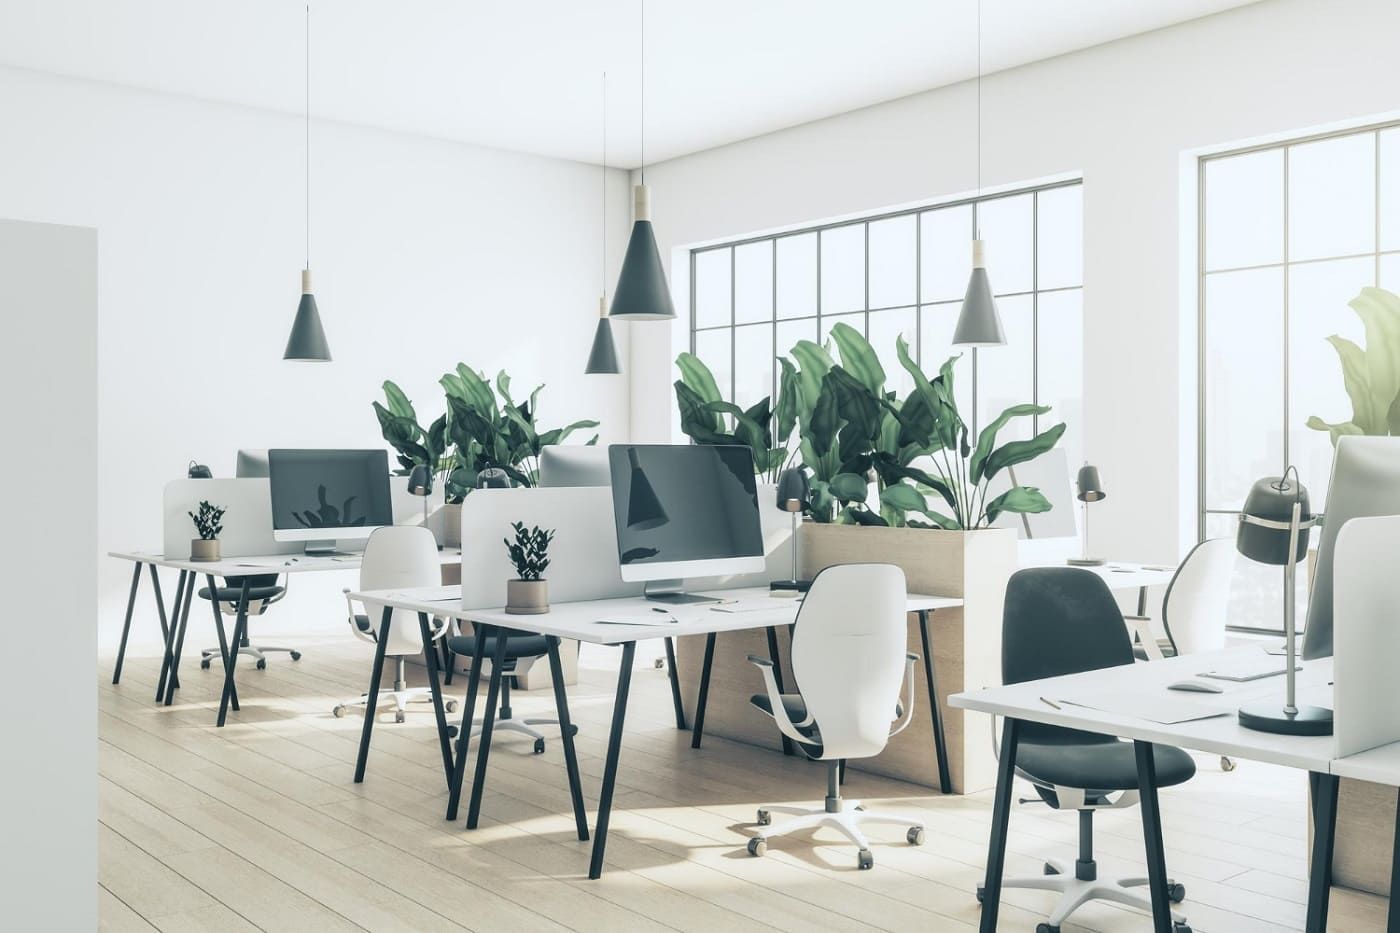
Glass-heavy office designs became popular because they signal openness and collaboration. The problem is that openness has a cost. Employees working near large windows or transparent partitions deal with constant visual stimulation from foot traffic, street activity, and colleagues moving around the floor. That kind of low-grade distraction chips away at focus over the course of a workday.
Privacy is not only about keeping competitors from seeing your whiteboards. It directly affects employee well-being and productivity. When people cannot find a visually quiet spot to concentrate, their cognitive load increases, stress builds, and output drops. Add sensitive client calls, financial reviews, or HR meetings into the mix, and suddenly those beautiful glass walls become a liability.
The good news is that you do not have to trade daylight for privacy. Research published through the Mayo Clinic's journal confirms that access to daylight improves cognitive performance, including working memory and inhibition, while also reducing eyestrain compared to blackout conditions. That means the solution is not to block every window. It is to filter and manage what comes through.
"The right privacy film lets your team enjoy natural light while eliminating the visual noise that kills concentration. It is one of the most cost-effective upgrades a commercial property manager can make."
Modern privacy window films are engineered to do exactly that. They obscure sightlines from the street or neighboring offices without turning your space into a dark room. You get the health and mood benefits of natural light alongside the focus benefits of a visually controlled environment. Understanding those commercial tinting benefits makes it much easier to build a case for property owners or facilities committees.
Common privacy challenges in commercial offices include:
- Outside pedestrians or neighboring buildings viewing employee screens
- Meeting rooms with glass walls that expose sensitive discussions
- Excessive glare on monitors that forces employees to reposition constantly
- Heat buildup near south-facing windows that creates comfort complaints
- Lack of visual separation between departments with different roles
Each of these issues undermines workflow in a measurable way. Solutions that enhance privacy and style simultaneously address the environmental and operational sides of the problem without requiring expensive renovations.
After outlining why privacy is essential, let's get clear on what you will need to begin upgrading your space.
What you need: Tools and materials for privacy window upgrades
Before you can improve your workspace, you need a clear picture of what goes into a proper window film upgrade. The materials list seems simple on the surface, but each item plays a specific role in achieving a professional result.
Core materials and tools:
- Privacy window film (frosted, tinted, or decorative, matched to your privacy level needs)
- Squeegee with a hard edge for smoothing film without scratching glass
- Utility knife or precision trimming tool for cutting film edges cleanly
- Measuring tape to map window dimensions accurately before ordering film
- Spray bottle filled with application solution, typically diluted dish soap in water
- Lint-free microfiber cloths for cleaning glass before and after application
- Straight edge or T-square for consistent cuts on large panes
When shopping for film, pay close attention to three factors: privacy level, visible light transmission (the percentage of light the film allows through), and whether you need one-way or full privacy coverage. One-way mirror films work well for street-facing windows during daytime hours. Frosted or etched decorative films work better for interior glass partitions because they provide consistent privacy regardless of lighting conditions on either side.
| Film type | Privacy level | Light transmission | Best use |
|---|---|---|---|
| Frosted/etched | High | Moderate | Interior partitions |
| One-way mirror | Daytime only | High | Street-facing windows |
| Solar control | Low | High | Glare and heat reduction |
| Blackout | Full | None | Server rooms, specialized spaces |
The decision between DIY installation and professional service is worth thinking through carefully. Studies show that window films reduce energy use by approximately 2.76% annually and can cut CO2 output by around 250 kilograms per month in commercial building simulations. That performance depends heavily on clean installation without bubbles, gaps, or peeling edges. Poor installation wastes the product's potential.
Pro Tip: Professional-grade LLumar Vista Films carry manufacturer warranties and performance ratings that consumer-grade films do not match. If your office has large panes, complex shapes, or you need consistent results across multiple floors, professional installation protects your investment from day one. Review expert steps for glass privacy to understand what a quality installation process looks like before you decide.
Now that you know what you will need, it is time to move step-by-step through a successful installation and workflow update.
Step-by-step workflow: Applying privacy window solutions
A rushed installation creates a worse problem than the one you started with. Bubbles, uneven edges, and film that peels within months are almost always the result of skipping preparation steps. Follow this sequence to get clean, lasting results.
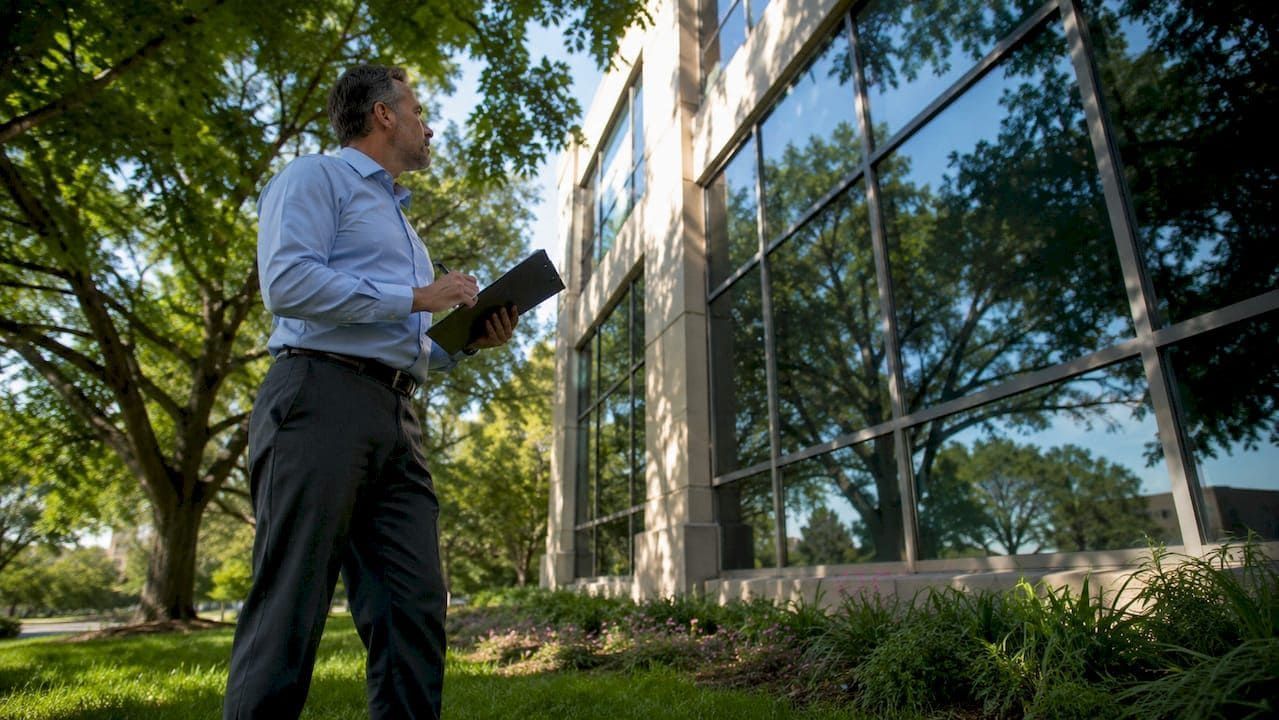
- Assess your privacy needs by zone. Walk every area of your office and note which windows or glass partitions create problems. Is the issue external visibility, internal visibility between departments, glare, or heat? Assign a priority level to each zone before ordering any film.
- Measure every pane. Record height and width for each window you plan to film. Add one inch on each side when ordering so you have material to trim. Measure twice. Cutting film is easy; ordering more film after you cut short is expensive.
- Select your film type for each zone. Conference rooms usually need frosted or decorative privacy film. South-facing exterior windows often benefit most from solar control film. High-security areas may need a combination of privacy and safety window film that holds glass in place on impact.
- Prepare the glass surface thoroughly. Clean the glass with your application solution and lint-free cloths. Remove all dust, grease, fingerprints, and debris. Any contamination trapped under the film creates visible spots and adhesion failures. Do not rush this step.
- Apply the film using wet method technique. Spray the glass surface generously with application solution before peeling the film backing. Apply the film and adjust its position while the glass is still wet. The solution gives you a short working window to reposition the film before adhesion sets.
- Squeegee from center outward. Use firm, overlapping strokes from the center of the pane toward the edges. This pushes solution and air bubbles out from under the film. Work methodically and do not skip any area.
- Trim edges and inspect. Use your utility knife against a straight edge to trim the film flush with the window frame. Look across the glass at a low angle to spot any remaining bubbles or adhesion problems while the film is still workable.
Here is a quick comparison to help you decide between doing it yourself and hiring a professional installer:
| Factor | DIY installation | Professional installation |
|---|---|---|
| Cost | Lower upfront | Higher upfront, lower long-term |
| Speed | Slower, especially on large panes | Faster, scaled for commercial projects |
| Warranty | Limited or none | Manufacturer warranty included |
| Appearance | Variable | Consistently professional finish |
| Film options | Consumer-grade selection | Professional-grade LLumar Vista Films |
| Best for | Small spaces, single windows | Multi-window commercial properties |
Research supports the energy and productivity case for getting this right. Window films reduce energy waste significantly and also cut UV and glare exposure that disrupts employee focus. The performance numbers only hold up when the film is installed correctly and covers the full pane without gaps.
Pro Tip: After squeegeeing, do not panic if you see a faint haze or small water bubbles. These are normal during the curing period, which takes 5 to 14 days depending on temperature and film type. Do not try to pop or squeeze them out manually. They will clear on their own as the adhesive finishes bonding to the glass. Rushing this process causes more damage than the original bubbles.
Having completed your installation, you will want to ensure the solution is performing as expected.

Verifying results: Maintenance, workflow impact, and troubleshooting
A window film upgrade is not a set-it-and-forget-it solution. Within the first two weeks after installation, walk your office and evaluate results across every zone you treated. Look for both visual performance and gather feedback from the people who use the space daily.
Signs your installation is performing well:
- Reduced glare complaints at workstations near treated windows
- Consistent privacy in conference rooms from both inside and outside perspectives
- Cooler ambient temperature near south-facing windows during peak afternoon hours
- Staff comfort improvements reported during team check-ins
- No visible peeling, bubbling, or discoloration along film edges
Research confirms that access to daylight through properly selected films improves cognitive performance and reduces eyestrain compared to both full sun exposure and blackout conditions. If your team is not experiencing these improvements, it may indicate the wrong film type was selected for a specific zone.
"Long-term film performance is inseparable from consistent cleaning and early detection of edge lifting. Catching a small adhesion issue early costs nothing to fix. Ignoring it for six months means replacing the entire pane."
Proper cleaning is simple but important. Use a soft microfiber cloth and a mild, non-abrasive cleaning solution. Avoid ammonia-based products because they degrade film adhesives over time. Check the window cleaning guide for offices for a complete list of safe products and techniques specific to commercial environments.
Common troubleshooting scenarios:
- Edges lifting: Usually caused by contamination during installation or edge trim cut too short. Clean the edge and apply heat with a heat gun on low to reactivate adhesive on small sections. Large sections may need professional reapplication.
- Persistent bubbles after 14 days: Indicates trapped debris or moisture. Small bubbles can sometimes be smoothed with a credit card. Large bubbles with visible debris underneath require section replacement.
- Film appearing hazy or foggy: Often caused by cleaning with the wrong products. Switch to an ammonia-free solution and the haze typically clears within a few cleanings.
- Uneven privacy levels: May indicate film shifted during application or was cut unevenly. Partial reapplication corrects most cases without replacing the entire window.
Understanding your window tinting ROI helps you evaluate whether the investment is paying off. Track energy bills, gather staff feedback, and note any changes in client or visitor perception of your space. The data tells a clear story over time.
With your privacy and workflow improved, here is what the experts and experience say about making these upgrades truly last.
The real key to lasting office privacy and productivity
After working with commercial properties across Southern New Hampshire and the Greater Boston Area, we have seen a consistent pattern. Building managers invest in excellent film, hire professional installers, and then walk away assuming the work is done. Six months later, the same complaints resurface, just in different rooms.
The uncomfortable truth is that privacy window film is not a complete solution by itself. It is an environmental tool. Its impact depends entirely on how well it integrates with your team's actual workflows and the physical layout of your space. A frosted partition on a conference room means nothing if the room is booked 80% of the day and employees are forced to take sensitive calls at open desks.
Most property managers overlook staff feedback cycles. Schedule a brief quarterly walkthrough with your facilities team and two or three employees from different departments. Ask direct questions: Where do you feel exposed? Where is glare still a problem? Which spaces feel uncomfortable to work in? This takes 30 minutes and surfaces real issues before they become complaints or turnover contributors.
There is also a competitive angle that most facilities budgets ignore. Lowering office energy costs through solar control films improves your operating margins. But a workspace that is visually comfortable, thermally stable, and properly private is also a recruiting advantage. Candidates notice it during site visits. Clients notice it during meetings. It communicates that you take the work environment seriously.
The synergy of privacy, comfort, energy savings, and aesthetics is where the real return sits. No single element of that equation does enough on its own. But together, they create an office environment that supports both the people and the business operating inside it.
Ready to optimize your office privacy?
Transforming your office with privacy window solutions is a decision that pays off across multiple budget lines, from energy savings to employee retention. At Surface Dynamics Window Tinting, we work with commercial property managers and business owners throughout Southern New Hampshire and the Greater Boston Area to design and install professional-grade LLumar Vista Films tailored to each workspace.
Whether you manage a single-floor office or a multi-story commercial building, our team delivers consistent, warrantied results that DIY kits cannot match. Start with a free estimate to understand what your property needs and what you can expect from a professional installation. You can also see real-world commercial projects to get a clear picture of what a finished installation looks like across different office types. When you are ready to move forward, get a commercial window tinting estimate from our team and take the first step toward a more productive, private, and comfortable workspace.
Frequently asked questions
How does window film improve office privacy without blocking daylight?
Specialized privacy films obscure sightlines into or out of a space while still allowing natural light to pass through, which improves cognitive performance and reduces eyestrain compared to blackout treatments. The result is a workspace that feels open and bright but remains visually protected.
Will privacy window film help reduce energy costs in commercial buildings?
Yes, high-performance window films reduce energy use by blocking solar heat gain, which lowers cooling loads and cuts energy bills across the full year. The reduction in UV and glare also decreases the need for artificial lighting adjustments throughout the day.
Is DIY office window film installation effective?
DIY installation works reasonably well for a single window or small space, but large commercial panes require professional technique and professional-grade materials to achieve consistent results, proper adhesion, and manufacturer warranty coverage.
Can privacy film solve problems with screen glare and visual distractions?
Privacy and solar control films block both glare and external visual distractions, which directly reduces eyestrain and helps employees stay focused. Research confirms that UV and glare reduction through window film improves productivity by minimizing the environmental factors that interrupt concentration.
How do I maintain privacy window film for long-lasting results?
Clean filmed glass with a soft microfiber cloth and an ammonia-free cleaning solution, and inspect edges every few months for signs of lifting or peeling. Catching small adhesion issues early prevents them from spreading and extends the usable life of your film significantly.
Recommended