
Residential Window Film Installation Near Me: 2026 Guide
TL;DR:
- Residential window film application reduces heat, UV rays, glare, and enhances privacy, offering immediate benefits. Professional installation ensures proper film selection, precise application, and warranty coverage, making it worthwhile for large or complex windows. Proper preparation, understanding orientation, and choosing the right film type maximize energy savings and aesthetic results.
Residential window film installation is the process of applying a thin, optically clear or tinted film to the interior surface of home windows to reduce heat, block UV rays, cut glare, and increase privacy. Homeowners across Southern New Hampshire and the Greater Boston Area are turning to professional window tinting services because the payoff is immediate and measurable. Installation costs typically range from $500 to $2,500 depending on window count, film type, and accessibility. That range covers everything from basic tinted films to premium ceramic options, and the right choice depends entirely on your home's layout, window orientation, and goals.
What residential window film installation near me actually delivers
The three most common reasons homeowners search for local window film installers are energy savings, glare control, and privacy. All three are real and measurable, not marketing claims. Energy-efficient window films reduce energy bills by cutting heat transfer in summer and retaining warmth in winter, which means your HVAC system works less. High-performance ceramic films take this further: ceramic films reject 51% to 82% of total solar energy and block up to 99% of UV rays while keeping rooms bright. That UV protection matters beyond comfort. Prolonged UV exposure fades hardwood floors, upholstery, and artwork within a few years of direct sunlight.
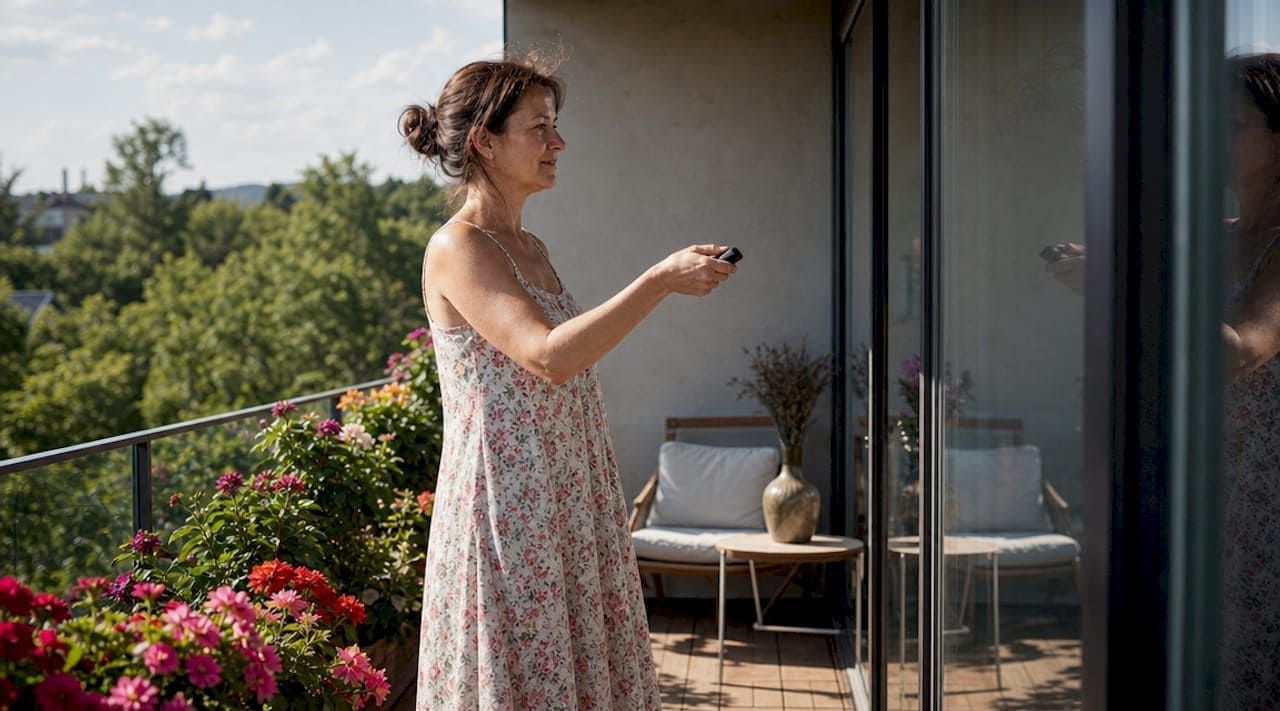
Privacy films add a one-way mirror effect during daylight hours, letting you see out while blocking the view in. Decorative films go further by creating frosted or patterned glass effects without replacing the glass itself. Security and safety films hold shattered glass in place during break-ins or storm impacts, a benefit that standard window glass cannot offer. Surfacetint, an exclusive LLumar SelectPro Dealer, installs LLumar Vista Films across all these categories, covering solar control, safety and security, and decorative privacy applications.
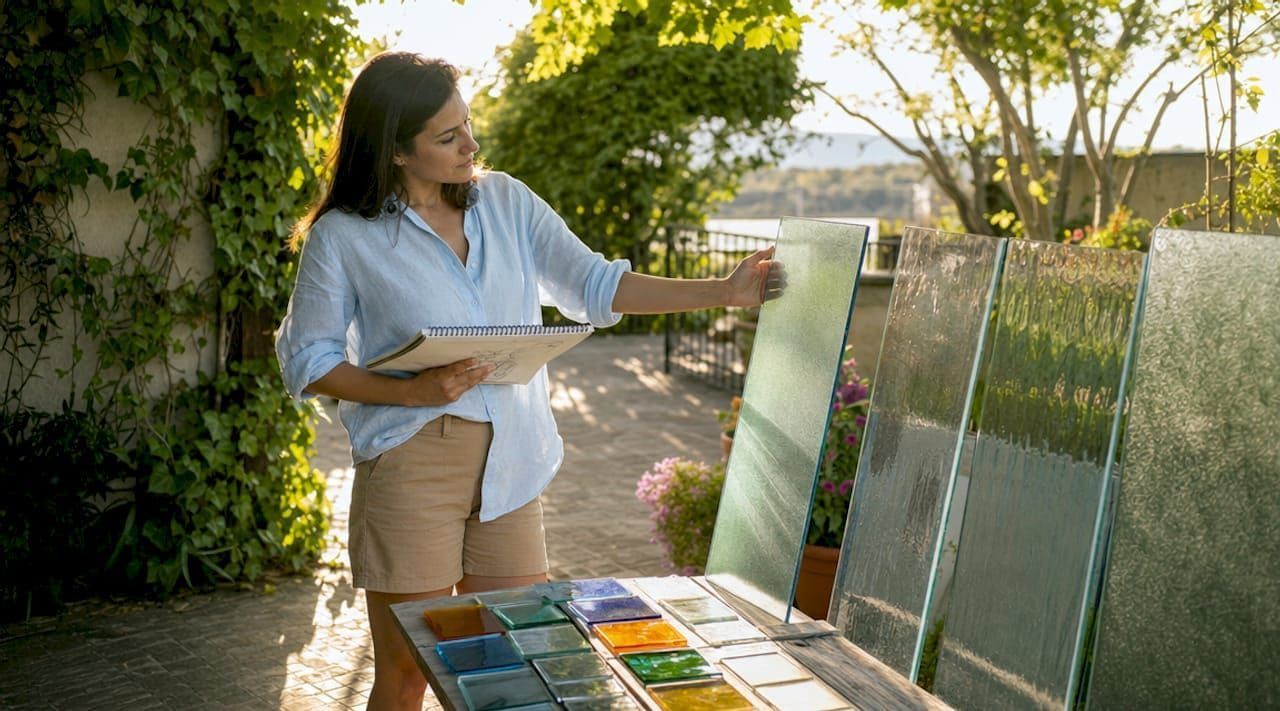
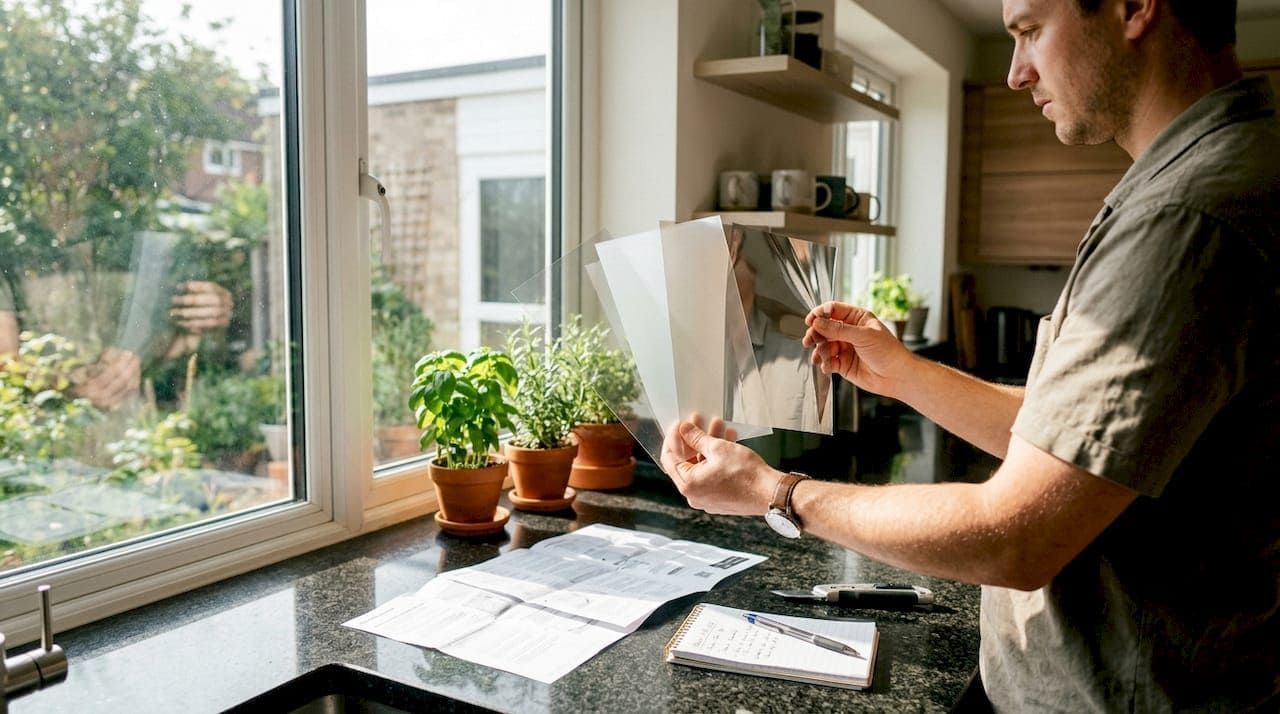
What types of home window films are available?
Choosing the right film starts with understanding what each category does and where it performs best.
| Film type | Primary benefit | Best application |
|---|---|---|
| Ceramic | High heat rejection, no signal interference | South and west-facing windows |
| Reflective/metalized | Strong solar control, mirror-like exterior | Sun-heavy rooms, privacy needs |
| Tinted | Glare reduction, moderate heat control | Living rooms, bedrooms |
| Decorative/frosted | Privacy, aesthetics | Bathrooms, entryways, office glass |
| Safety/security | Shatter resistance, intrusion delay | Ground-floor windows, glass doors |
South-facing windows benefit from higher heat rejection films , while north-facing windows often need lighter films that preserve natural light without sacrificing UV protection. This distinction matters more than most homeowners realize. A film that works perfectly on a west-facing living room window can make a north-facing kitchen feel dim and unwelcoming.
Pro Tip: Before purchasing any film, note the compass orientation of each window you plan to treat. A simple compass app on your phone takes 30 seconds and saves you from buying the wrong film for half your house.
Ceramic films from LLumar's Vista line are the top choice for energy-conscious homeowners because they reject solar heat without the reflective mirror look that some neighborhoods and HOAs restrict. Reflective films offer stronger privacy during the day but can create a commercial appearance. Decorative films from the same line give you frosted or patterned glass effects at a fraction of the cost of etched glass replacement.
Tools and materials you need before starting a DIY install
DIY window film installation is achievable, but it requires patience, proper tools, and careful cleaning to avoid bubbles, peeling, or an uneven finish. Rushing the prep stage is the single most common reason DIY installs fail.
Here is what you need before you touch the film:
- Spray bottle filled with slip solution (see pro tip below)
- Hard card squeegee or professional window film squeegee
- Utility knife with fresh blades for clean trimming
- Lint-free microfiber cloths for cleaning glass
- Razor blade scraper to remove old adhesive or debris
- Tape measure and marker for accurate cutting
- Mild dish soap or baby shampoo for slip solution
The slip solution is where most DIYers get the ratio wrong. The recommended concentration is 1 to 2 drops of mild baby shampoo per 500ml of water. Too much soap slows the curing process significantly. Too little causes the film to grab the glass before you have positioned it correctly, which means wrinkles you cannot fix.
Pro Tip: Mix your slip solution the night before and store it in a labeled spray bottle. This gives any air bubbles time to dissipate and ensures a consistent mixture when you start work.
Temperature and humidity affect installation quality more than most guides admit. Work in a room between 50°F and 90°F, avoid direct sunlight hitting the glass during application, and never install on a freezing or extremely humid day. Both conditions interfere with adhesion and curing.
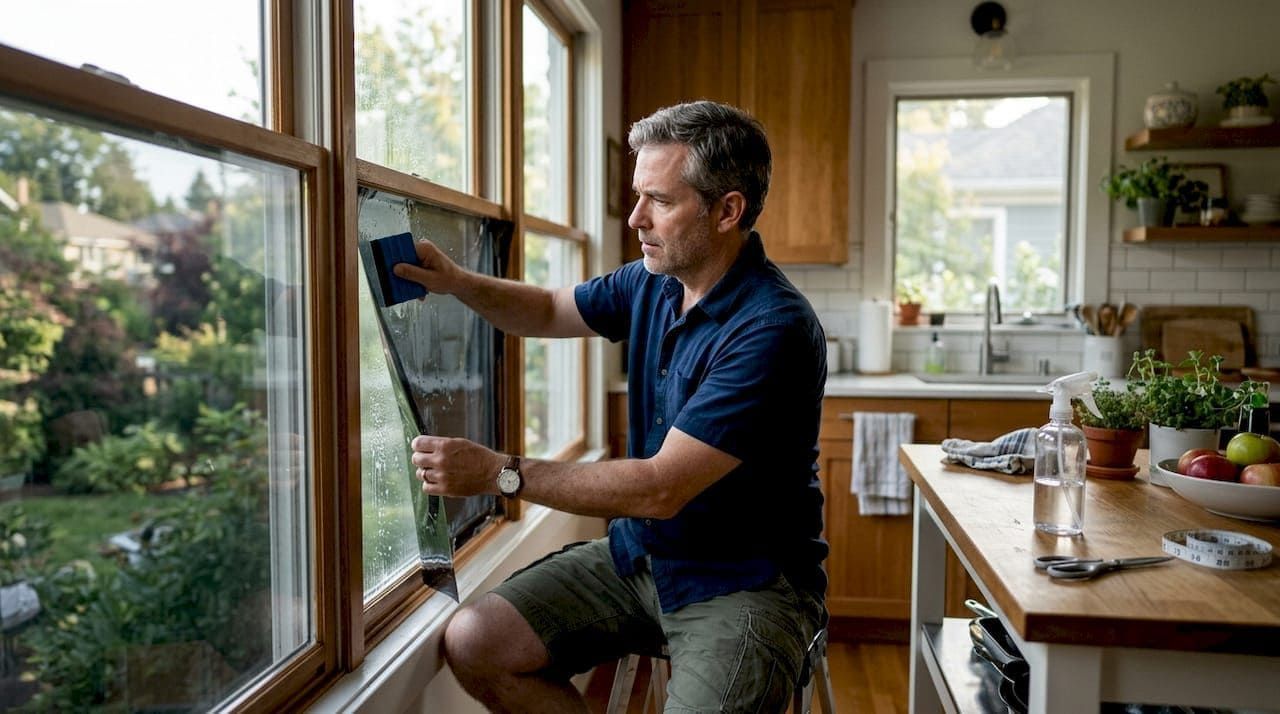
How to install window film step by step
Follow this sequence for a clean, bubble-free result on standard residential windows.
- Clean the glass thoroughly. Use a razor blade scraper to remove any stickers, paint specks, or adhesive residue. Wipe with a lint-free cloth and your slip solution. Any dirt left on the glass will show as a permanent bump under the film.
- Measure and cut the film. Cut the film approximately one inch larger than the window on all sides. You will trim to exact size after application. Cutting too small first is an irreversible mistake.
- Wet the glass generously. Spray the entire glass surface with slip solution until it is visibly wet. This is not optional. The film will not slide into position on dry glass.
- Peel the liner and wet the adhesive side. Peel the protective liner from the film and immediately spray the adhesive side with slip solution. Two people make this step much easier on large windows.
- Position the film on the glass. Lay the film against the wet glass and slide it into position, leaving roughly half an inch of overlap on each edge. The slip solution gives you about 60 to 90 seconds to reposition before adhesion begins.
- Squeegee from center outward. Use firm, overlapping strokes from the center of the film toward each edge to push out water and air. Work methodically. Do not skip areas.
- Trim the edges. Use a utility knife and straight edge to trim the film flush with the window frame. A fresh blade makes a clean cut. A dull blade tears the film edge.
- Final squeegee pass. Do one more pass over the entire surface to remove any remaining moisture near the edges.
Small water bubbles visible immediately after installation are normal. They disappear as the film cures. Do not press or poke them.
Full curing takes up to 30 days, and premature cleaning or pressing during that period can cause permanent defects. The film looks and functions correctly before curing is complete, but the adhesive bond is still developing. Avoid cleaning the film with anything other than plain water for the first month.
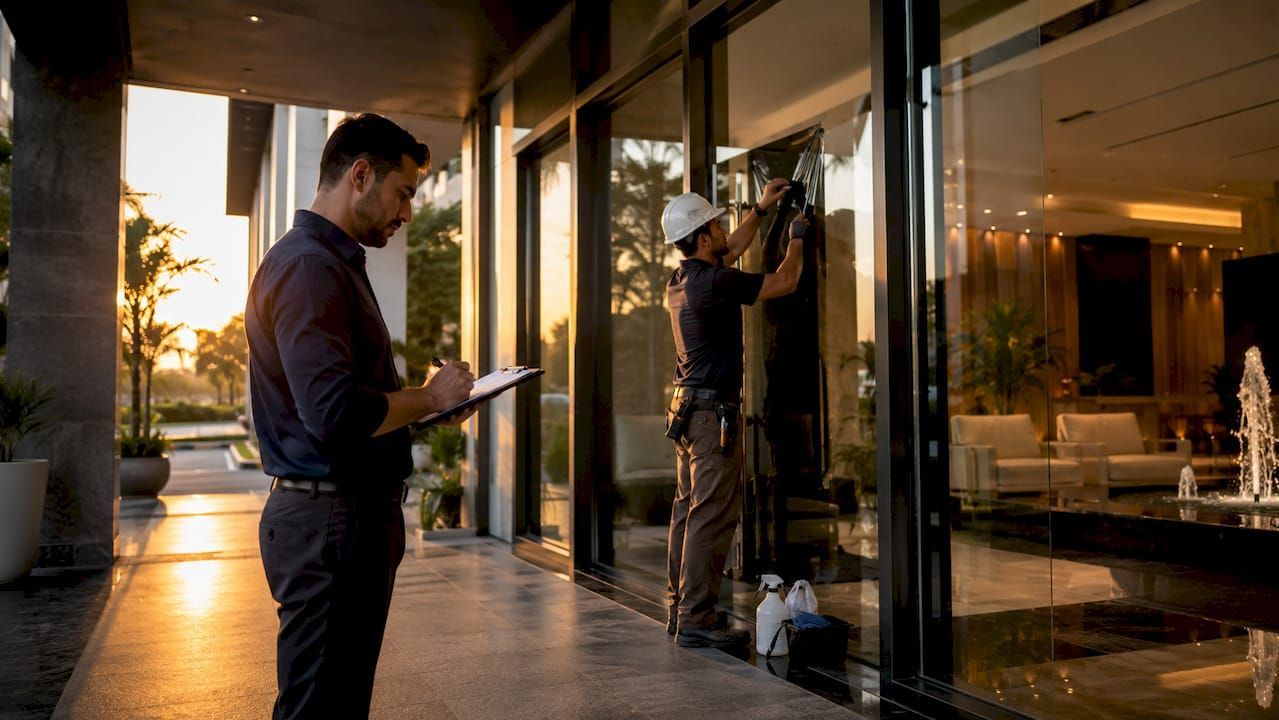
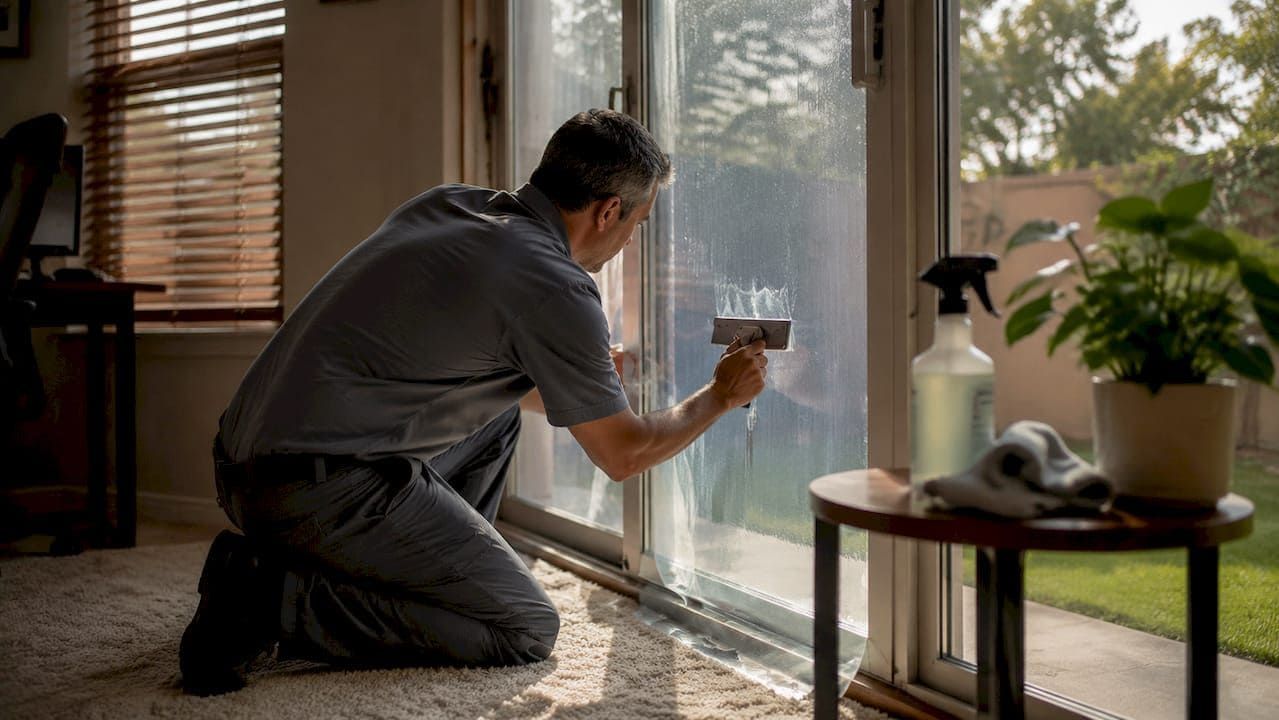
Why professional installation is worth considering
Professional residential window tinting removes the risk of the most expensive mistakes: miscut film, adhesion failures on large windows, and incorrect film selection for your home's solar exposure. Professional installation includes warranty coverage and specialized tools that reduce the chance of bubbles or wrinkles, and it is strongly recommended for large or complex jobs.
Here is what a professional installation typically includes:
- In-home solar assessment to identify which windows lose or gain the most heat
- Film recommendation by window orientation , not a one-size-fits-all product
- Precision cutting and application using commercial-grade tools
- Warranty coverage on both the film and the labor
- Post-install inspection to confirm adhesion and appearance
Different windows require different films to balance heat rejection and daylight, and a professional assessment catches orientation-specific needs that a homeowner browsing film options online will almost certainly miss. Professional costs range from $10 to $100 per square foot depending on film type and window complexity. For a typical home with 10 to 15 windows, that translates to the $500 to $2,500 range cited earlier.
When searching for window film near me, look for installers who are certified dealers for name-brand film lines like LLumar or Vista, carry liability insurance, and offer a written warranty on both materials and installation. Ask specifically whether they do an in-home consultation before quoting. Any installer who quotes without seeing your windows is guessing.
Cost, common mistakes, and how to maintain your film
Understanding what drives cost helps you budget accurately and avoid overpaying or underpaying for the wrong product.
What affects your total cost:
- Film type: ceramic and safety films cost more than basic tinted films
- Window count and total square footage
- Window height and accessibility (second-floor windows cost more to reach)
- Whether old film needs to be removed first
Common DIY mistakes to avoid:
- Skipping the razor blade cleaning step and leaving debris under the film
- Using too much soap in the slip solution, which delays curing
- Cutting the film to exact size before application instead of trimming after
- Cleaning the film with ammonia-based products like Windex, which degrades adhesive
- Touching the adhesive side with bare hands, leaving oils that cause permanent spots
For long-term maintenance, clean installed film with a soft microfiber cloth and a mild, ammonia-free cleaner. Avoid abrasive pads or scrapers on the film surface. With proper care, quality films from LLumar's Vista line last 10 to 15 years before needing replacement. The energy savings from blocking UV and heat transfer compound over that period, making the upfront cost a straightforward investment rather than an expense.
Key takeaways
Professional residential window film installation delivers measurable energy savings, UV protection, and privacy when the right film is matched to each window's orientation and the installation is done correctly.
| Point | Details |
|---|---|
| Film type matters by orientation | South-facing windows need high heat rejection; north-facing windows need lighter films to preserve daylight. |
| Slip solution ratio is critical | Use 1 to 2 drops of baby shampoo per 500ml of water. Too much or too little ruins the install. |
| Curing takes up to 30 days | Avoid cleaning or pressing the film for one month after installation to prevent permanent defects. |
| Professional installs include warranties | Certified installers like Surfacetint offer labor and material warranties that DIY installs cannot match. |
| Cost range is $500 to $2,500 | Total cost depends on film type, window count, and accessibility, not just square footage. |
What I've learned after watching hundreds of window film installs
The advice I give homeowners that they almost never hear elsewhere: do not choose your film based on the darkest or most reflective option available. Most people assume more tint equals more performance. It does not. A high-quality ceramic film from LLumar's Vista line can reject more solar heat than a heavily tinted reflective film while keeping your rooms noticeably brighter. Darkness and performance are not the same thing.
The second thing I would tell every homeowner planning a DIY install: do one window first, then stop and evaluate it after 48 hours before doing the rest of the house. The learning curve on squeegeeing and trimming is real, and your technique on window five will be significantly better than on window one. Doing all 12 windows in a single day almost guarantees at least two or three that need to be redone.
On the professional versus DIY question, my honest position is that professional installation is worth it for any window larger than a standard bedroom window, any window above the ground floor, and any safety or security film application. The margin for error on large glass is small, and a botched install on a floor-to-ceiling living room window costs more to fix than the original professional install would have. You can use the energy savings calculator to see whether the numbers make sense for your home before committing either way.
Get a free estimate from Surfacetint
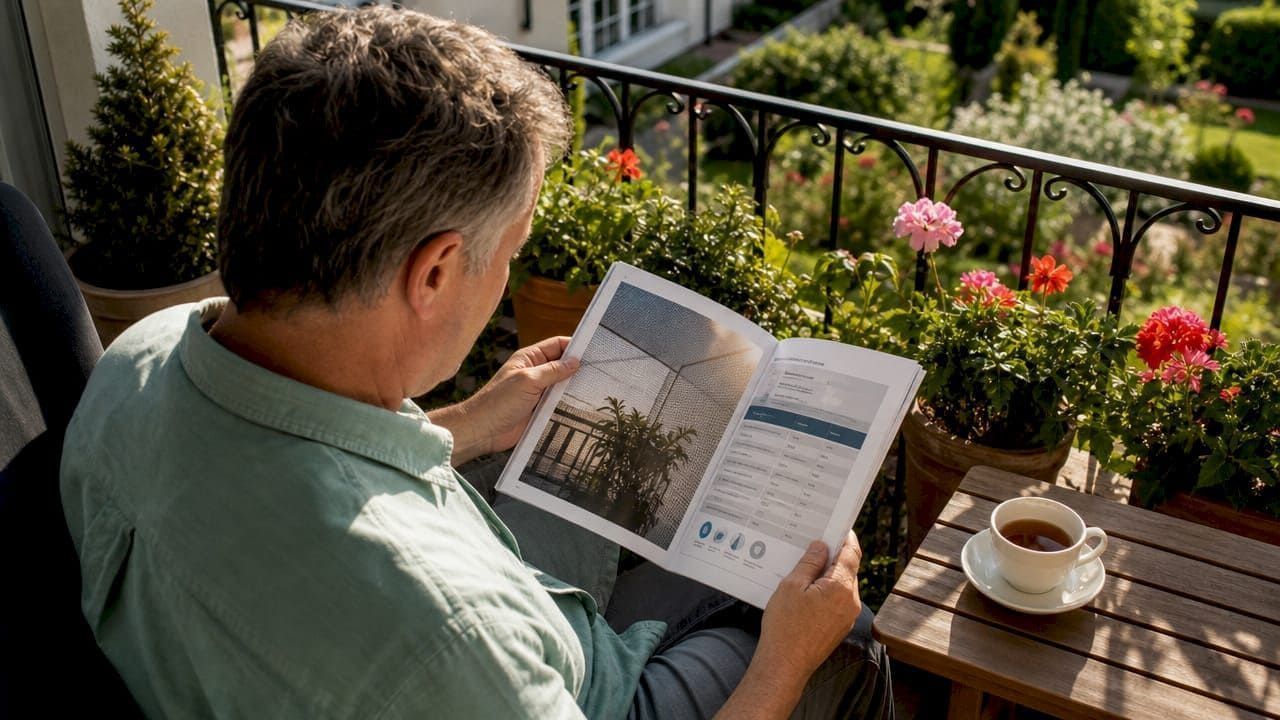
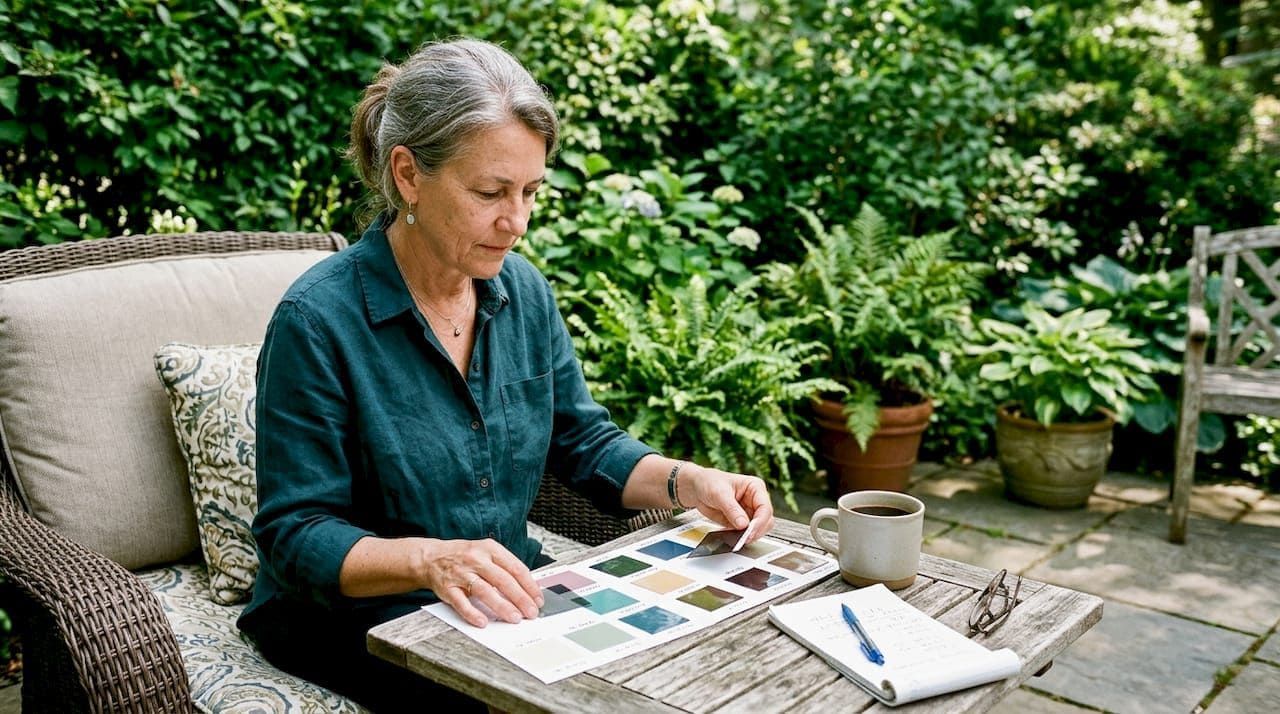
Surfacetint serves homeowners across Southern New Hampshire and the Greater Boston Area as an exclusive LLumar SelectPro Dealer. Every job starts with a free in-home consultation where a certified installer assesses your windows by orientation, measures accurately, and recommends the right film from the LLumar Vista line for your specific goals. Whether you want to cut your cooling costs, protect your furniture from UV fading, or add privacy to street-facing rooms, the process starts with one conversation. Request your free estimate and get a written quote with no obligation. You can also explore solar window film options for your home before the consultation to arrive with questions ready.
FAQ
How much does residential window film installation cost?
Residential window film installation typically costs between $500 and $2,500 for a full home, depending on the number of windows, film type, and accessibility. Professional installers quote by square foot, generally between $10 and $100 per square foot.
How long does window film take to cure after installation?
Window film takes up to 30 days to fully cure. Small water bubbles visible right after installation are normal and disappear on their own. Avoid cleaning or pressing the film during the curing period.
What is the best window film for energy efficiency?
Ceramic window films are the top choice for energy efficiency because they reject 51% to 82% of total solar energy while blocking up to 99% of UV rays without darkening the room. LLumar Vista ceramic films are a leading option in this category.
Can I install window film myself or do I need a professional?
DIY installation is possible on small, accessible windows with the right tools and preparation. For large windows, second-floor glass, or safety films, professional installation reduces the risk of bubbles, wrinkles, and adhesion failures and includes a warranty that DIY installs cannot provide.
How do I find reliable local window film installers?
Search for certified dealers of name-brand film lines like LLumar or Vista, verify they carry liability insurance, and confirm they offer an in-home consultation before quoting. Surfacetint covers Southern New Hampshire and the Greater Boston Area with free in-home estimates and certified LLumar SelectPro installation.
Recommended