
Staggering Window Film Installation Schedule Guide
TL;DR:
- Phased window film installation schedules sequence work across zones to minimize disruptions and maintain building operation.
- Preparation, site assessment, weather, and access constraints influence the project timeline, which can extend from hours to months.
A staggering window film installation schedule is defined as the practice of sequencing film application across building zones in planned phases, rather than attempting an entire property in one continuous push. This approach, also called phased installation scheduling, is the standard method professional installers use for mid-size to large projects. It keeps occupied spaces functional while each zone cures properly before crews move to the next. Phased installs minimize disruption and allow property owners to maintain building operations throughout the process. For property managers overseeing multi-floor offices or homeowners with large residences, a well-structured timeline is the difference between a smooth project and weeks of chaos.
What factors influence the window film installation timeline?
The installation timeline depends on several variables that interact with each other. Understanding them before you schedule a single day of work saves you from costly surprises.
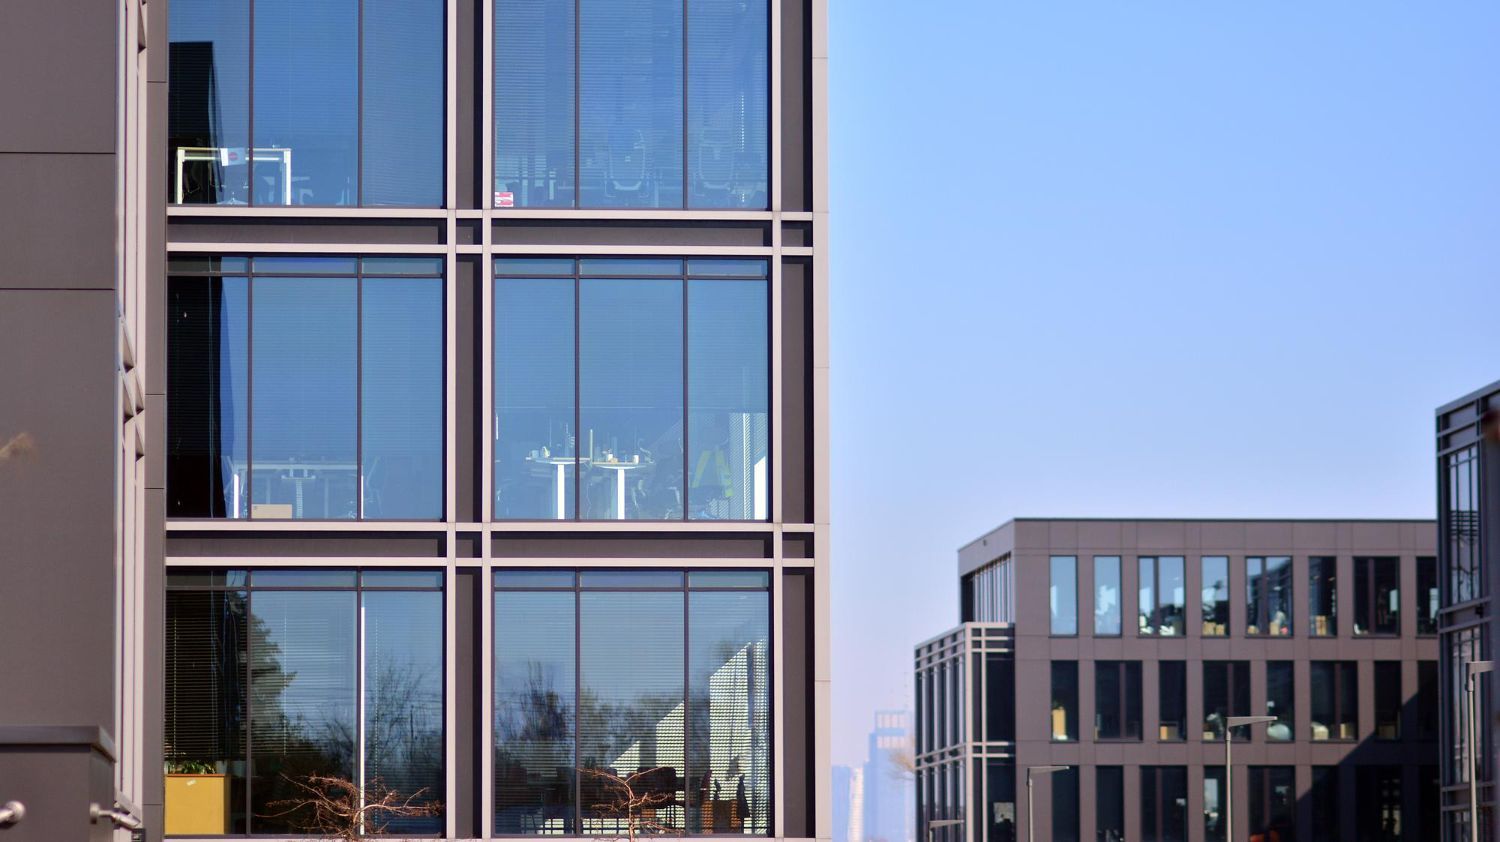
Project size and building type set the baseline. Small residential jobs take 1–2 hours, while mid-rise commercial floors require 1–3 days per floor. That range alone shows why a single-day estimate for a multi-floor building is almost always wrong.
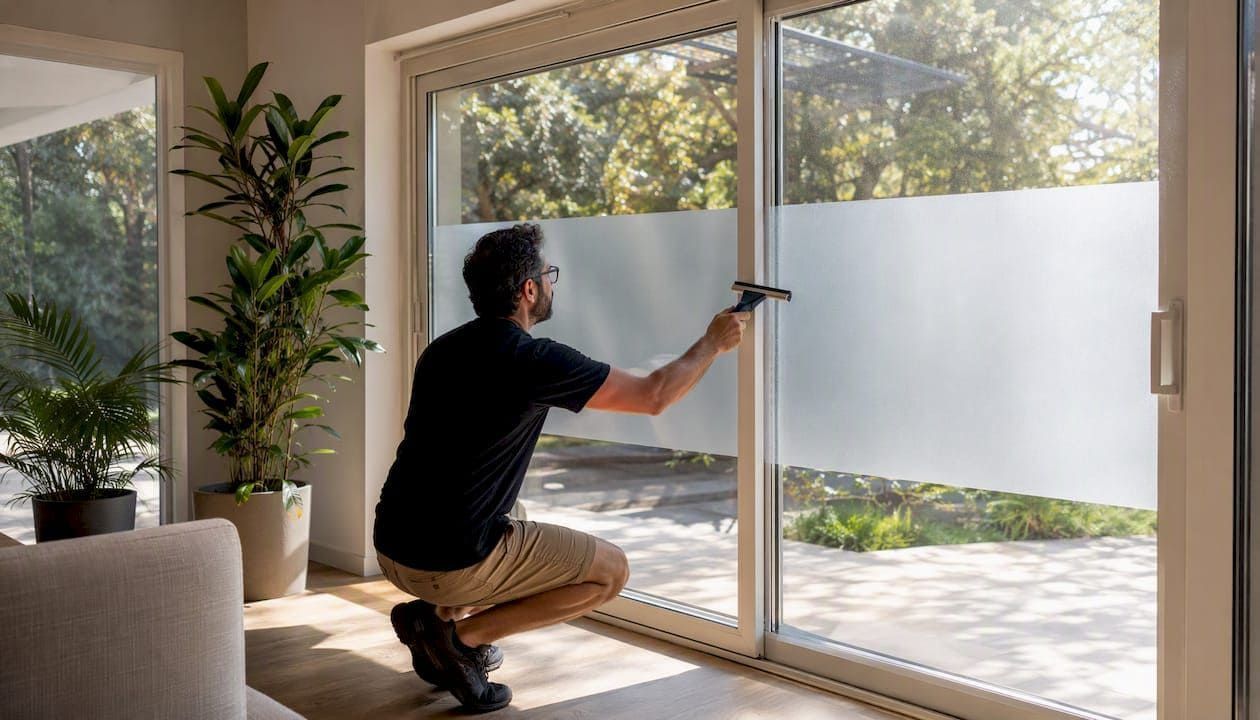
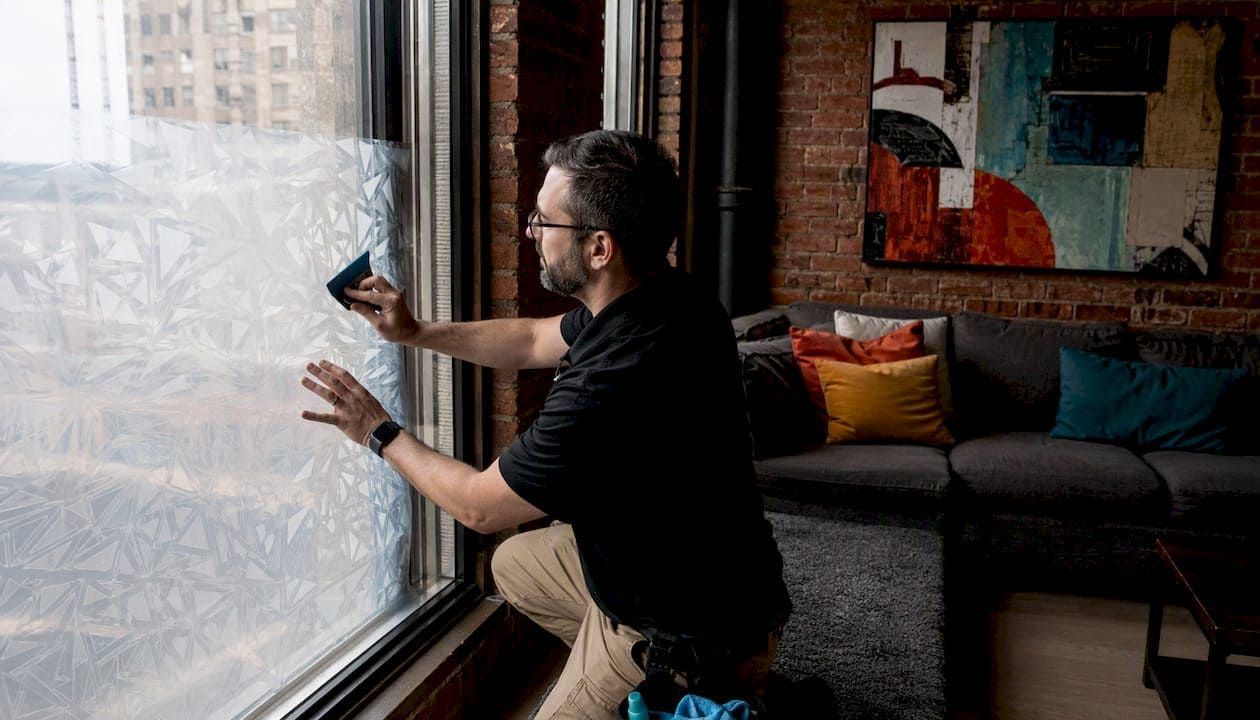
Film type changes the math significantly. Solar control films apply relatively quickly on standard glass. Safety and security films require 20–30% more installation time because of their thickness and the precision needed during application. Decorative films add another layer of complexity. Decorative and specialty films can require additional hours just for pattern alignment and edge sealing.
Environmental conditions affect both installation speed and curing. Cold and humid conditions slow installation by reducing moisture evaporation from the adhesive layer. In Southern New Hampshire and the Greater Boston Area, this matters most from october through march, when temperatures drop and humidity fluctuates.
Key variables to assess before finalizing your schedule:
- Number of windows and total square footage per zone
- Film type selected (solar, safety, decorative)
- Building access constraints (loading docks, security checkpoints, elevator availability)
- Seasonal weather forecast for your installation window
- Tenant or occupant schedules that restrict access hours
Pro Tip: Ask your installer to break the quote down by zone, not just total square footage. Zone-level estimates reveal scheduling conflicts before they become day-of problems.
How to plan and prepare for a staggered window film installation
Preparation is where most scheduling problems are either solved or created. A thorough site survey is the first non-negotiable step. Accurate scheduling depends on actual site conditions and accessibility, not just window counts pulled from blueprints. Older or heritage buildings add another layer of complexity. Heritage buildings require additional prep time due to fragile frames and non-standard glass sizes, which must be factored into every phase of the schedule.
Coordination with building management and tenants comes next. Property managers should notify occupants at least two weeks before installation begins. Give each zone a specific date range, not just a general "sometime next month" window. Tenants who know their floor is scheduled for a Tuesday will plan around it. Tenants who get a vague notice will not.
Follow this preparation sequence before your first installation day:
- Complete a room-by-room site survey with your installer to confirm window dimensions, frame conditions, and access routes.
- Map the building into logical zones, such as by floor, wing, or elevator bank, based on occupancy patterns.
- Confirm work hours with building management, including any restrictions on noise, elevator use, or parking for installer vehicles.
- Check the weather forecast for your entire installation window and build in at least one buffer day per phase for weather delays.
- Confirm all film materials are ordered and on-site before day one, since mid-project supply delays break the entire staggered sequence.
The table below shows a sample phased schedule for a three-floor commercial building:
| Phase | Zone | Estimated Duration | Curing Period Begins |
|---|---|---|---|
| Phase 1 | Floor 1 (lobby and offices) | 2 days | Day 3 |
| Phase 2 | Floor 2 (conference rooms) | 1.5 days | Day 5 |
| Phase 3 | Floor 3 (executive suites) | 1.5 days | Day 7 |
| Final review | All floors | 0.5 days | Day 8 |
Step-by-step execution of a staggered installation schedule
Execution day follows a consistent pattern for each zone, regardless of building type. Deviating from this pattern is where most quality problems begin.
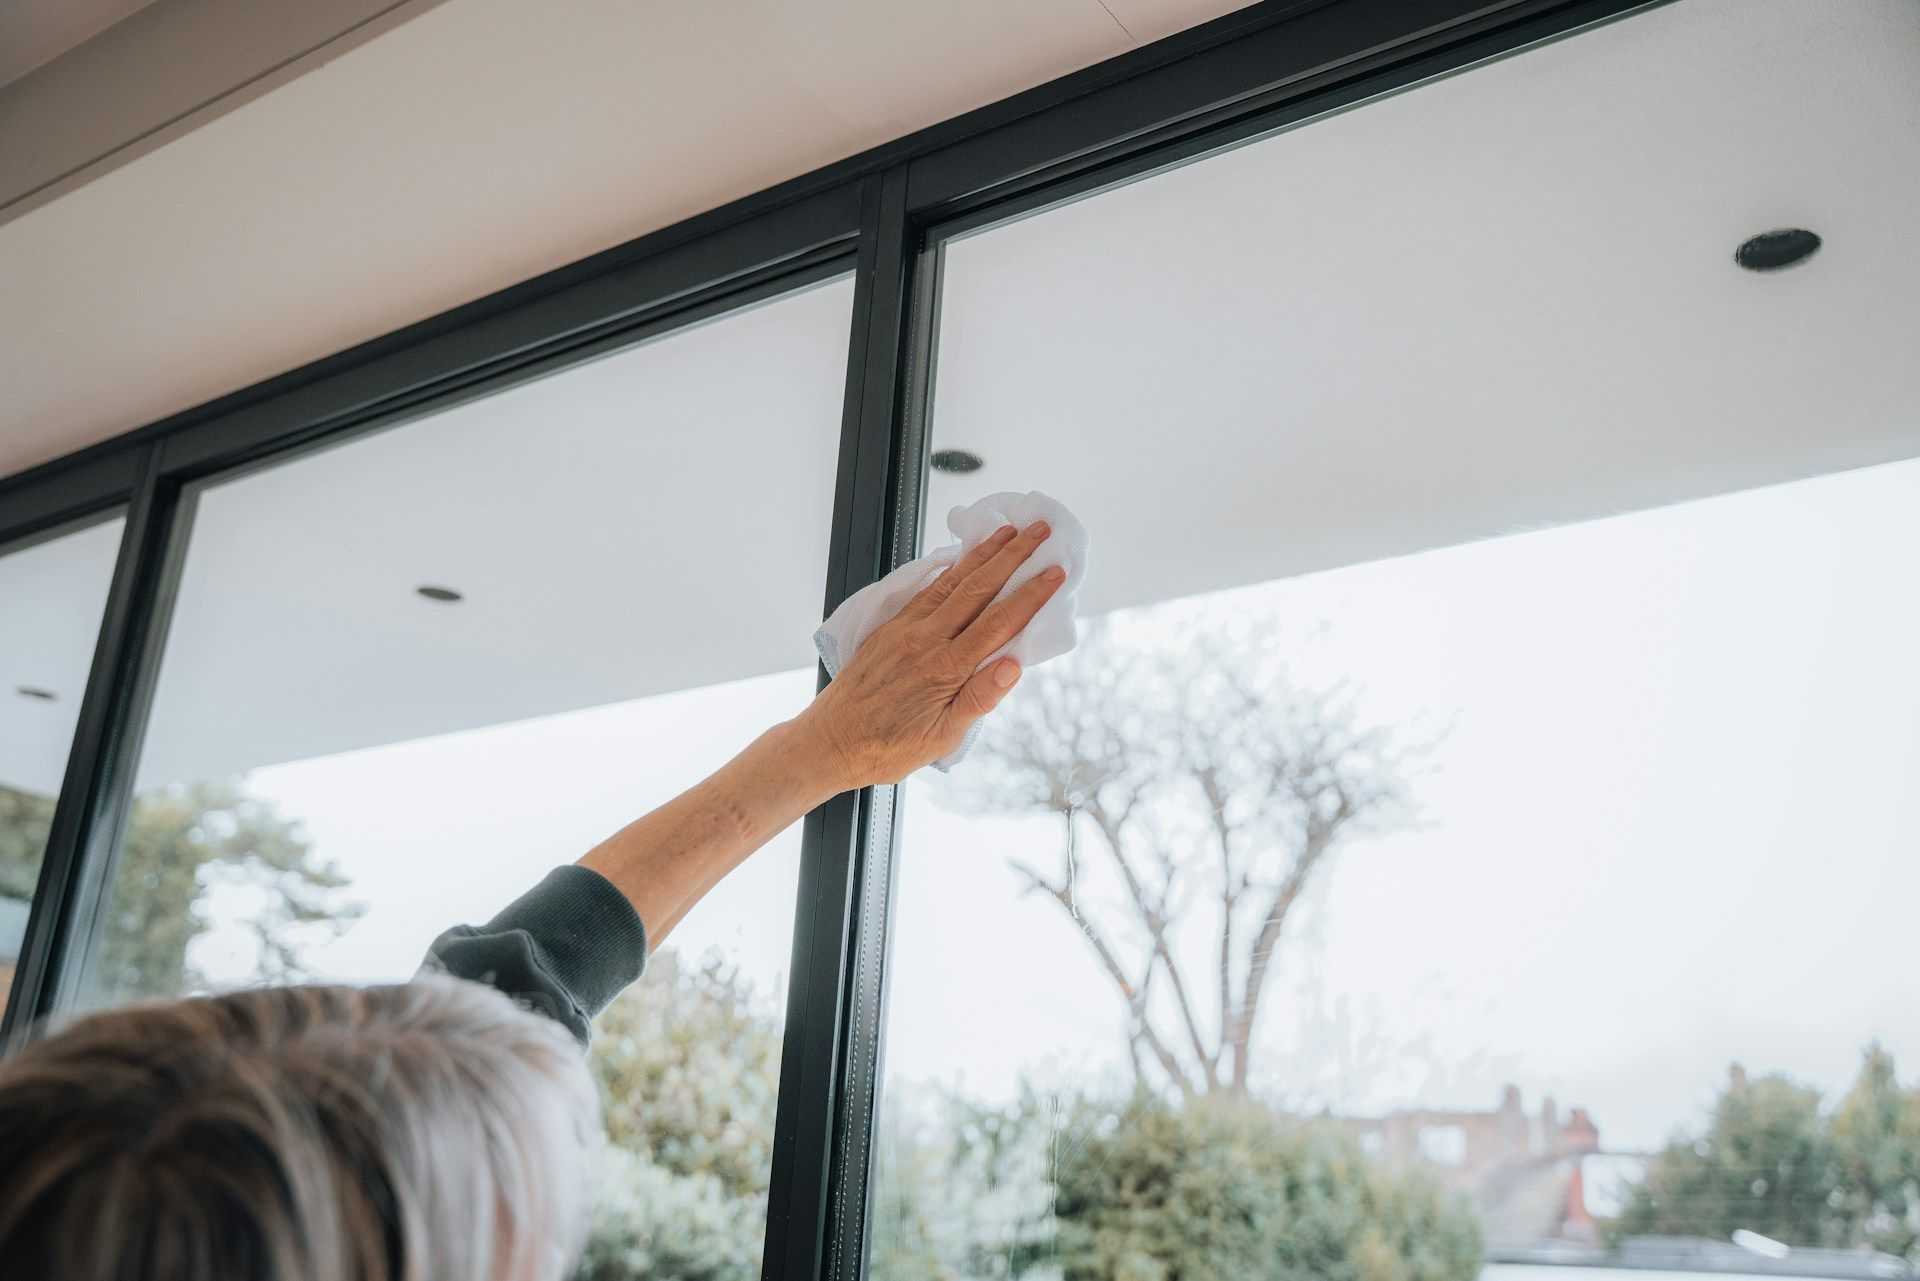
Zone preparation comes first. Crews clear window sills, remove blinds or curtains, and clean glass surfaces thoroughly. Any contamination left on the glass before film application causes adhesion failure later. This step takes 15–30 minutes per room and cannot be rushed.
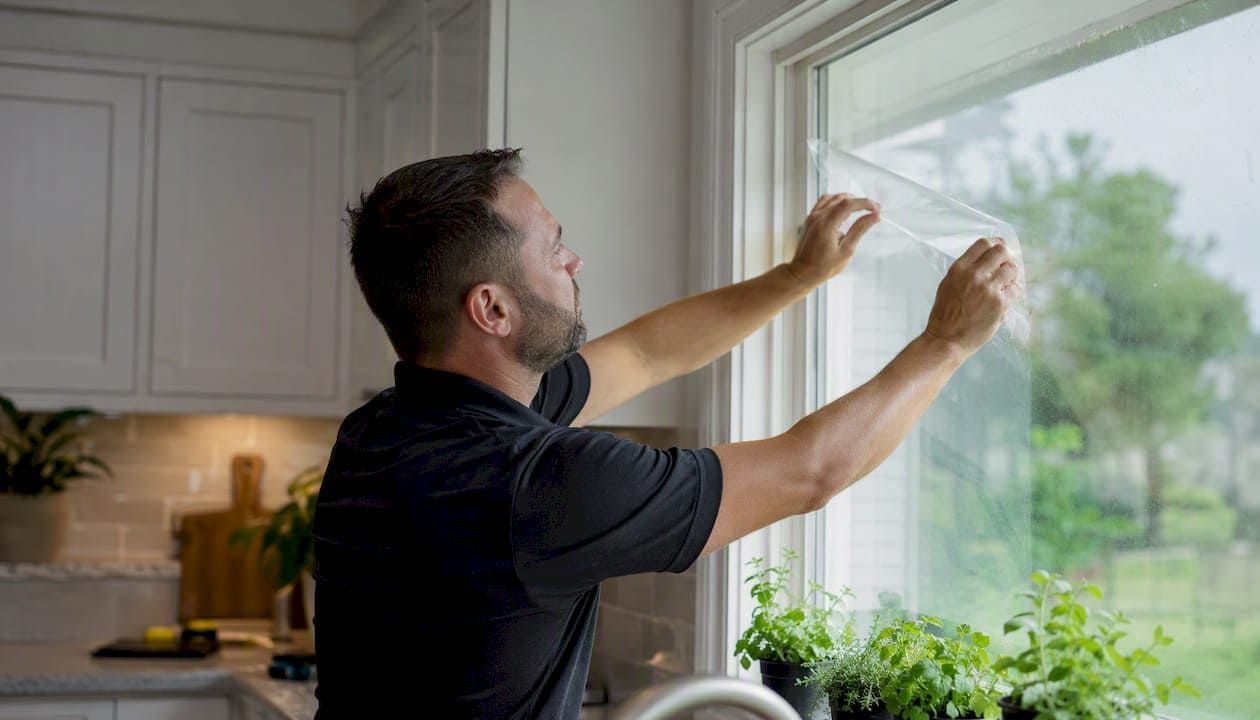
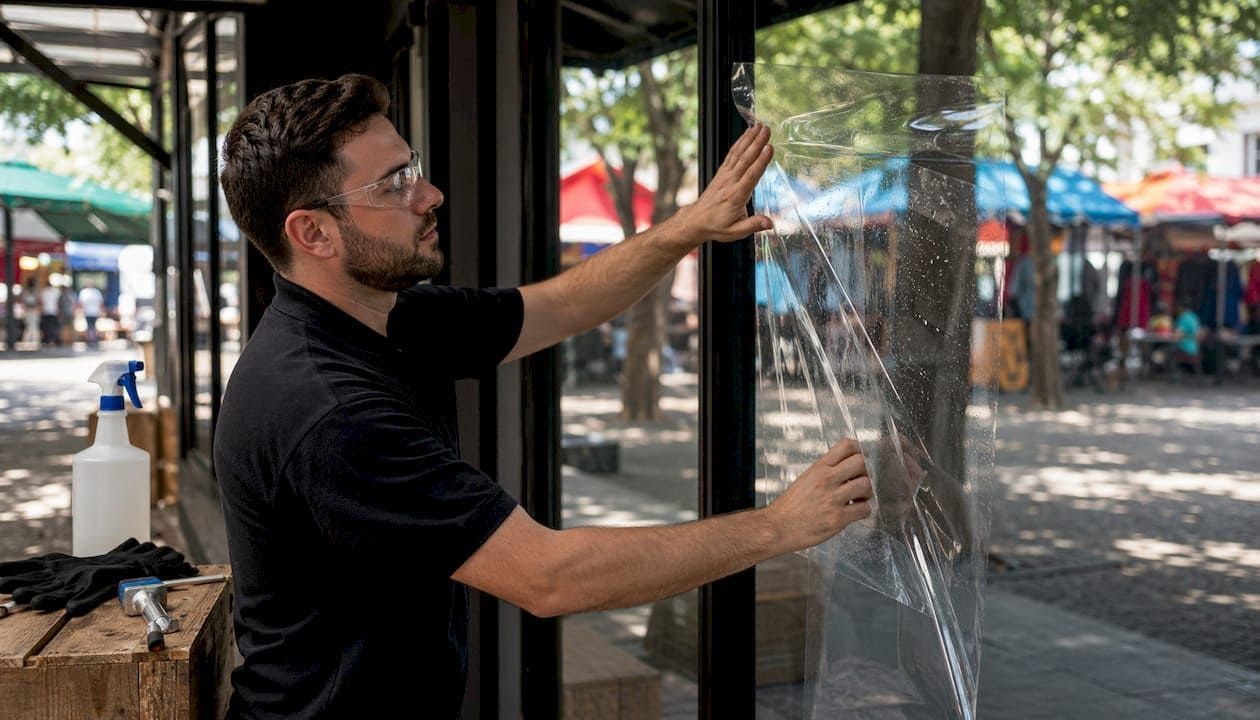
Film application follows immediately after prep. Installers cut film to size, apply the mounting solution to the glass, and position the film carefully. Solar control films go down relatively fast on standard residential glass. Specialty films like safety types demand slower, more deliberate application to avoid air pockets and misalignment at edges.
Curing begins the moment film is applied. The standard curing period runs 30–45 days under normal conditions. In cold or humid climates, that window extends to 60 days. This is the most misunderstood part of the entire process.
Key rules for managing curing across multiple zones:
- Do not clean freshly filmed windows during the curing period. Water and pressure disturb the adhesive bond.
- Visible haze or small water pockets during curing are normal. Bubbling during curing is a natural evaporation process, not a defect. Disturbing it causes adhesion failure.
- Keep blinds or shades open in curing zones to allow airflow and consistent temperature.
- Do not apply window treatments or hang anything directly on filmed glass until curing is complete.
- Monitor each zone's curing progress before crews move to adjacent areas, especially in shared wall or corner window situations.
Pro Tip: Label each zone with its installation date on a simple wall card or digital log. When a tenant calls to ask if their windows are done curing, you have an instant answer instead of guessing.
For commercial installation specifics, sequencing by elevator bank or building wing keeps foot traffic away from active installation areas and reduces the risk of accidental contact with freshly applied film.
Common challenges and how to troubleshoot scheduling issues
Even well-planned projects hit obstacles. Knowing the most common ones in advance lets you respond without derailing the entire schedule.
- Weather delays. Cold snaps or unexpected humidity spikes slow curing and can make adhesive application unreliable. Build at least one buffer day into each phase. If a delay pushes you past your buffer, pause the affected zone rather than rushing application in poor conditions.
- Access restrictions. Tenants may lock offices, security protocols may limit elevator access, or a loading dock may be unavailable on your scheduled day. Resolve access logistics in writing before installation begins, not on the morning of.
- Film adhesion problems. Poor adhesion almost always traces back to glass contamination or application in temperatures outside the recommended range. If a section of film lifts or shows persistent bubbling beyond the normal curing window, contact your installer immediately rather than waiting to see if it resolves.
- Balancing speed with quality. Property managers sometimes push installers to move faster to reduce tenant disruption. Rushing application creates more problems than it solves. A zone completed correctly in two days causes far less disruption than a zone that needs to be redone.
- Communication gaps. Tenants who are not informed about the curing process often wipe down their windows within days of installation, damaging the film. Send a one-page aftercare sheet to every occupant in each zone before installation day.
"The biggest scheduling failures I see are not about installation speed. They are about communication. When property managers and tenants both understand the curing timeline, the entire project runs smoother. When they do not, you get calls about 'defective' film that is actually curing perfectly on schedule."
For ongoing window care after the curing period, professional window cleaning services familiar with filmed glass use the right solutions and techniques to protect the film long-term.
Key takeaways
A staggered window film installation schedule succeeds when property owners sequence zones by occupancy, match film type to realistic time estimates, and protect the curing period from interference.
| Point | Details |
|---|---|
| Phase by zone, not by floor count | Sequence installation by occupancy patterns and access routes, not just building levels. |
| Budget for curing time | Standard curing runs 30–45 days; cold or humid climates extend this to 60 days. |
| Specialty films need more time | Safety and security films require 20–30% more installation time than standard solar films. |
| Site surveys prevent surprises | Assess actual access conditions before scheduling, especially in older or heritage buildings. |
| Communicate the curing rules | Inform every occupant in each zone about haze, water pockets, and cleaning restrictions before installation day. |
What I've learned from watching phased installations go right and wrong
The property owners who get the best results are not the ones with the biggest budgets. They are the ones who treat the installation schedule as a living document, not a fixed contract. I have seen projects in multi-tenant office buildings run without a single complaint because the property manager sent weekly zone updates and posted simple "curing in progress" signs on each floor. I have also seen smaller residential projects turn into months-long headaches because the homeowner assumed the film was "done" the day installers left.
The curing period is where most of the real work happens, and it happens invisibly. Educating yourself and your tenants about what to expect during those 30–60 days is not optional. It is the part of the process that determines whether the film performs as promised for its full lifespan.
Seasonal timing also matters more than most property owners realize. Scheduling a large commercial project in january in New England is not impossible, but it requires a longer curing buffer and closer monitoring. The installers who work in these climates know this. The property managers who ask about it upfront get better results than those who find out mid-project.
My consistent advice: engage a professional installer early, before you finalize your tenant communication or your project timeline. The site survey conversation alone will surface constraints you did not know existed. That conversation costs nothing and saves weeks.
Surfacetint's approach to professional window film scheduling
Planning a window film project across multiple zones or a large property takes more than a calendar and a film sample. Surfacetint works with property owners and managers throughout Southern New Hampshire and the Greater Boston Area to build realistic, zone-by-zone installation timelines using LLumar Vista Films, including Solar Control, Safety and Security, and Decorative Privacy options.
Every project starts with a thorough site assessment, so your schedule reflects actual conditions rather than estimates. Whether you are tinting a single-family home or a multi-floor commercial building, Surfacetint's team walks you through what to expect during installation before the first roll of film is cut. Request a free residential estimate or a free commercial estimate to start planning your project with a team that knows New England's climate and your building's needs.
FAQ
How long does a typical window film installation take?
Small residential jobs take 1–2 hours, while mid-rise commercial floors require 1–3 days per floor. Total project duration depends on building size, film type, and access conditions.
What is the curing time after window film is applied?
Standard curing runs 30–45 days under normal conditions and extends to 60 days in cold or humid climates. Do not clean filmed windows or apply pressure during this period.
Why does staggering the installation schedule reduce disruption?
Phased installation lets building occupants continue using unaffected zones while crews work in others. Staggering installation across zones maintains operational continuity throughout the project.
Is visible haze or bubbling after installation a defect?
No. Haze and small water pockets are a normal part of the curing process as moisture evaporates from the adhesive layer. Visible bubbling during curing resolves on its own and should not be disturbed.
Do safety films take longer to install than solar films?
Yes. Safety and security films require 20–30% more time than standard solar films due to their thickness and the precision required during application and edge sealing.
Recommended