
Privacy Film Selection Tips for Homeowners: Keep the Light
For true 24/7 privacy, choose frosted, decorative, or switchable PDLC film. Reflective "one-way" films only function during daylight conditions when the outside is brighter than inside, so they do not provide privacy after dark. That single rule eliminates most buyer's remorse before it starts.
Your immediate next step: tape a few shade samples to the actual glass and check them at 9 AM, 3 PM, and 9 PM before you order anything.
Quick priority check before you go further:
- Do you need privacy after dark? Frosted/decorative or switchable film only.
- Is daytime-only privacy enough? Reflective or tinted solar film works well.
- What's your budget ceiling? Frosted film installation generally costs a moderate amount per square foot, while switchable PDLC film is significantly more expensive per square foot.
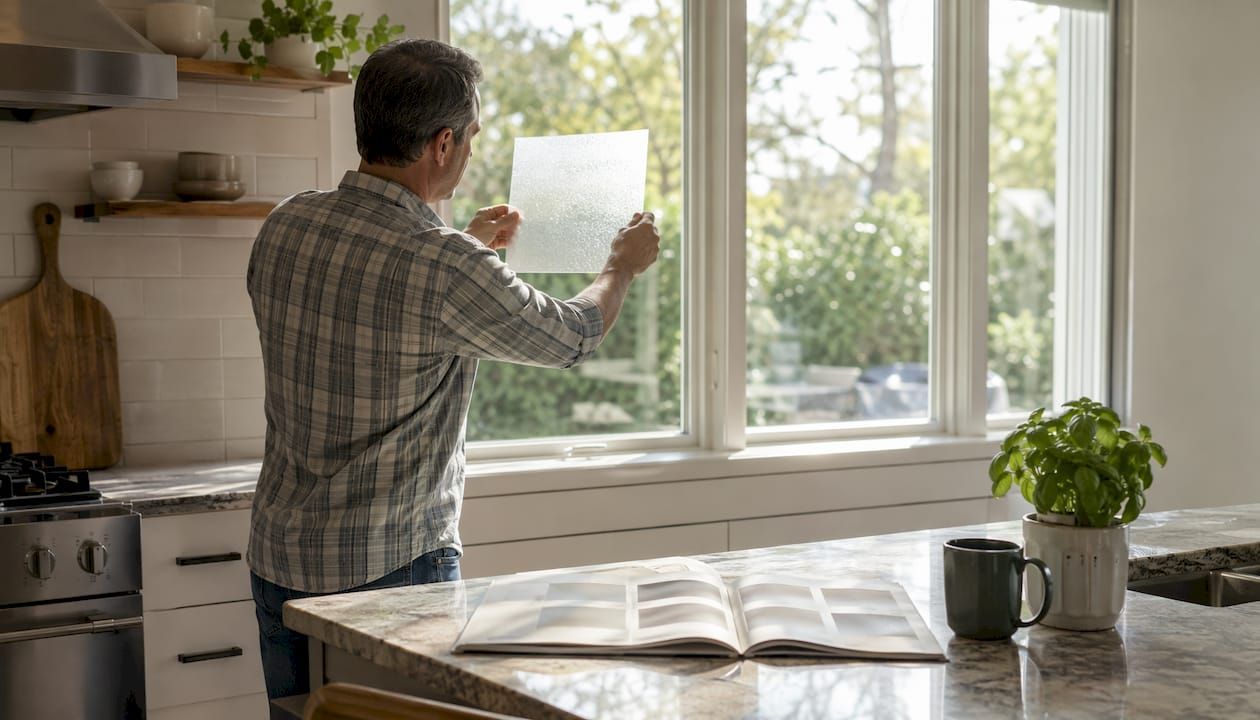
Table of Contents
- Which privacy film family fits your room?
- How do privacy films actually work?
- What are the main types of privacy window film?
- How do you pick the right VLT for your room?
- What specs should you check before buying?
- DIY or hire a pro: how do you decide?
- How to measure and install privacy film yourself
- How long does privacy film last, and how do you care for it?
- What does privacy film cost, and how long does it take?
- Common myths and questions about privacy film
- Why a certified installer matters for your project
- Key Takeaways
- The mistake most homeowners make before they call anyone
- Surfacetint can handle the hard part for you
- Useful sources
Which privacy film family fits your room?
Three questions get you to the right film family faster than any spec sheet.
1. Do you need privacy around the clock?
- Yes → frosted/decorative or switchable PDLC
- No (daytime only) → reflective or dual-reflective solar film
2. Do you need to see out clearly during the day?
- Yes → ceramic/non-reflective tint or switchable PDLC (clear mode)
- No → frosted or reflective film both work
3. Are LED screens or monitors a special concern?
- Yes → cloaking film (anti-glare/privacy screen film designed for display environments)
- No → any of the above families applies
Match your answers to the film family, then use the residential film types guide to narrow down specific products before you buy.
Pro Tip: Order a physical sample kit and tape each candidate to the window you're treating. Check it at three different times of day. A film that looks perfect at noon can feel like a fishbowl at 8 PM.
How do privacy films actually work?
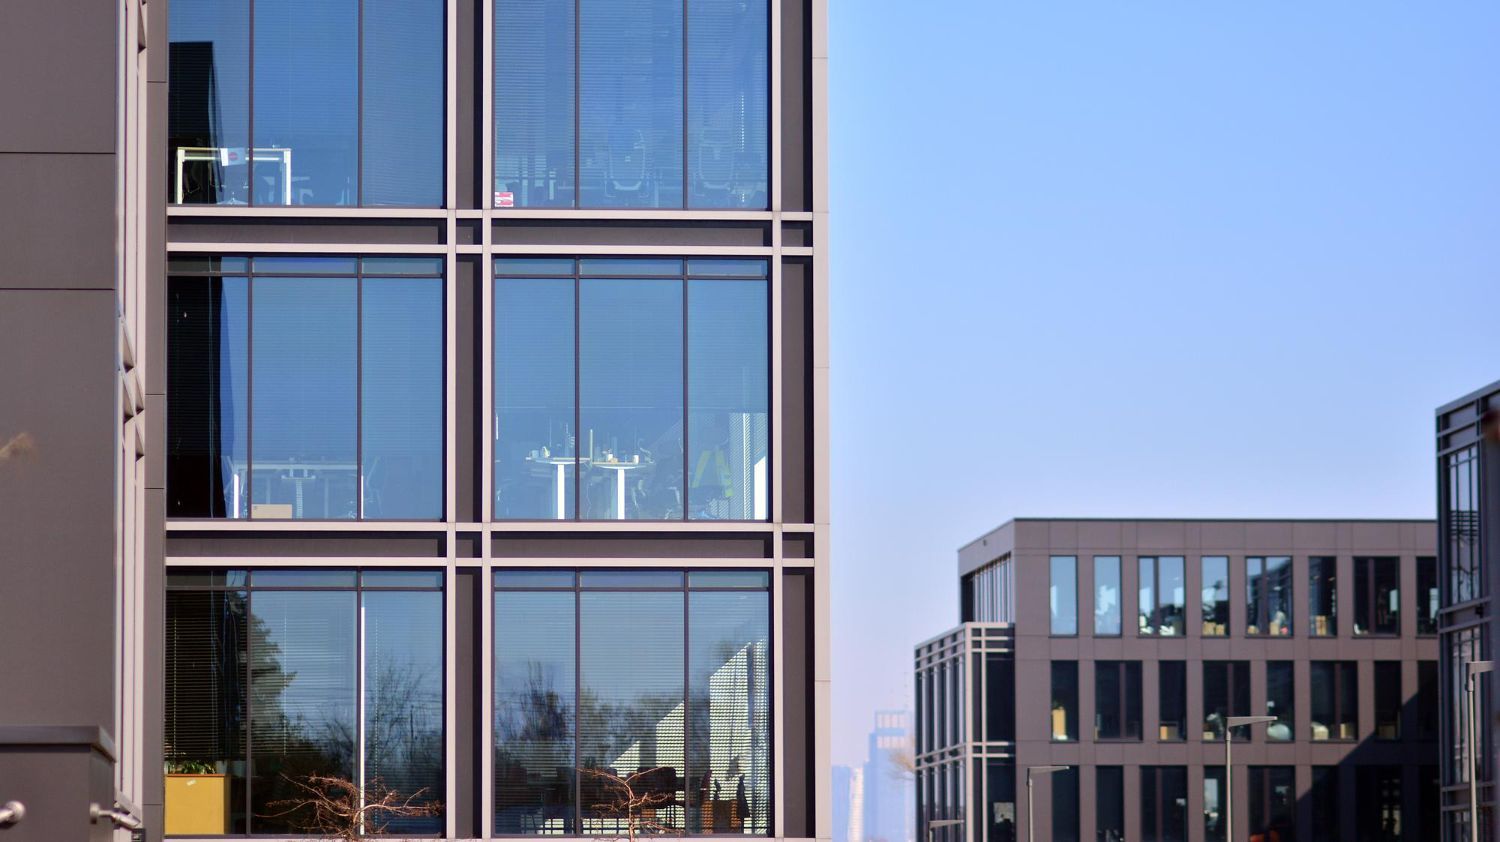
The "one-way" effect is a lighting condition, not a permanent film property. Reflective film mirrors toward whichever side is brighter. During the day, sunlight floods the exterior, so passersby see a mirror while you see out clearly. At night, when interior lights are on, the inside becomes the brighter side and the effect reverses completely.
Visible Light Transmission (VLT) is the percentage of visible light a film allows through. A film rated 15% VLT blocks most light and delivers strong privacy; a 50% VLT film lets in more daylight but offers softer obscuring. Lower VLT generally means more privacy during the day, but it also means a darker room.
Reflectivity is the other half of the equation. Highly reflective films bounce more light back, which amplifies the mirror effect outdoors during daylight hours. Dual-reflective films balance interior and exterior reflectivity so the view from inside stays cleaner at night, though they still don't deliver true night privacy when interior lights are on.
Key physics points to keep in mind:
- Lighting differential controls the mirror effect, not the film itself
- Higher exterior reflectivity = stronger daytime privacy, more mirror-like exterior look
- Interior lighting at night reverses the effect on all reflective films
- Quality films block roughly 99% of UV rays regardless of shade level, protecting furnishings and flooring even in lighter VLT options
The one-way effect is a property of lighting conditions, not an intrinsic film state. Professionals brief clients on this upfront so night-time expectations are set correctly from day one.
What are the main types of privacy window film?
Each film type handles day and night privacy differently. Here's a compact comparison across the most common residential options.
| Film Type | Day Privacy | Night Privacy | Typical VLT | Best For |
|---|---|---|---|---|
| Frosted/Decorative | Strong | Strong | 30%–70% | Bathrooms, entry glass, sidelights |
| Reflective/One-Way | Strong | None (reverses) | 5%–35% | Street-facing rooms, daytime-only |
| Ceramic/Non-Reflective Tint | Moderate | Moderate | 20%–70% | Living rooms, bedrooms, views |
| Blackout/Whiteout | Complete | Complete | — | Home theaters, darkrooms |
| Switchable PDLC | On-demand | On-demand | Clear or opaque | Offices, master baths, premium installs |
| Cloaking/Anti-Glare | Moderate | Moderate | Varies | Media rooms, monitor-facing windows |
| Safety/Security Film | Low | Low | 40%–70% | All rooms (primary function: shatter resistance) |
A few notes on specific types:
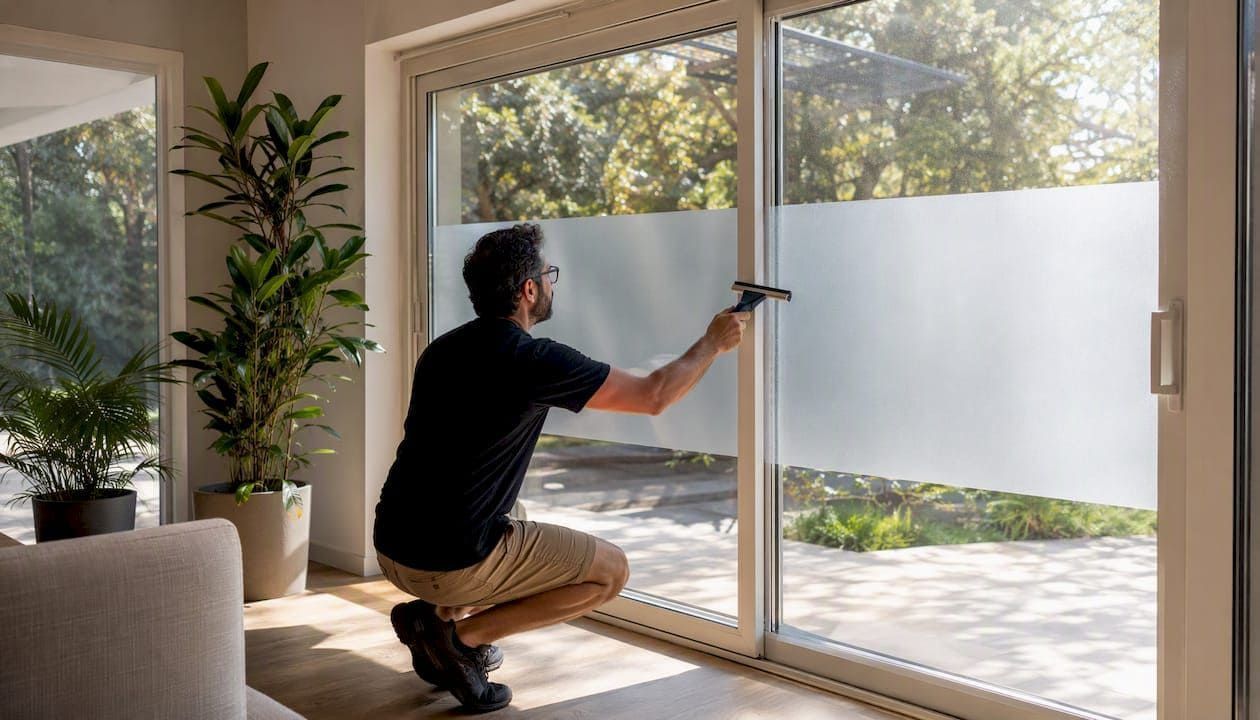
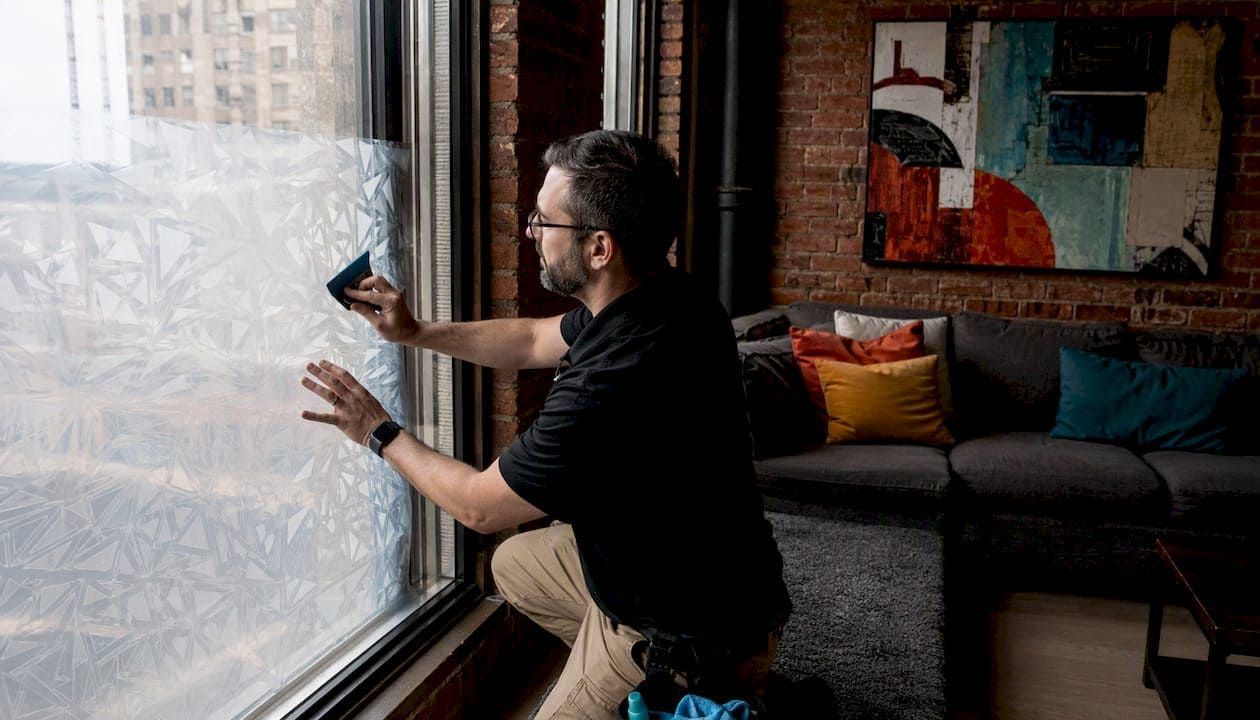
- Frosted and decorative films scatter light rather than block it, so the room stays bright while visibility is eliminated in both directions. They're the go-to for bathrooms and entry sidelights where you want light without exposure.
- Reflective films excel at heat rejection alongside daytime privacy. Solar-control privacy films typically report TSER values of 40%–70%, making them a strong dual-purpose option for south- and west-facing windows.
- Ceramic tints preserve night views better than reflective films because they lack the metallic layer that causes the mirror effect. If you want to keep the view after dark, ceramic is worth the premium.
- Switchable PDLC is the only film that delivers true on-demand privacy at any hour. The price reflects that: $70–$140/sqft installed is a realistic range for residential applications.
- Safety and security films are primarily about holding shattered glass together, not obscuring visibility. Pair them with a privacy film if you need both functions, or explore safety and security window film options that combine both.
For a deeper side-by-side look at film families and real-project photos, the best privacy film options compared resource is worth a read.
How do you pick the right VLT for your room?
Residential installers generally recommend a VLT range of 30%–60% for most rooms. That band keeps the space feeling open and well-lit while providing meaningful privacy during daylight hours. Go below 30% only when heat rejection or very strong daytime privacy is the priority; go above 60% when you want a near-invisible film that mainly blocks UV and glare.
Room-specific guidance:
- Bathroom: 15%–35% VLT frosted film. Privacy is the only goal here; daylight matters less than complete obscuring.
- Ground-floor bedroom: 20%–40% VLT. You want privacy from street level without making the room feel like a cave at 7 AM.
- Living room with a view: 40%–60% ceramic or dual-reflective. Preserve the view, cut glare, keep the room bright.
- Sunroom or solarium: 50%–70% solar-control film. The goal is heat and UV rejection; privacy is secondary.
- Street-facing urban windows: 15%–30% reflective or frosted. For homes close to sidewalks or neighboring buildings, check the privacy films for urban homes guide for VLT choices specific to tight-proximity situations.
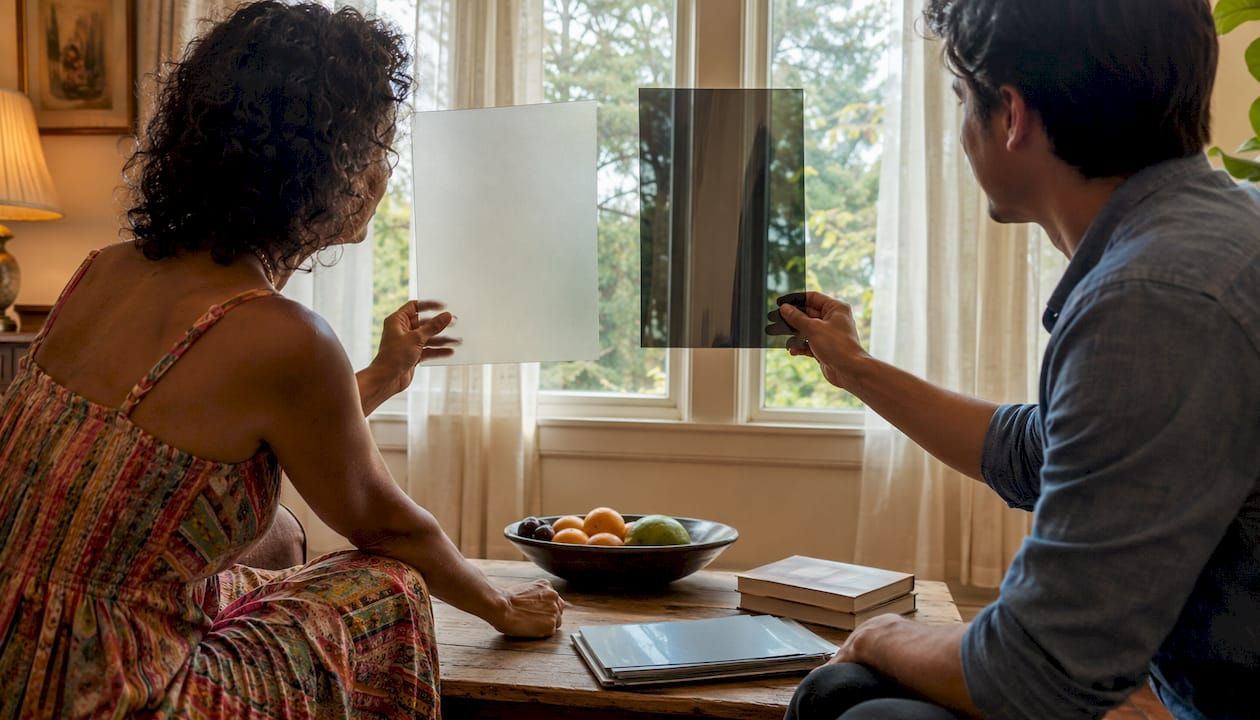
Pro Tip: Cut a 12-inch square of your sample film and tape it to the glass with painter's tape. Check it at sunrise, midday, and after dark with your usual interior lights on. That 10-minute test tells you more than any spec sheet.
What specs should you check before buying?
The data sheet is where marketing claims meet reality. Here are the numbers that actually matter for a home installation.
| Spec | What It Measures | What to Look For |
|---|---|---|
| VLT (%) | Visible light passing through | 30%–60% for most rooms |
| TSER (%) | Total solar energy rejected | 40%–70% for solar-control films |
| UV Rejection (%) | UV rays blocked | 99% is the standard for quality films |
| Thickness (mil) | Film durability and tear resistance | 2–4 mil for standard; 7–14 mil for security |
| Scratch Resistance | Surface hardness coating | Look for hard-coat designation |
| Adhesive Type | How the film bonds to glass | Pressure-sensitive (permanent) vs. static cling (removable) |
| Warranty | Coverage period and exclusions | 10–15 years for professionally installed premium film |
A few specs deserve extra attention. TSER matters if you're also trying to cut cooling costs. Solar-control privacy films commonly report TSER values of 40%–70%, so if your west-facing living room is also a heat trap, a dual-purpose film earns its keep. UV rejection at 99% is the benchmark for quality professional-grade films and protects flooring, furniture, and artwork from fading regardless of how dark the film looks.
Adhesive type is often overlooked. Pressure-sensitive adhesive bonds permanently and is the standard for professional installs. Static-cling film is removable and renter-friendly but requires more careful surface prep to avoid lifting at the edges. Thickness in the 7–14 mil range is the territory of safety and security films; standard privacy films run 2–4 mil.
DIY or hire a pro: how do you decide?
The honest answer: most standard frosted or decorative film on single-pane or standard double-pane windows is manageable for a careful DIYer. But several situations make a certified installer the clearly better call.
Hire a pro when:
- The glass is insulated (IGU/triple-pane) — certain films can cause thermal stress and void the glass warranty if applied incorrectly
- The windows are large, arched, or curved — precision cutting and edge-sealing require professional tools
- You're installing solar-control or security film where performance specs matter and warranty coverage is tied to certified installation
- The job involves more than 5–6 windows — the time and error cost of DIY adds up fast
What a certified installer provides that DIY can't easily replicate:
- Compatibility check for your specific glass type (IGU, tempered, laminated)
- Precise computer-cut film with clean edges and no trimming errors
- Bubble-free installation using professional-grade slip solution and squeegee technique
- Warranty-backed installation, often 10–15 years for premium films
- Access to dealer-exclusive film lines not sold at retail
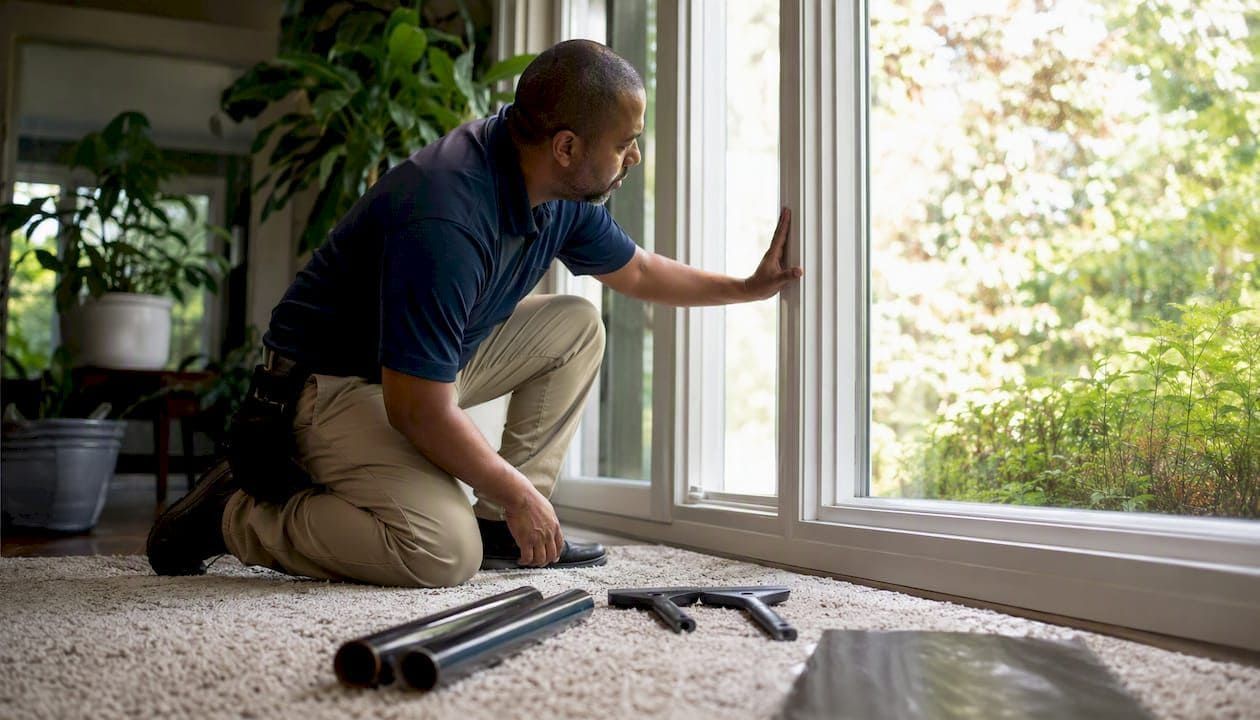
Understanding what happens during a professional home window film install helps you decide whether the process fits your timeline and budget before committing.
Pro Tip: Even if you plan to DIY, a free estimate from a certified dealer is worth 30 minutes. They'll flag glass compatibility issues you'd never catch on your own, and you can always decide to proceed yourself afterward.
How to measure and install privacy film yourself
Get the measurement right first. Everything else follows from that.
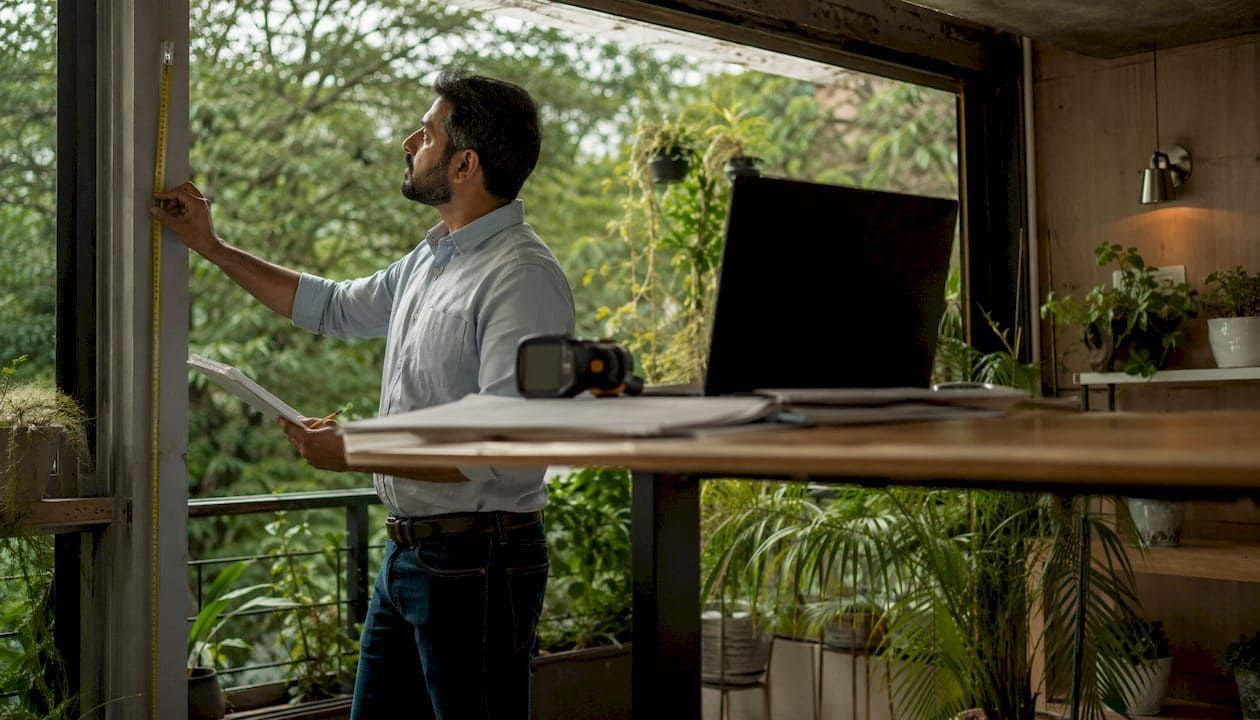
- Measure the glass, not the frame. Run your tape from the inner edge of one side of the glass to the other, not across the frame or sash.
- Measure height and width in three places each (top, middle, bottom for width; left, center, right for height). Use the smallest measurement.
- Order 5%–10% extra. Film is cheap; a short cut is expensive.
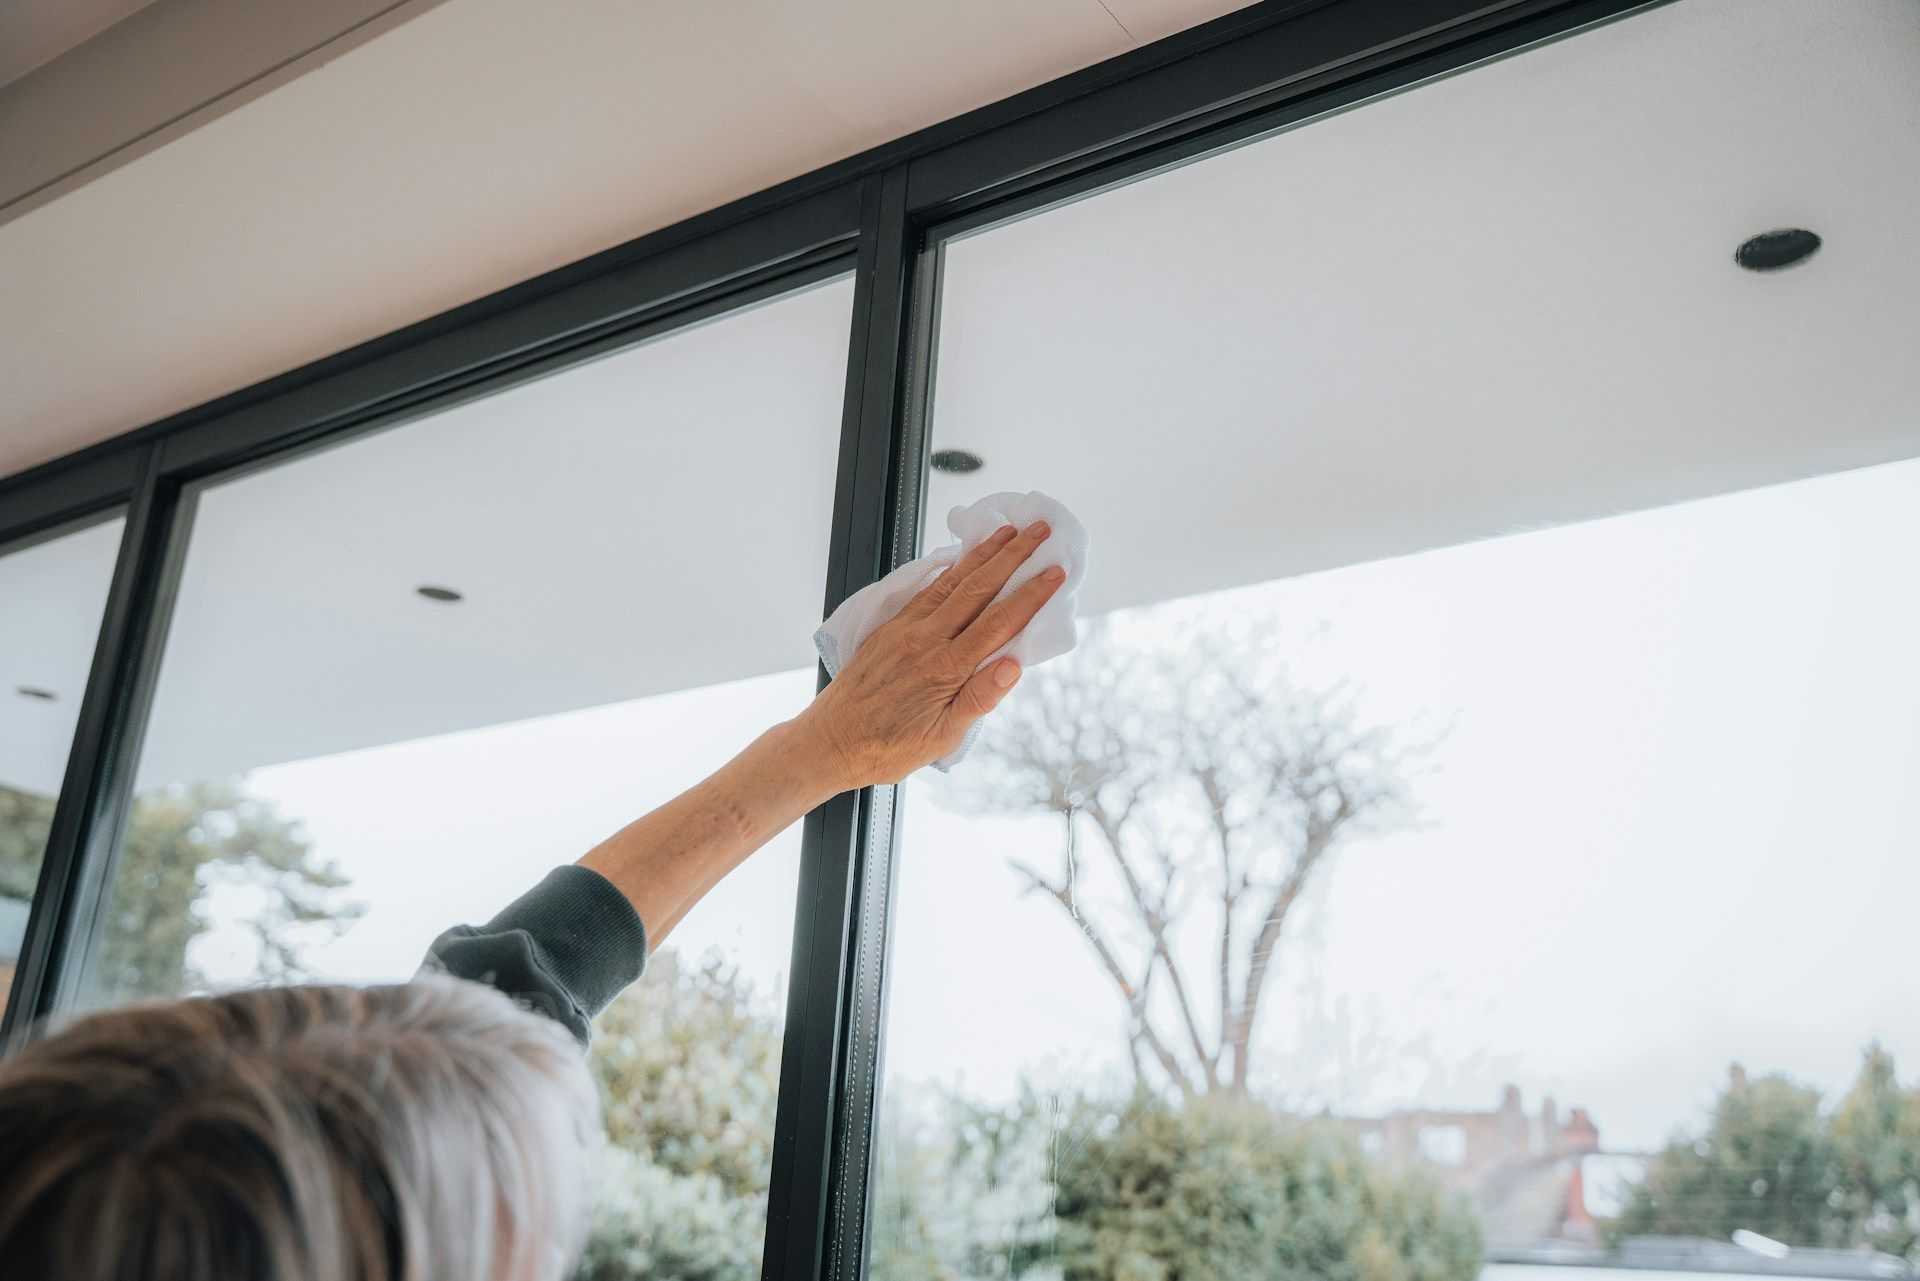
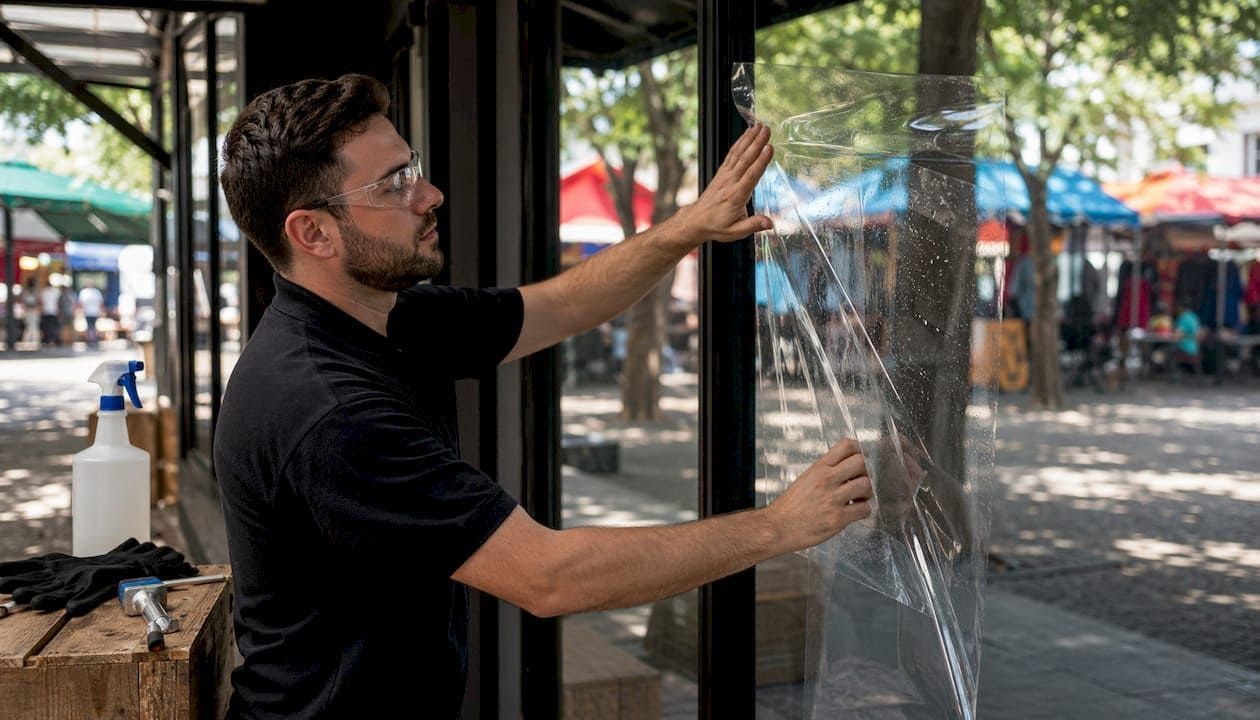
- Clean the glass thoroughly. Use a razor scraper to remove any residue, then wipe with a lint-free cloth and a clean water/soap solution. Any debris under the film will show as a permanent bump.
- Mix your slip solution. A few drops of baby shampoo in a spray bottle of distilled water works well. Use generous moisture during application — a light mist is not enough for static-cling film.
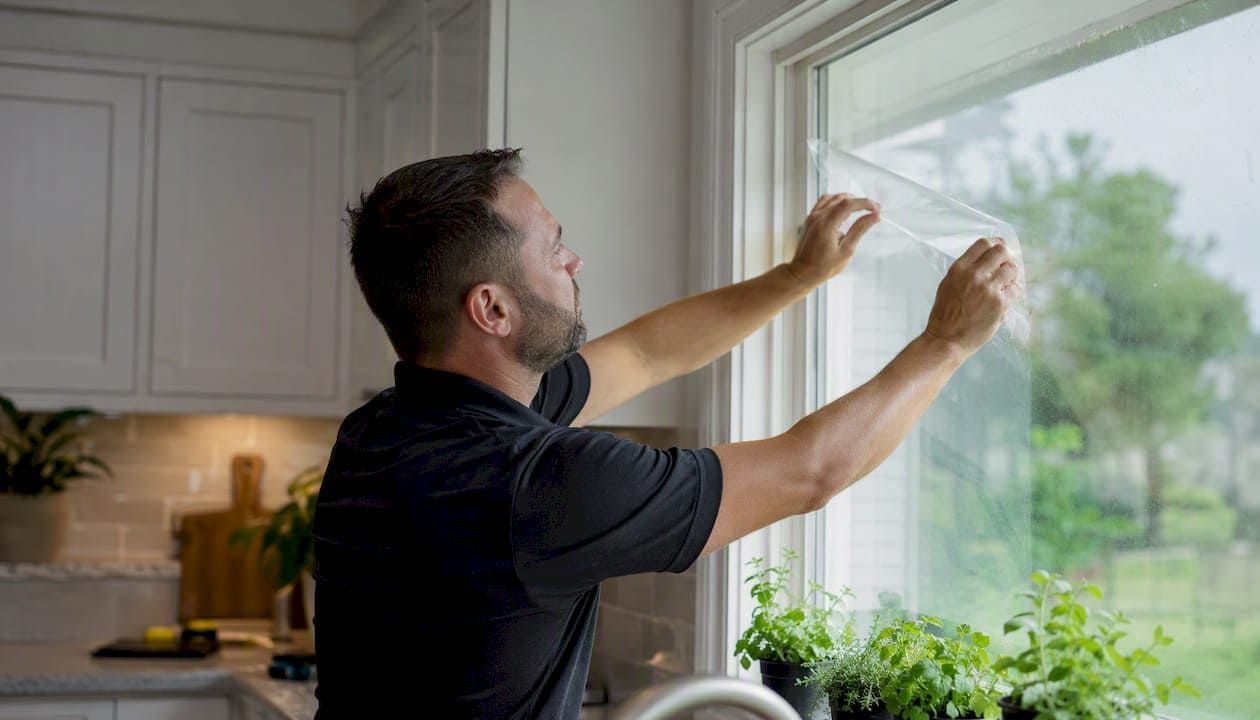
- Wet the glass and the film's adhesive side , then position the film on the glass. The moisture lets you slide it into position before it grips.
- Squeegee from the center outward in overlapping strokes. Work methodically to push water and air to the edges.
- Trim the edges with a sharp utility knife and a straight edge, leaving a 1/16-inch gap from the frame to allow for expansion.
- Squeegee the edges again after trimming to seal them flat.
- Wipe the surface dry and let the film cure undisturbed.
Pro Tip: Wait at least 30 days before cleaning the film with anything other than a damp cloth. Small water bubbles visible right after install are normal and usually disappear within 2–4 weeks as the adhesive cures. If a bubble persists after 30 days, press it gently toward the nearest edge with a soft squeegee.
How long does privacy film last, and how do you care for it?
DIY-grade films typically last 3–7 years; professionally installed quality films commonly reach 10–15 years under normal exposure. The gap comes down to three factors: adhesive quality, installation precision, and UV exposure on the film itself.
Cleaning dos and don'ts:
- Use a pH-neutral cleaner or plain soapy water with a soft cloth
- Avoid ammonia-based cleaners (most glass sprays contain ammonia, which degrades the adhesive over time)
- Skip abrasive pads or anything that scratches the surface coating
- Wait at least 30 days after install before any deep cleaning
What to watch for:
- Edge lifting: usually caused by moisture intrusion or improper trimming; catch it early and press the edge back with a squeegee before it spreads
- Bubbling after the cure period: a sign of adhesive failure or contamination during install
- Yellowing or haze: common in older dye-based films; quality films with UV-stable dyes or metallic layers resist this significantly longer
If you have a professionally installed film under warranty, contact the installer before attempting any repair. Most 10–15 year warranties cover defects in materials and workmanship, but DIY repair attempts can void coverage.
What does privacy film cost, and how long does it take?
Here are realistic installed cost ranges for the most common residential film types. These are ranges, not bids; your actual quote depends on glass size, prep work, and local labor rates.
- Frosted/decorative and reflective solar films: $8–$15 per square foot installed
- Ceramic/non-reflective tint: $10–$18 per square foot installed
- Cloaking/anti-glare film: $40–$80 per square foot installed
- Switchable PDLC smart film: $70–$140 per square foot installed
- Safety/security film: $12–$25 per square foot installed (varies by thickness and glass type)
What drives the price up: large or non-standard glass shapes, insulated glass units that require compatibility testing, multi-story or hard-to-reach windows, and premium film lines with longer warranties. Use the home window tinting energy savings calculator to estimate long-term ROI when heat rejection is part of the equation.
Timeline: Sample kits typically ship within a few days. Professional installation on a standard home (8–12 windows) usually takes a single day. Larger projects or custom-cut orders may add a week for scheduling and film delivery.
Pro Tip: Ask for an itemized quote that separates film cost, labor, and any prep work. Also ask specifically what the warranty covers and whether it transfers if you sell the home. Both questions separate serious installers from the rest.
Common myths and questions about privacy film
Myth: Reflective film gives you privacy day and night. False. Reflective one-way film reverses at night when interior lights are on. If you need night privacy, frosted, opaque, or switchable film is the correct choice. Layering reflective film with window treatment fabrics like lined curtains or blinds is the practical workaround if you already have reflective film installed.
Myth: "Day-and-night privacy film" is a special product category. Usually it's just a marketing label for frosted or switchable film. Ask the seller to confirm the film type before buying.
Myth: Static-cling film won't stick properly. It will, but only with the right prep. Generous moisture during application and thorough squeegeeing are the fix. A light mist is the most common DIY mistake.
Myth: Darker film always means more privacy. Not at night. A very dark reflective film still reverses when you turn the lights on. Darkness controls how much light passes through; the mirror effect controls privacy, and that's driven by the lighting differential, not the shade.
Myth: All privacy films block UV. Quality films do. Professional-grade films block roughly 99% of UV rays, but cheap retail films may not. Always check the UV rejection spec on the data sheet before buying.
Common questions:
- Which windows are invisible from outside at night? None with reflective film. Frosted or blackout film is the only option for true night opacity.
- Can I apply film to a double-pane window? Yes, but check with the glass manufacturer first. Certain high-absorption films on IGUs can cause thermal stress. A certified installer will verify compatibility.
- How do I get static-cling film to stay flat at the edges? Use more slip solution, squeegee more aggressively, and trim with a 1/16-inch gap from the frame. Edge lifting is almost always a moisture or trimming issue.
Why a certified installer matters for your project
Certified installers bring more than labor. They bring product access, compatibility knowledge, and warranty coverage that retail film purchases simply don't include.
As a LLumar SelectPro dealer, Surfacetint provides access to the full LLumar Vista film line, which includes solar-control films, decorative privacy films, and safety and security films engineered to meet specific performance benchmarks. SelectPro dealers are trained and certified by LLumar, which means installations qualify for manufacturer-backed warranties that DIY installs don't.
What Surfacetint brings to a residential project:
- Compatibility check: Identifies whether your glass type (IGU, tempered, laminated) is compatible with the film before anything is cut
- Precision installation: Computer-cut film, professional slip solution, and edge-sealing technique that eliminates the bubbles and lifting common in DIY installs
- Warranty-backed work: Premium LLumar Vista installations commonly carry 10–15 year warranties covering materials and workmanship
- Local service area: Southern New Hampshire and the Greater Boston Area, with on-site consultations and follow-up support
- Film types available: Solar-control, decorative privacy, safety and security, and anti-graffiti films for both residential and commercial glass
Pro Tip: During a free estimate, ask the installer to bring a sample of your top two film candidates and hold them against the actual glass. Ask them to explain the lighting differential effect on any reflective film you're considering. A good installer will walk you through it without being asked.
Key Takeaways
The single most important privacy film selection rule: match the film type to when you need privacy, not just how dark it looks.
| Point | Details |
|---|---|
| Film family by time of day | Frosted or switchable PDLC for 24/7 privacy; reflective film for daytime-only coverage. |
| Target VLT 30%–60% | This range balances natural daylight with meaningful privacy for most residential rooms. |
| UV rejection benchmark | Look for 99% UV blocking on the data sheet; quality professional-grade films meet this standard. |
| Order samples first | Test candidate films on the actual glass at different times of day before committing to a full order. |
| Surfacetint for complex installs | As a LLumar SelectPro dealer serving Southern New Hampshire and Greater Boston, Surfacetint provides compatibility checks, warranty-backed installs, and access to the full LLumar Vista film line. |
The mistake most homeowners make before they call anyone
The most common error isn't choosing the wrong VLT. It's buying reflective film for a room where the lights are on every evening, then being surprised when neighbors can see straight in after dark. The physics aren't a flaw in the product; they're just not explained on the packaging.
The second most common mistake is skipping the sample step. A film that looks like the right shade on a monitor or in a showroom can read completely differently on your specific glass, in your specific light exposure, at 6 PM in January versus July. That 10-minute sample test eliminates most of the guesswork.
A few other patterns are worth correcting before you order:
- Wrong VLT for the room: Going too dark in a north-facing bedroom makes the space feel dim all day. Going too light on a street-facing ground-floor window defeats the purpose.
- Ignoring IGU compatibility: Applying a high-absorption film to a sealed double-pane unit without checking can cause thermal stress and crack the glass. Always verify with the glass manufacturer or a certified installer.
- Attempting large installs without practice: Film installation on a 6-foot sliding glass door is not the same as a bathroom window. Start on a small, low-stakes window to build technique before tackling the big ones.
- Not asking about warranty terms: A film without a warranty is a gamble. A professionally installed LLumar Vista film with a 10–15 year warranty is a documented asset.
The corrective actions are simple: order a sample kit, check your window manufacturer's guidelines on film compatibility, and test on one small window before committing to the whole house.
Surfacetint can handle the hard part for you
Picking the right film is one thing. Getting it installed flat, bubble-free, and warranty-backed on every window in your home is another.
Surfacetint is the local alternative to guessing your way through a DIY install. As a certified LLumar SelectPro dealer serving Southern New Hampshire and the Greater Boston Area, Surfacetint brings on-site sample reviews, glass compatibility checks, and itemized quotes to every free residential estimate. You see the actual film on your actual glass before anything is committed. The installation is backed by manufacturer warranty, and the team handles everything from precise cutting to edge-sealing on the same visit. Check the residential project gallery to see finished installs across a range of home styles, or use the interactive residential film viewer to preview how different films look on typical windows. When you're ready, request your free residential estimate and get a real quote with no obligation.
Useful sources
These are the primary references used throughout this guide. Download data sheets or order sample kits directly from manufacturer sites before making a final purchase decision.
- IWFA — UV Protection: The International Window Film Association's overview of UV blocking performance and warranty standards for professional-grade films. Start here for independent benchmark data.
- Does One-Way Window Film Work at Night? — Arizona House of Film: Clear, practical explanation of the lighting differential physics behind reflective film and why night privacy fails. Required reading before buying any reflective product.
- Privacy Film for Windows — Ecovision: Covers frosted, PDLC, and reflective film types with day/night performance comparisons. Useful for understanding which film family fits your use case.
- How to Choose Window Film for Privacy — WindowsCanada: Explains TSER ranges and how solar-control privacy films deliver dual benefits. Good reference when heat rejection is part of the decision.
- How to Choose Window Film for Your Home — Concord Window Film: Covers lifespan expectations for DIY vs. professional installs and what drives the difference. Useful for maintenance and budget planning.
- What to Do If Your Static Cling Window Film Won't Stick — GreenFilmUSA: Practical troubleshooting for the most common DIY installation failure. Read before your first install attempt.
- Daytime vs. Nighttime Privacy Window Film — Windowtint.com: Side-by-side breakdown of which film types perform at different times of day, with quick-answer format useful for final decisions.
- Surfacetint / Surface Dynamics Window Tinting: The client's site with residential film options, the interactive film viewer, project gallery, and free estimate request for Southern New Hampshire and Greater Boston homeowners.
Recommended