
Commercial Window Tinting Workflow: Cut Energy Costs 25%
Commercial Window Tinting Workflow: Cut Energy Costs 25%
Every year, commercial property managers face unexpected costs when window tinting projects go wrong. Improper workflows lead to film failures, scheduling disruptions, and wasted budgets that could have funded other improvements. This guide walks you through a proven commercial window tinting workflow that delivers 15-25% energy savings, enhanced safety, and improved occupant comfort while avoiding common pitfalls that derail projects.
Table of Contents
- Prerequisites: What You Need Before Starting Your Commercial Window Tinting Project
- Step 1: Preparing For Installation
- Step 2: Installation Process
- Step 3: Troubleshooting And Common Mistakes
- Step 4: Expected Results And Outcomes
- Conclusion: Making Your Commercial Window Tinting Project A Success
- Explore Professional Commercial Window Tinting Solutions
Key Takeaways
| Point | Details |
|---|---|
| Professional workflows reduce installation errors | Structured processes minimize costly rework and film failures. |
| Site preparation ensures optimal film performance | Thorough cleaning and assessments prevent adhesion problems. |
| Expert installation techniques prevent common failures | Trained professionals achieve bubble-free applications that last. |
| Energy cost savings reach 15-25% post-installation | Utility bill reductions provide measurable ROI within 3-5 years. |
| DIY installations fail over 50% of the time | Professional services guarantee durability and warranty protection |
Prerequisites: What You Need Before Starting Your Commercial Window Tinting Project
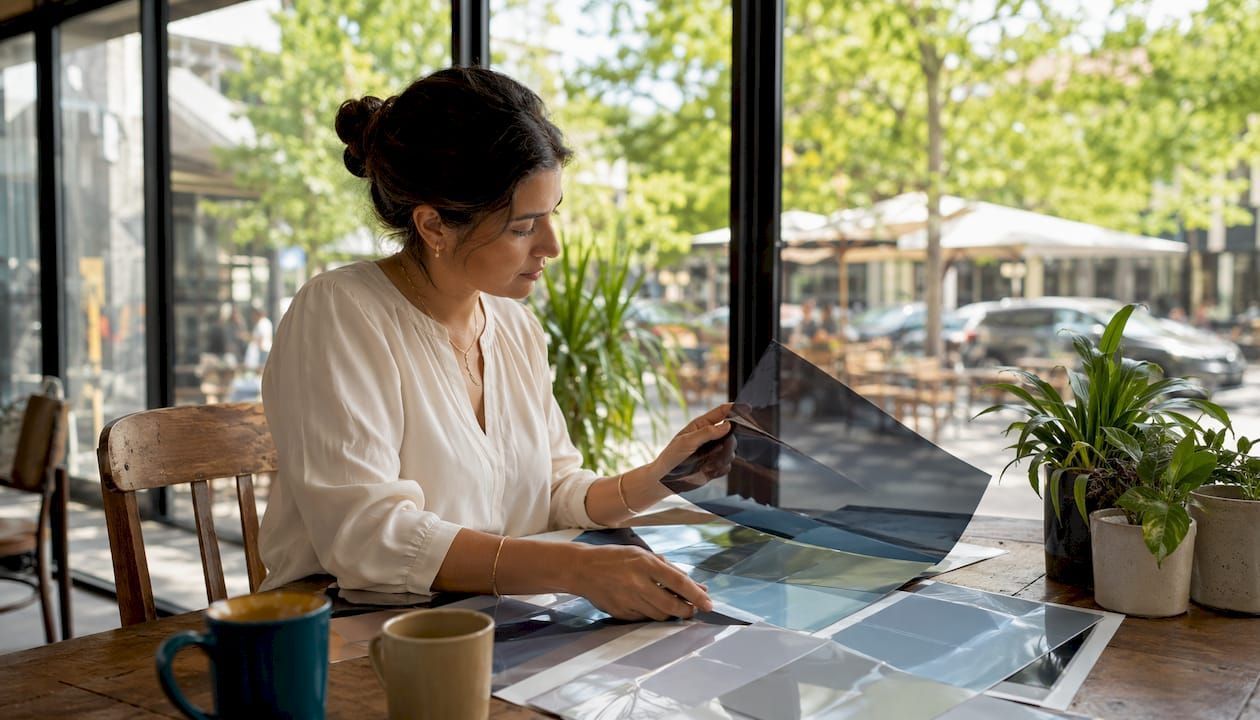
Successful commercial window tinting begins long before film touches glass. A professional site assessment documents every window dimension, identifies existing damage, and evaluates sun exposure patterns throughout your building. This initial survey determines which commercial window film types deliver the best performance for your specific needs, whether you prioritize energy efficiency, safety, or glare reduction.
Choosing appropriate high-performance films requires understanding your building's challenges. LLumar Vista films offer specialized solutions: solar control films for heat rejection, safety films for shatter resistance, and decorative films for privacy. Each film type addresses distinct problems, so matching film specifications to your goals prevents costly reinstallations later.
Scheduling installations during low-occupancy periods minimizes disruptions to daily operations. Weekend or evening installations allow crews to work efficiently without interfering with employees, customers, or tenants. This strategic timing also reduces the pressure to rush jobs, which often leads to quality issues.
Before work begins, confirm building access permissions and establish safety protocols. Secure parking for installation vehicles, designate material staging areas, and notify occupants about temporary access restrictions. Coordinate with building security to streamline crew entry and prevent delays. Get a commercial tinting cost estimate early to budget accurately and avoid surprises.
Pro Tip: Document baseline energy consumption from utility bills before installation. This creates a clear benchmark for measuring post-installation savings and calculating your actual ROI.
- Verify all window measurements twice to prevent film shortages
- Confirm film delivery timing aligns with installation schedule
- Test a small window section first if building has unique glass types
- Arrange backup dates in case weather delays exterior work
Step 1: Preparing for Installation
Preparation determines whether your tinting project succeeds or fails. Professional installers conduct comprehensive site assessments that go beyond basic measurements. They evaluate window frame conditions, check for existing sealant failures, and identify any glass defects that could compromise film adhesion. This preparation for tinting installation reveals potential problems before they become expensive mistakes.
Thorough glass surface cleaning is non-negotiable for proper film adhesion. Professional-grade cleaning solutions remove oils, dust, and residues that invisible to the naked eye but fatal to film bonding. Installers use specialized squeegees and lint-free materials to achieve spotless surfaces. Any contaminants left behind create adhesion failures that manifest as bubbles, peeling edges, or premature film degradation within months.
Safety barriers and defined work zones protect both installation crews and building occupants. Clear signage prevents accidental interference with wet film applications. Floor protection prevents cleaning solution damage to carpets and finishes. Proper ventilation ensures application chemicals dissipate quickly without affecting indoor air quality.
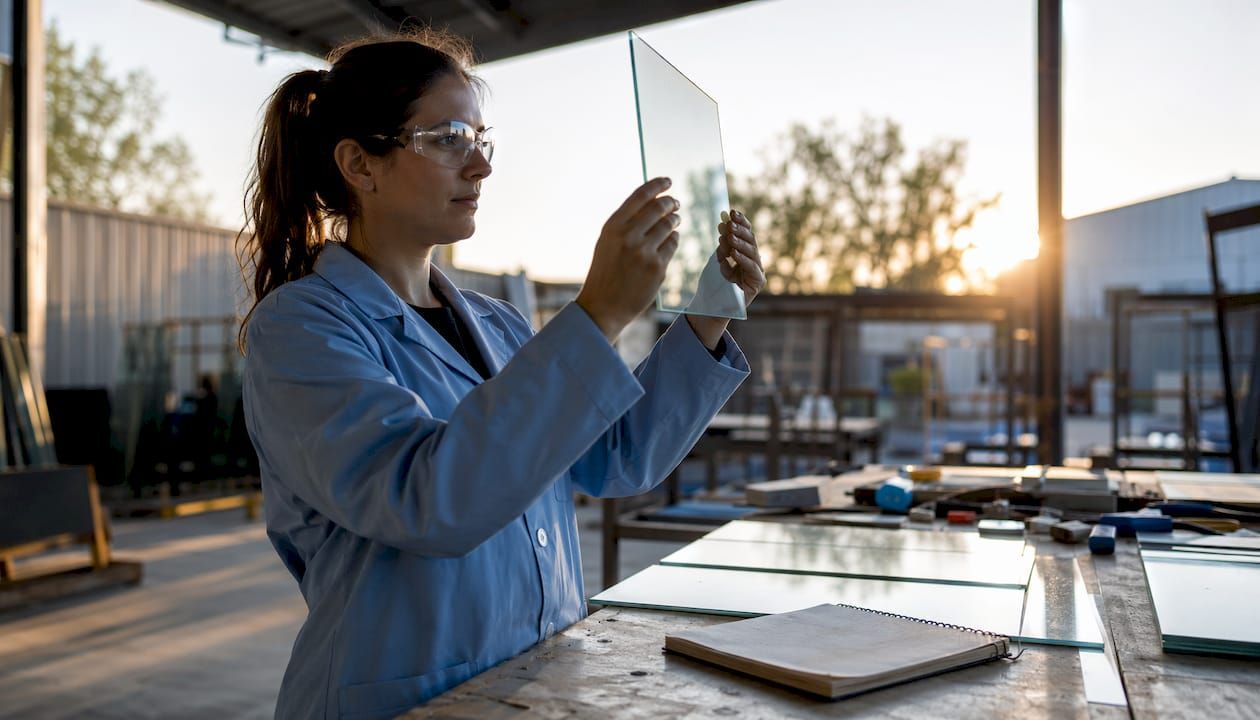
Confirming film quantities and types onsite prevents mid-project shortages. Installers verify that delivered materials match specifications from the window film selection process. They inspect rolls for manufacturing defects and ensure adhesive quality meets standards. This final check catches shipping errors before crews begin irreversible work.
"The difference between a 3-year film and a 15-year film often comes down to how well the glass was prepared. You cannot skip this step and expect professional results." – Commercial Installation Standards
Pro Tip: Take photos of each window before installation. This documentation proves pre-existing conditions and protects both you and the installer from disputes about glass defects discovered later.
- Clear all window areas of furniture, plants, and decorations
- Inspect and document existing glass conditions with photos
- Verify environmental conditions meet manufacturer specifications for installation
- Confirm all team members understand safety protocols and access restrictions
- Test cleaning solutions on a small glass area to ensure compatibility
Step 2: Installation Process
Professional film application requires precision that comes only from extensive training. Installers cut each film piece slightly larger than needed, then trim to exact dimensions during application. This approach prevents gaps at edges while ensuring complete coverage. Careful film alignment eliminates bubbles and wrinkles that plague amateur installations and compromise both appearance and performance.
Applying edge sealing and curing procedures prevents the most common failure mode: edge peeling. Professional installers use specific techniques to ensure film adheres completely to glass edges where environmental exposure is highest. They apply controlled pressure patterns that eliminate microbubbles while avoiding excessive force that could damage the film. Proper commercial safety and security films installation includes letting films cure undisturbed for specified periods.
Premium films designed for commercial applications outperform residential products in demanding environments. Commercial-grade films withstand higher heat loads, offer superior scratch resistance, and maintain optical clarity longer. The adhesive systems in professional films bond more reliably to treated glass and hold up better against temperature fluctuations common in commercial buildings.
Quality inspections during and after installation catch problems while correction is still simple. Installers check each window under various lighting conditions to spot defects invisible during application. They verify edge adhesion, confirm proper curing conditions, and document completed work. This commercial tinting installation steps verification process ensures every window meets performance standards before crews leave your property.
Pro Tip: Request that installers mark cure completion dates on inconspicuous window corners. This reminds cleaning staff to avoid those windows until films fully bond, preventing accidental damage during the critical first 30 days.
- Allow 30 days for complete film curing before aggressive cleaning
- Inspect installations in both direct sunlight and artificial light
- Verify warranty documentation covers all installed windows
- Schedule follow-up inspection at 60 days to catch any delayed issues
| Installation Phase | Duration | Critical Success Factors |
|---|---|---|
| Surface preparation | 30-45 min per window | Complete contaminant removal, proper moisture levels |
| Film application | 45-60 min per window | Precise alignment, controlled pressure application |
| Edge sealing | 15-20 min per window | Uniform adhesive distribution, proper curing environment |
| Quality inspection | 10-15 min per window | Multiple viewing angles, edge adhesion verification |
Step 3: Troubleshooting and Common Mistakes
Insufficient cleaning causes more installation failures than any other factor. Even microscopic dust particles create adhesion weak points that expand into visible bubbles over time. Rigorous cleaning protocols require multiple passes with fresh cleaning solution and lint-free materials. Cutting corners here guarantees premature film failure and expensive reinstallation within months instead of years.
Poor film alignment produces bubbles and wrinkles that ruin both aesthetics and performance. Amateur installers often rush application, creating trapped air pockets that never disappear. Professional techniques involve working from center outward with controlled squeegee pressure that pushes air and moisture to edges systematically. This methodical approach takes longer but prevents the cosmetic disasters common in rushed jobs.
DIY commercial installations fail at rates exceeding 50% according to industry data. The specialized tools, techniques, and experience required for commercial-scale projects justify professional services. Attempting self-installation voids manufacturer warranties, creates liability issues if films fail, and often costs more after factoring in wasted materials and time. Compare professional window tinting versus DIY outcomes before deciding.
Failing to apply proper edge sealing reduces film lifespan dramatically. Edges face the harshest environmental exposure and need extra attention during installation. Professional installers use edge sealing techniques that create moisture barriers preventing water intrusion that causes adhesive breakdown. Skipping this step means films start peeling within 1-2 years instead of lasting their full 10-15 year lifespan.
Poor scheduling creates operational disruptions and rushed installations that compromise quality. Installing films during peak business hours forces crews to work around occupants, leading to incomplete preparation and hasty application. The resulting quality issues require expensive corrections that could have been avoided with better planning.
Pro Tip: Establish a formal quality checklist that installers must complete and sign for each window. This accountability measure catches oversights immediately and creates documentation proving proper installation procedures were followed.
- Never clean newly tinted windows for 30 days after installation
- Avoid applying suction cups or adhesive materials to film surfaces
- Report any bubbles larger than a pinhead within the first week
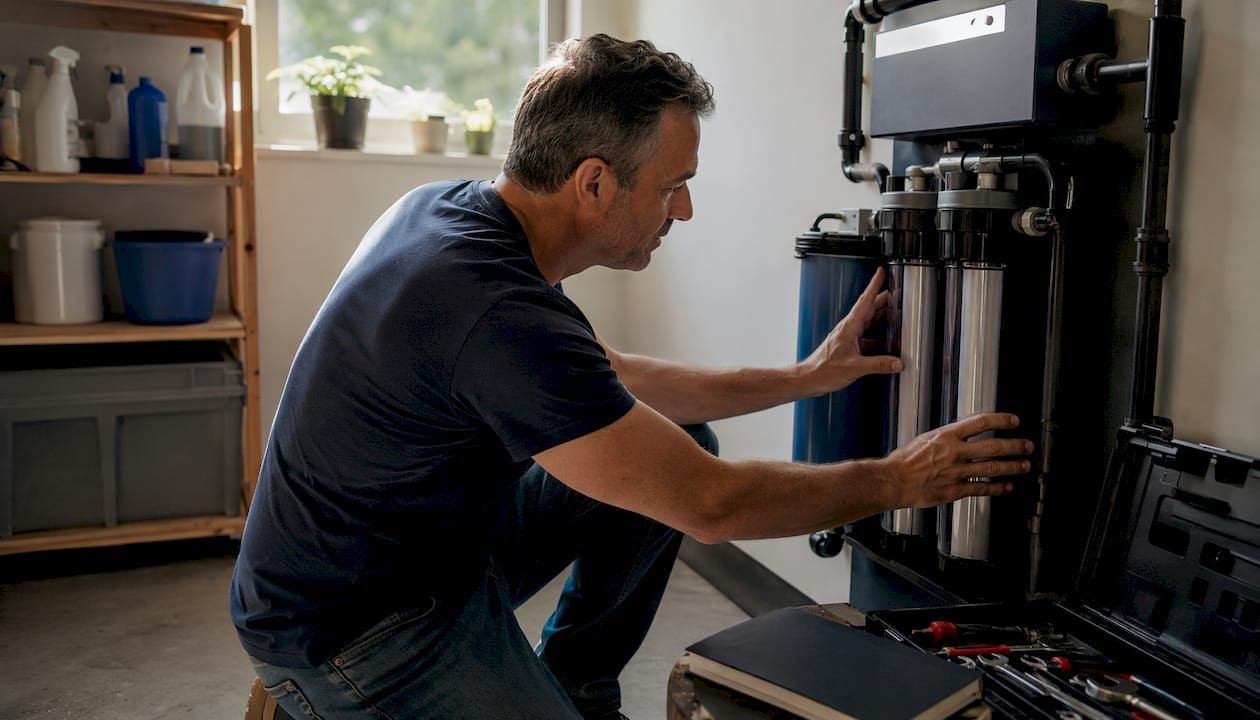
- Keep window frames and seals maintained to prevent moisture infiltration
- Schedule annual inspections to catch edge degradation before it spreads
Step 4: Expected Results and Outcomes
Energy consumption drops between 15% and 25% after professional commercial window tinting installation. You verify these savings by comparing utility bills from equivalent periods before and after installation. Summer cooling costs show the most dramatic reductions as films reject solar heat before it enters your building. Winter heating efficiency improves slightly as films provide additional insulation value.
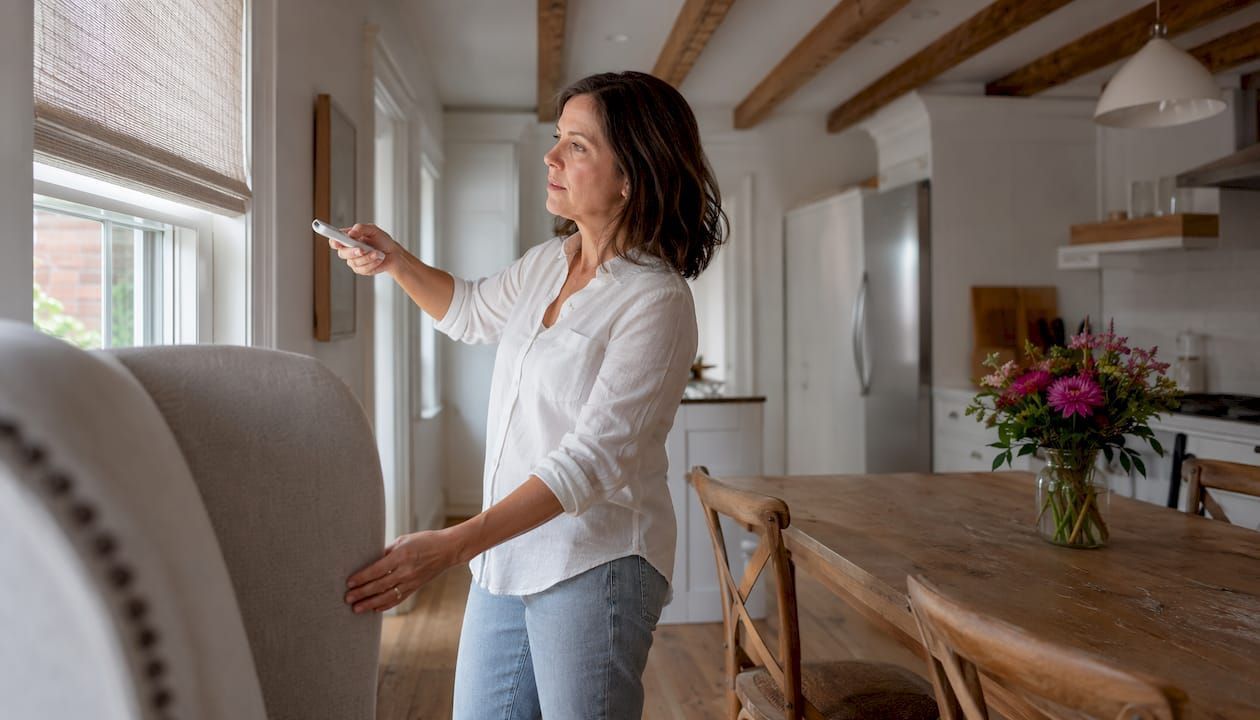
Glare reduction significantly improves occupant comfort and productivity. Employees working near windows no longer struggle with screen visibility or eye strain. Customer-facing spaces become more inviting without harsh sunlight creating uncomfortable hot spots. Post-installation surveys consistently show improved satisfaction scores related to workplace comfort and visual environment quality.
Safety films reduce injury risk from glass breakage by at least 80%. When glass does break, films hold shards together instead of allowing dangerous projectiles. This protection is especially critical in ground-level retail spaces, storm-prone areas, or buildings near busy streets where accidents or intentional impacts occur.
Properly maintained films last 10-15 years without peeling or bubbling when professionally installed. Regular cleaning with approved solutions and periodic inspections keep films performing at peak levels. Films maintain their optical clarity, heat rejection capabilities, and UV blocking throughout their lifespan when care guidelines are followed.
ROI typically occurs within 3 to 5 years driven by energy savings and reduced maintenance costs. Commercial window tinting benefits extend beyond energy: reduced HVAC wear, protected furnishings, and enhanced building aesthetics add value not captured in utility bills alone. Many property managers see payback periods at the shorter end of this range in buildings with significant solar exposure.
| Benefit Category | Measurable Outcome | Verification Method |
|---|---|---|
| Energy savings | 15-25% reduction in HVAC costs | Utility bill comparison |
| Glare reduction | 60-85% decrease in direct sunlight intensity | Light meter readings |
| UV protection | 99% UV ray blockage | UV sensor measurements |
| Safety improvement | 80% reduction in glass injury risk | Industry accident data |
| Equipment lifespan | 30-50% longer furnishing life | Fade comparison studies |
Conclusion: Making Your Commercial Window Tinting Project a Success
Following a structured, step-by-step workflow eliminates the costly mistakes that plague commercial window tinting projects. Professional planning, thorough preparation, expert installation, and proper maintenance transform window tinting from a risky expense into a sound investment. The energy savings, safety improvements, and comfort enhancements deliver measurable value year after year.
Engaging certified professional services and specifying premium films like LLumar Vista products ensures your investment performs as expected. The modest upfront cost premium for professional installation pays for itself many times over through proper adhesion, full warranty protection, and maximum film lifespan. Commercial property managers and business owners who prioritize quality reap benefits for 10-15 years.
Commercial window tinting delivers longstanding benefits in reduced operating costs, enhanced occupant comfort, and improved building aesthetics. These advantages compound over time as energy costs rise and building systems age. The UV protection alone saves thousands in furnishing and equipment replacement costs that would otherwise occur from sun damage.
This comprehensive guide equips commercial property managers and business owners throughout Southern New Hampshire and the Greater Boston Area with the knowledge needed to execute successful tinting projects. Understanding the complete workflow from initial assessment through long-term maintenance helps you make informed decisions, select qualified contractors, and achieve the full potential of professional window tinting.
Explore Professional Commercial Window Tinting Solutions
Ready to reduce your energy costs and improve occupant comfort? Surface Dynamics Window Tinting specializes in commercial installations throughout Southern New Hampshire and the Greater Boston Area. Our exclusive LLumar SelectPro Dealer status ensures you receive premium Vista films with superior performance.
Request a free commercial window tinting estimate tailored to your property's specific needs. Our detailed assessments identify optimal film solutions for your energy, safety, and aesthetic goals. View our commercial window tinting projects gallery showcasing recent installations across the region. Explore our commercial window film types overview to understand which solutions best match your building's challenges.
FAQ
What is the typical lifespan of commercial window tinting films?
With professional installation and regular maintenance, commercial window films last 10-15 years without major degradation. Surface cleaning with approved solutions and proper edge sealing during installation significantly extend lifespan by preventing moisture infiltration and adhesive breakdown.
Can I install commercial window tinting myself to save costs?
DIY installation for commercial properties leads to failure rates exceeding 50% and voids manufacturer warranties. Professional installers ensure proper adhesion, compliance with building codes, and long-term performance that self-installation cannot match.
How much energy cost savings can I expect after tinting?
Energy savings typically range from 15% to 25% depending on film type, building orientation, and HVAC efficiency. ROI on installation costs usually occurs within 3 to 5 years through reduced utility bills and decreased HVAC maintenance needs.
How long does commercial window tinting installation take?
Installation duration depends on building size and window count, but most commercial projects complete within 2-5 business days. Large buildings may require phased installations over several weeks to minimize operational disruptions.
Will window tinting affect my building's exterior appearance?
Professional commercial films enhance exterior aesthetics by creating uniform appearance across window banks. Modern films avoid the mirrored look of older products while still providing excellent heat rejection and glare control.
Recommended