
UV protection window tinting workflow: Step-by-step guide
TL;DR:
- UV rays cause ongoing damage to indoor furniture, flooring, and reduce energy efficiency.
- Proper assessment, film selection, installation, and maintenance are essential for effective UV protection.
- Professional window tinting offers maximum UV blocking, warranty, and better long-term results.
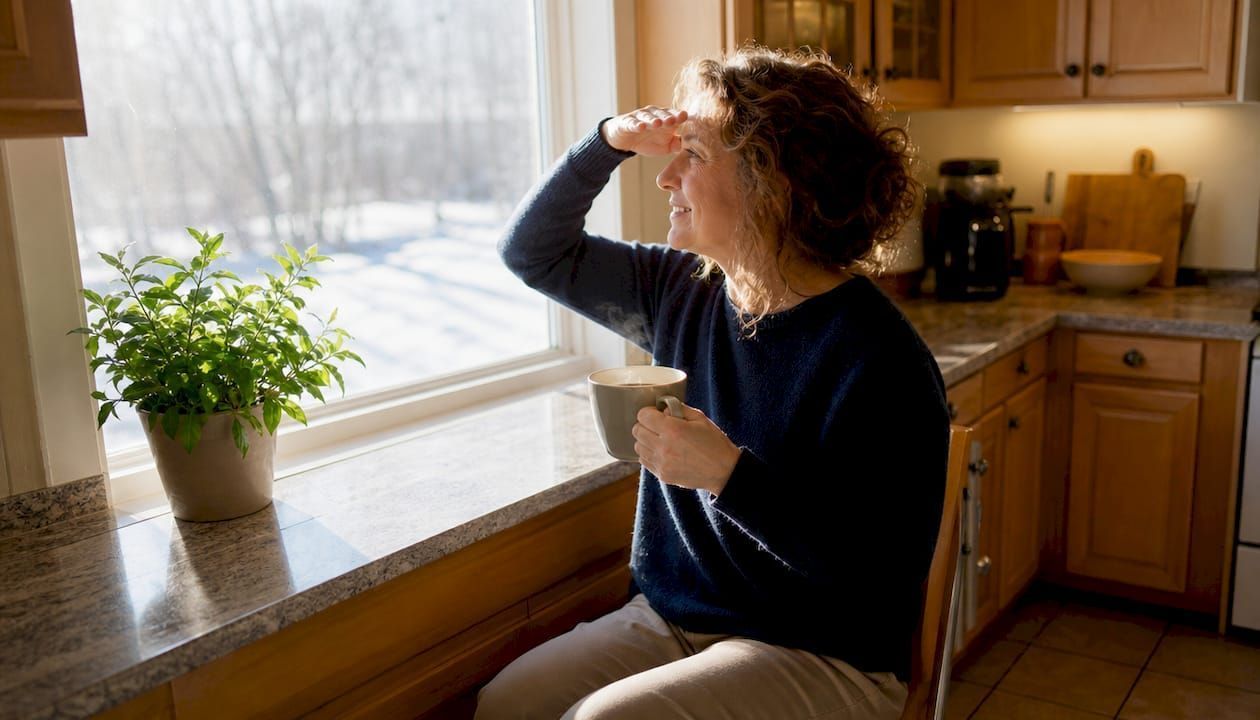
UV rays quietly damage your property every single day. Hardwood floors fade, upholstery cracks, and your air conditioner runs harder than it should. For homeowners and business owners in Southern New Hampshire and Greater Boston, these aren't just minor inconveniences. They're expensive, ongoing problems. UV rays cause fading and deterioration of furniture and flooring inside buildings, and the damage compounds over time. The good news is that a structured window tinting workflow can stop most of this damage before it starts. This guide walks you through every step, from assessing your needs to verifying results.
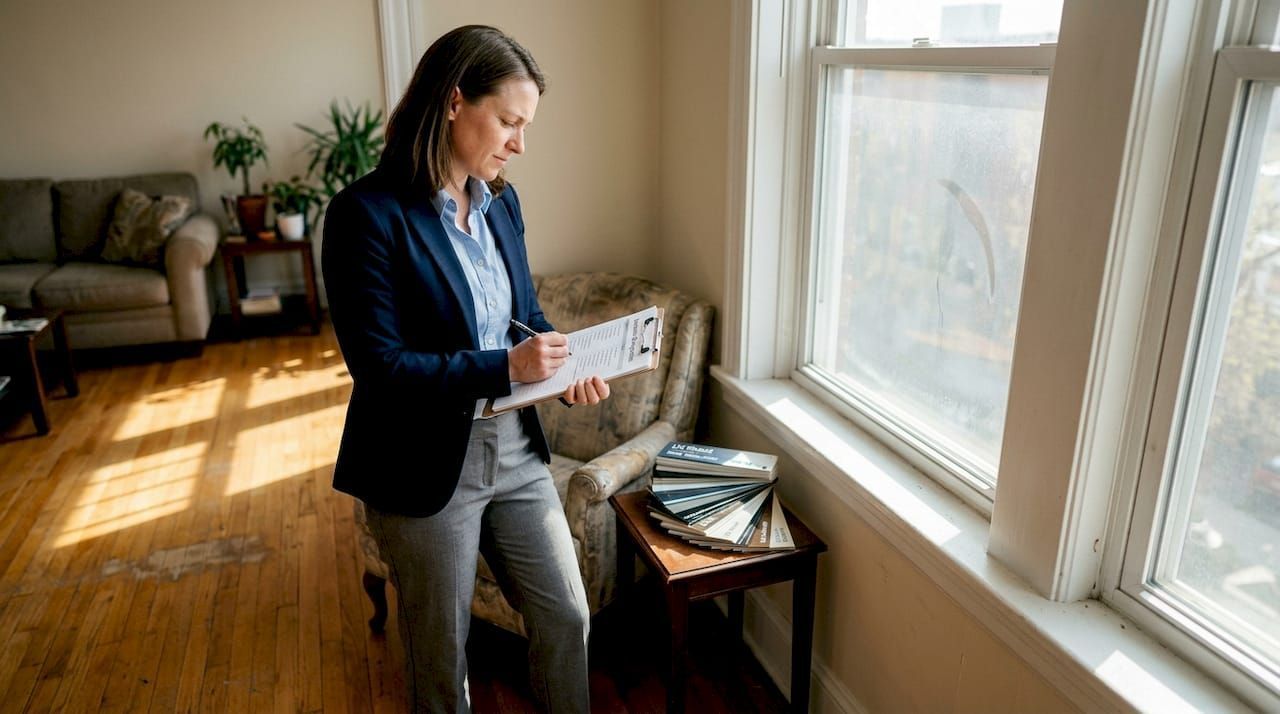
Table of Contents
- Assessing UV protection needs in your building
- Choosing the right UV window film
- Preparation and tools for window tint installation
- Installing and verifying UV window film effectiveness
- What most property owners overlook about UV protection workflows
- Get professional UV protection for your property
- Frequently asked questions
Key Takeaways
| Point | Details |
|---|---|
| UV damage prevention | Window tinting drastically reduces fading and sun damage to interiors. |
| Energy efficiency boost | Blocking UV and heat lowers your cooling costs year-round. |
| Professional workflow matters | A clear workflow ensures effective installation and lasting protection. |
| Verification is crucial | Regular checks maximize the benefit and ROI of your tinting investment. |
Assessing UV protection needs in your building
With the problem identified, the first step is to analyze how much UV protection your building really needs. Not every window carries the same risk. A south-facing living room window takes a beating all day long, while a north-facing office window sees far less direct sun. Understanding where your exposure is highest helps you prioritize and spend your budget wisely.
Start by walking through your property and noting which rooms feel hottest during the day. Look for visible signs of UV damage: faded rugs, bleached wood floors, or discolored upholstery near windows. These are your highest-priority areas. Buildings in Southern New Hampshire and Greater Boston experience significant sunlight exposure, causing increased UV damage and higher cooling bills, which means local property owners face real, measurable consequences from untreated windows.
Residential and
commercial buildings have different needs. Homeowners typically focus on protecting furnishings and reducing cooling costs in living spaces and bedrooms. Business owners, on the other hand, often need to balance UV protection with maintaining a professional appearance, managing glare on computer screens, and meeting building code requirements. Both groups benefit from the
home window tinting benefits that come with a well-planned film installation.
Here's what to look for during your initial assessment:
- Window orientation: South and west-facing windows receive the most UV exposure
- Room usage: Spaces with expensive furniture, artwork, or merchandise need priority protection
- Existing glass type: Single-pane windows offer almost no UV filtering on their own
- Current energy bills: High summer cooling costs often signal poor solar control
- Glare complaints: Employees or family members squinting or pulling blinds are a clear signal
Pro Tip: Take photos of each window during peak sunlight hours. This gives you a clear visual record of where light penetration is worst and helps your installer recommend the right film for each zone. You can also browse the window tinting gallery to see how similar properties have been treated.
Statistic callout: South and west-facing windows can account for up to 70% of solar heat gain in a typical home, making orientation the single most important factor in your UV risk assessment.
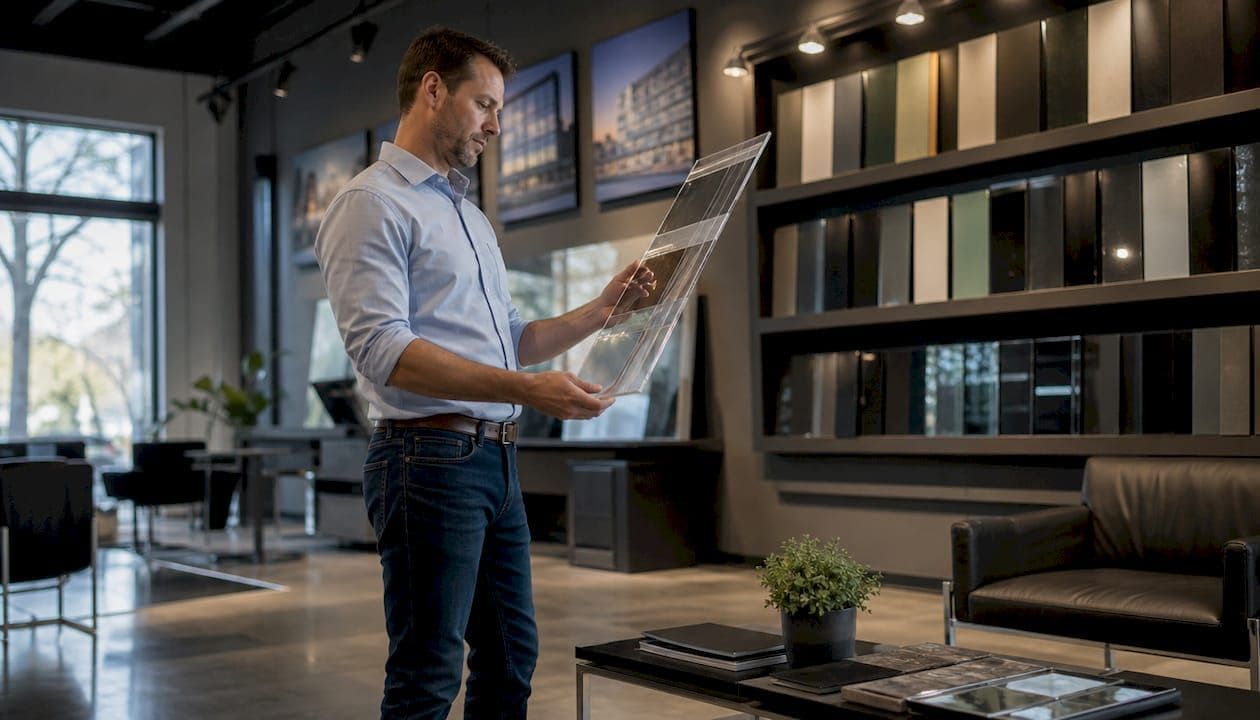
Choosing the right UV window film
After assessing your needs, the next step is to select the most suitable window film for UV protection. This is where many property owners get overwhelmed. There are dozens of film options, and not all of them serve the same purpose.
Not all window films offer the same level of UV protection or energy savings. Premium tints can block up to 99% of UV rays, which is a massive difference compared to standard films that may only block 50 to 70%. When you're protecting hardwood floors, original artwork, or high-end retail merchandise, that gap matters.
Here's a quick comparison of the main film types:
| Film type | UV blocking | Heat reduction | Best use case |
|---|---|---|---|
| Solar control film | Up to 99% | High | Homes, offices, storefronts |
| Safety and security film | Up to 99% | Moderate | Entry points, glass doors |
| Decorative privacy film | Moderate | Low to moderate | Bathrooms, conference rooms |
| Dual-purpose solar/safety | Up to 99% | High | High-traffic commercial spaces |
When browsing solar window film options, pay attention to the visible light transmission (VLT) rating. A lower VLT means a darker film, which blocks more light but may affect your interior's natural feel. Most homeowners prefer films in the 35 to 50% VLT range for a balance of protection and brightness.
Features to prioritize when selecting your film:
- UV rejection rate: Look for films that block 99% of UV-A and UV-B rays
- Solar heat gain coefficient (SHGC): Lower numbers mean better heat blocking
- Glare reduction: Important for offices and rooms with screens
- Warranty length: Premium films often carry 10 to 15-year manufacturer warranties
- Aesthetic compatibility: Film should complement your window frames and interior style
If privacy is also a concern, decorative window films offer UV protection alongside frosted or patterned finishes that work well in bathrooms, conference rooms, and street-level retail windows. The right film isn't just about blocking UV. It's about solving multiple problems at once.
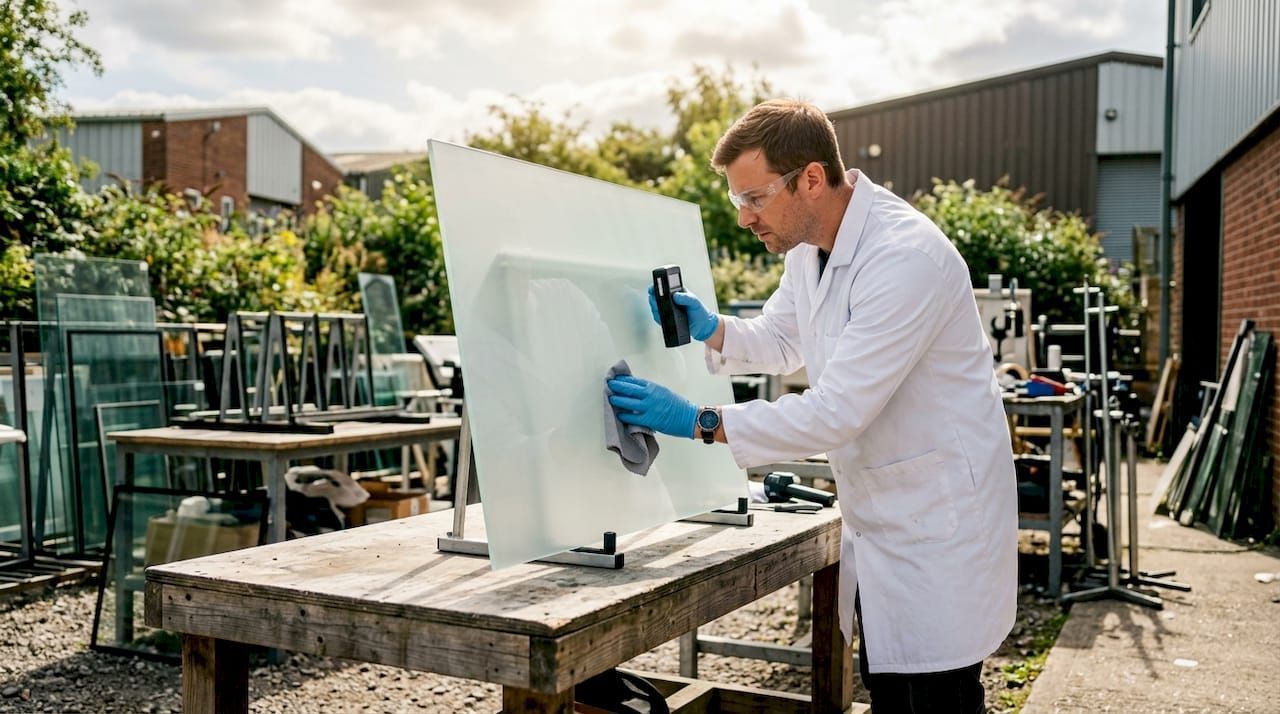
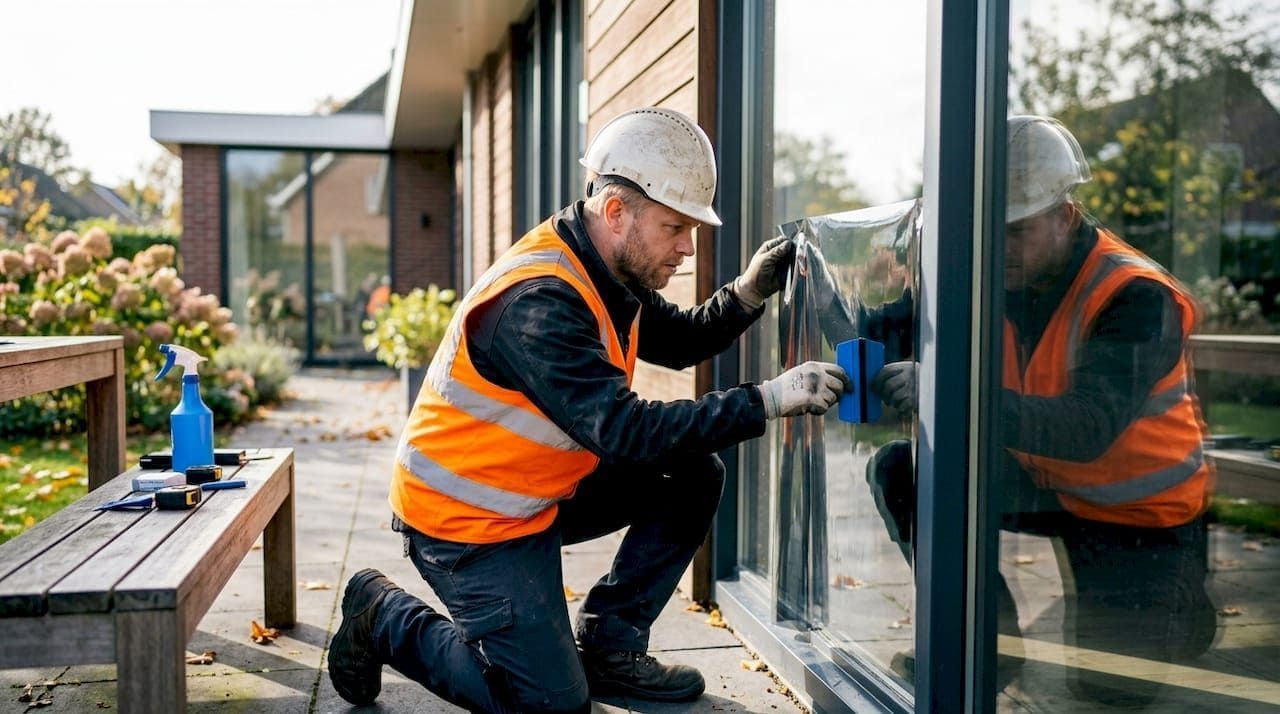
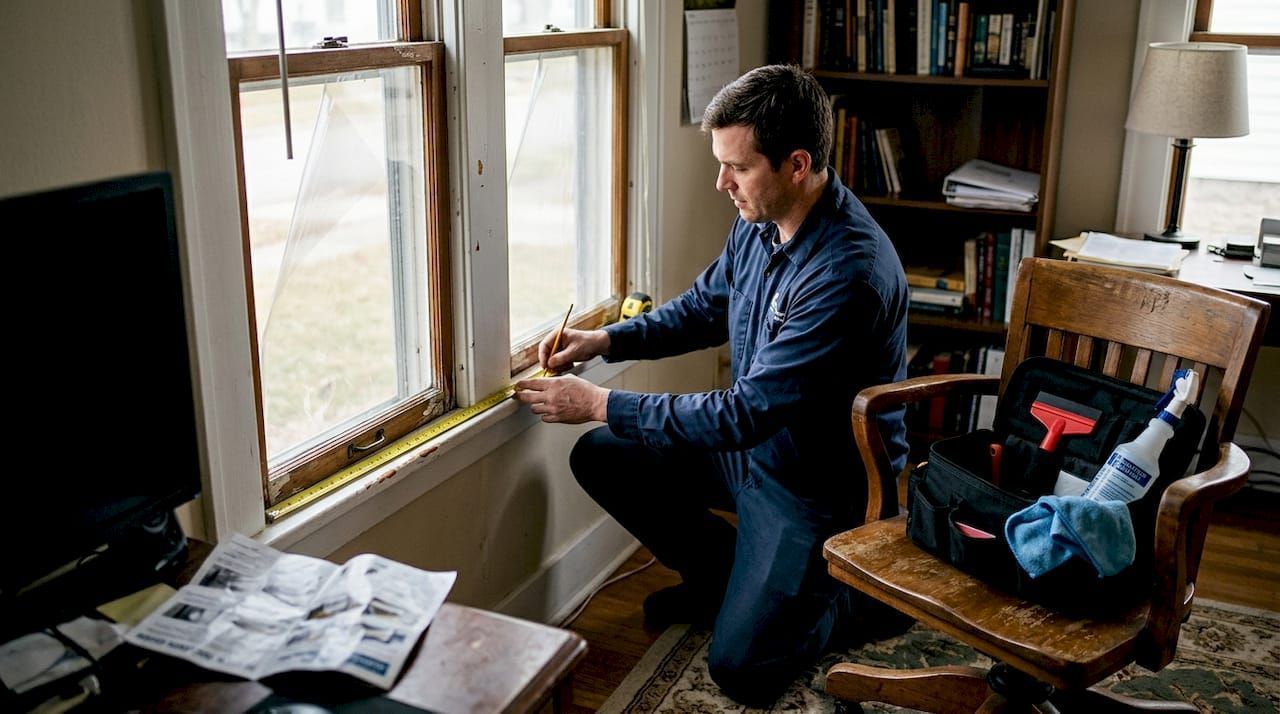
Preparation and tools for window tint installation
Now that you've selected a film, it's crucial to prepare properly for installation. Rushed prep work is the number one reason DIY tinting jobs fail. Dust, fingerprints, and moisture trapped under the film cause bubbling and peeling that shorten the film's lifespan significantly.
Professional installation ensures optimal UV protection and avoids common mistakes such as bubbling or peeling, which is exactly why preparation is treated as seriously as the installation itself by experienced installers.
Here's a table of the tools and materials you'll need:
| Tool or material | Purpose |
|---|---|
| Spray bottle with soapy water | Lubricates glass surface during application |
| Squeegee | Removes air and water bubbles |
| Utility knife or precision cutter | Trims film to exact window size |
| Lint-free microfiber cloths | Cleans glass without leaving fibers |
| Heat gun or hair dryer | Helps film conform to curved edges |
| Tape measure | Ensures accurate film cutting |
Follow these prep steps in order:
- Remove all window treatments, blinds, and hardware near the glass
- Clean the glass surface with a streak-free solution and lint-free cloth
- Rinse the glass with clean water and let it dry completely
- Inspect for chips, cracks, or scratches that could affect adhesion
- Measure each window precisely, adding one inch on all sides for trimming
- Cut the film in a clean, dust-free area to prevent contamination
Pro Tip: Clean your windows the day before installation, not the same morning. This gives any cleaning solution residue time to fully evaporate, which leads to a much cleaner bond between the film and glass.
Safety warning: Glass edges can be extremely sharp during handling. Always wear cut-resistant gloves when trimming film near window frames. Never force the film against a cracked or chipped pane, as pressure during installation can cause the glass to shatter.
For a closer look at how professional prep and installation transforms a space, the window tinting project photos show real results from local properties.
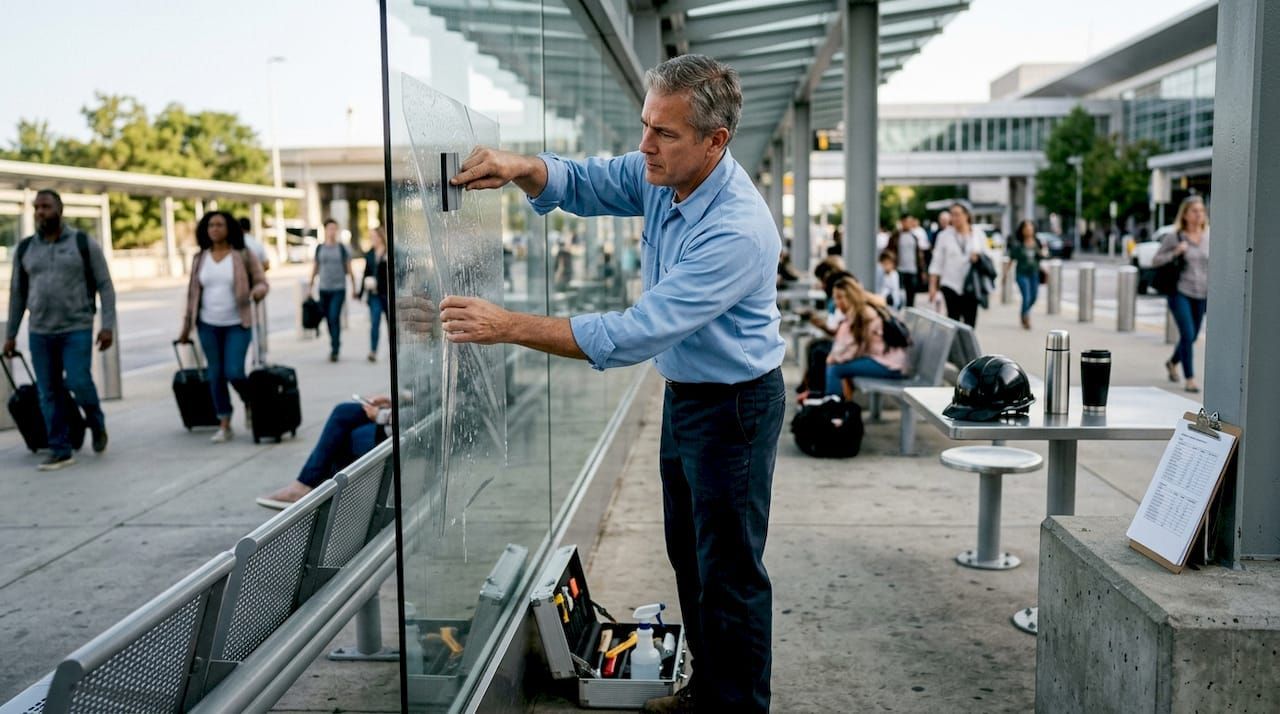
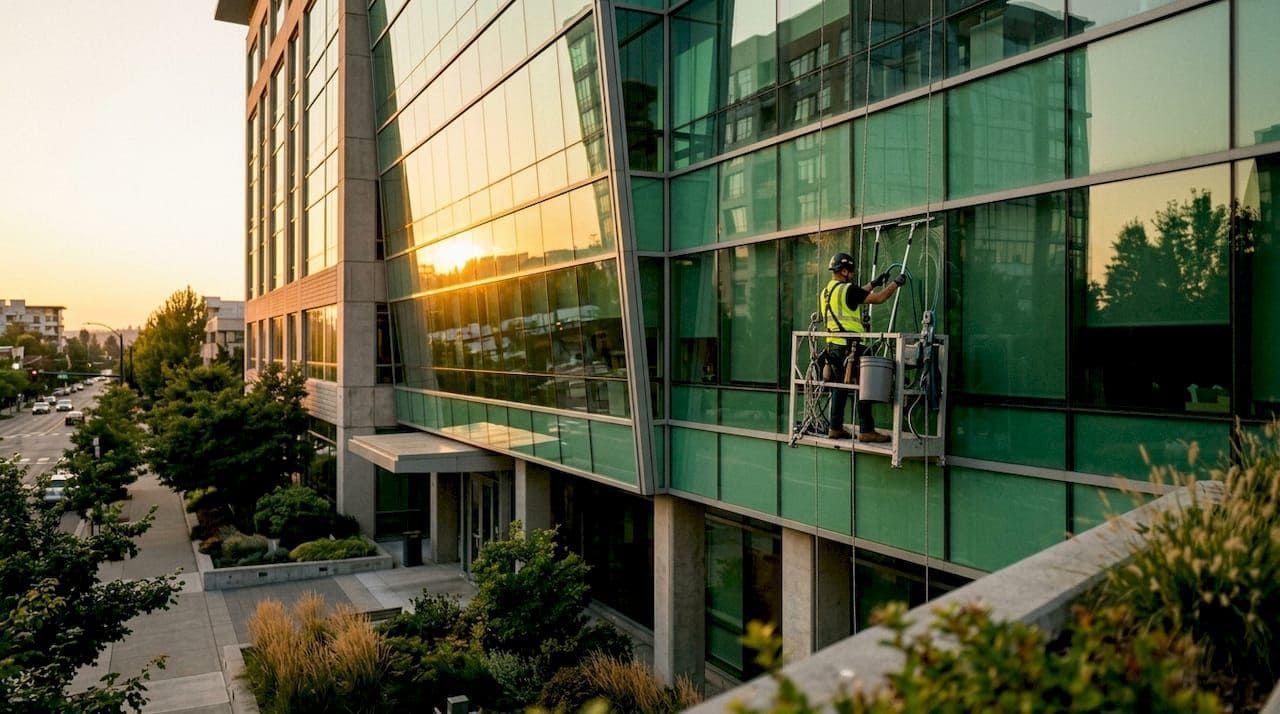
Installing and verifying UV window film effectiveness
Once you've prepared your space, it's time to install and confirm your UV protection. The installation process itself is methodical. Rushing through it introduces errors that reduce the film's performance and lifespan.
Proper installation techniques directly impact the film's ability to maintain high UV reduction over time. A film applied with air pockets or poor edge sealing will degrade faster and lose its UV-blocking effectiveness within a few years instead of lasting a decade or more.
Follow these installation steps:
- Wet the glass surface with your soapy water spray bottle
- Peel the film's liner slowly while spraying the adhesive side with water
- Position the film on the wet glass, leaving overlap on all edges
- Use the squeegee to push water and air from the center outward
- Trim the excess film with a precision cutter, leaving a 1/16-inch gap from the frame
- Squeegee the edges firmly to seal the film completely
- Wipe the surface dry and inspect for any remaining bubbles or lifted edges
Small water bubbles are normal right after installation and will disappear within 30 days as the film cures. Hard bubbles with trapped air, however, need to be addressed immediately by lifting the edge and re-squeegeeing.
Signs that your UV protection is working correctly:
- Reduced glare on screens and surfaces during peak sunlight hours
- Lower AC costs in the weeks following installation
- Cooler glass surface temperature when touched from inside
- Less fading on furniture and flooring near treated windows
- Improved comfort in previously hot rooms
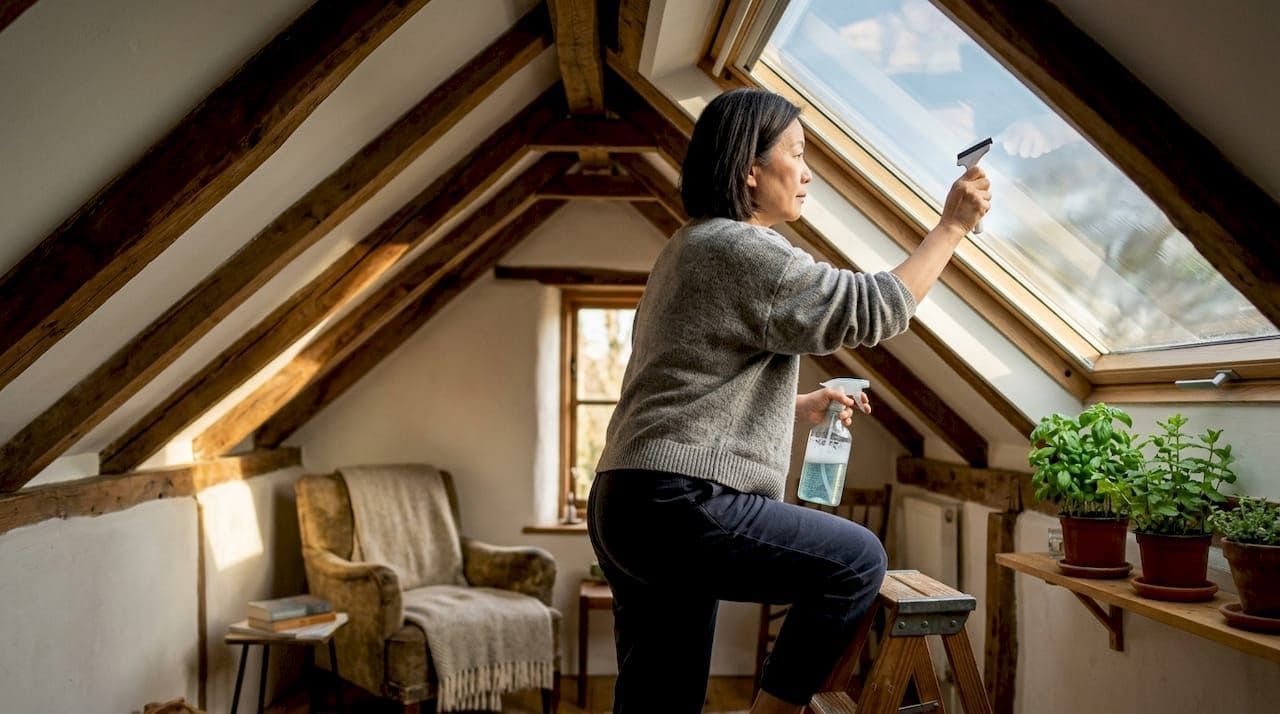
Pro Tip: Take baseline photos of your most sun-exposed furniture and flooring before installation. Check them again six months later. The difference in fading progression is one of the most convincing ways to confirm your film is doing its job. You can also compare residential tinting results and commercial tinting results to benchmark what good outcomes look like.
What most property owners overlook about UV protection workflows
Most people treat window tinting as a one-time cosmetic upgrade. They install the film, forget about it, and assume it's working indefinitely. That mindset leaves real money on the table.
The biggest missed opportunity is verification and maintenance. Film can degrade, especially near edges, if it's not inspected periodically. A quick annual check for peeling, discoloration, or lifted corners takes ten minutes and can extend your film's performance by years. Many property owners underestimate the cumulative savings from reduced AC use and improved interior longevity due to UV tinting, and that's exactly the value that gets lost when maintenance is skipped.
We also see property owners skip the workflow entirely and go straight to DIY kits from big-box stores. The films in those kits rarely block more than 70% of UV rays and often lack the adhesion quality to last more than two or three years. A professional-grade UV protection window film installed correctly will outperform a DIY job by a wide margin over a ten-year period. The upfront cost difference is far smaller than the replacement and repair costs that follow a poor installation.
Get professional UV protection for your property
If this workflow feels like a lot to manage on your own, that's because it is. Professional installers handle every step, from assessment to verification, and back their work with manufacturer warranties and installation guarantees.
At
Surface Dynamics Window Tinting, we serve homeowners and business owners across
Southern New Hampshire and Greater Boston with LLumar SelectPro films that block up to 99% of UV rays. You can request a free tinting estimate to get a personalized recommendation for your property. Prefer to start with your home? Visit our
home tinting estimate page. Or explore our solar window film options to see what's available for your specific needs.
Frequently asked questions
How much UV protection does window film provide?
Premium window films block up to 99% of UV rays, which significantly reduces sun damage to furniture, flooring, and artwork indoors.
Will window tinting lower my energy bills?
Yes. Window tinting reduces cooling costs by blocking solar heat before it enters your space, which means your air conditioner runs less during warm months.
Should I hire a professional for window film installation?
Professional installation ensures optimal performance and avoids common problems like bubbling, poor adhesion, and premature peeling that reduce UV protection over time.
How can I verify my window film is providing UV protection?
Look for reduced glare, cooler indoor temperatures, and less fading on furnishings near windows. These are the clearest signs that your film is actively blocking UV rays.
Recommended